
There are a lot of options in the market for adding patina to metal. When you start into copper, brass, and steel, there are even more. But today I want to provide a little comparison between 4 products that are commonly used on silver to create contrast.
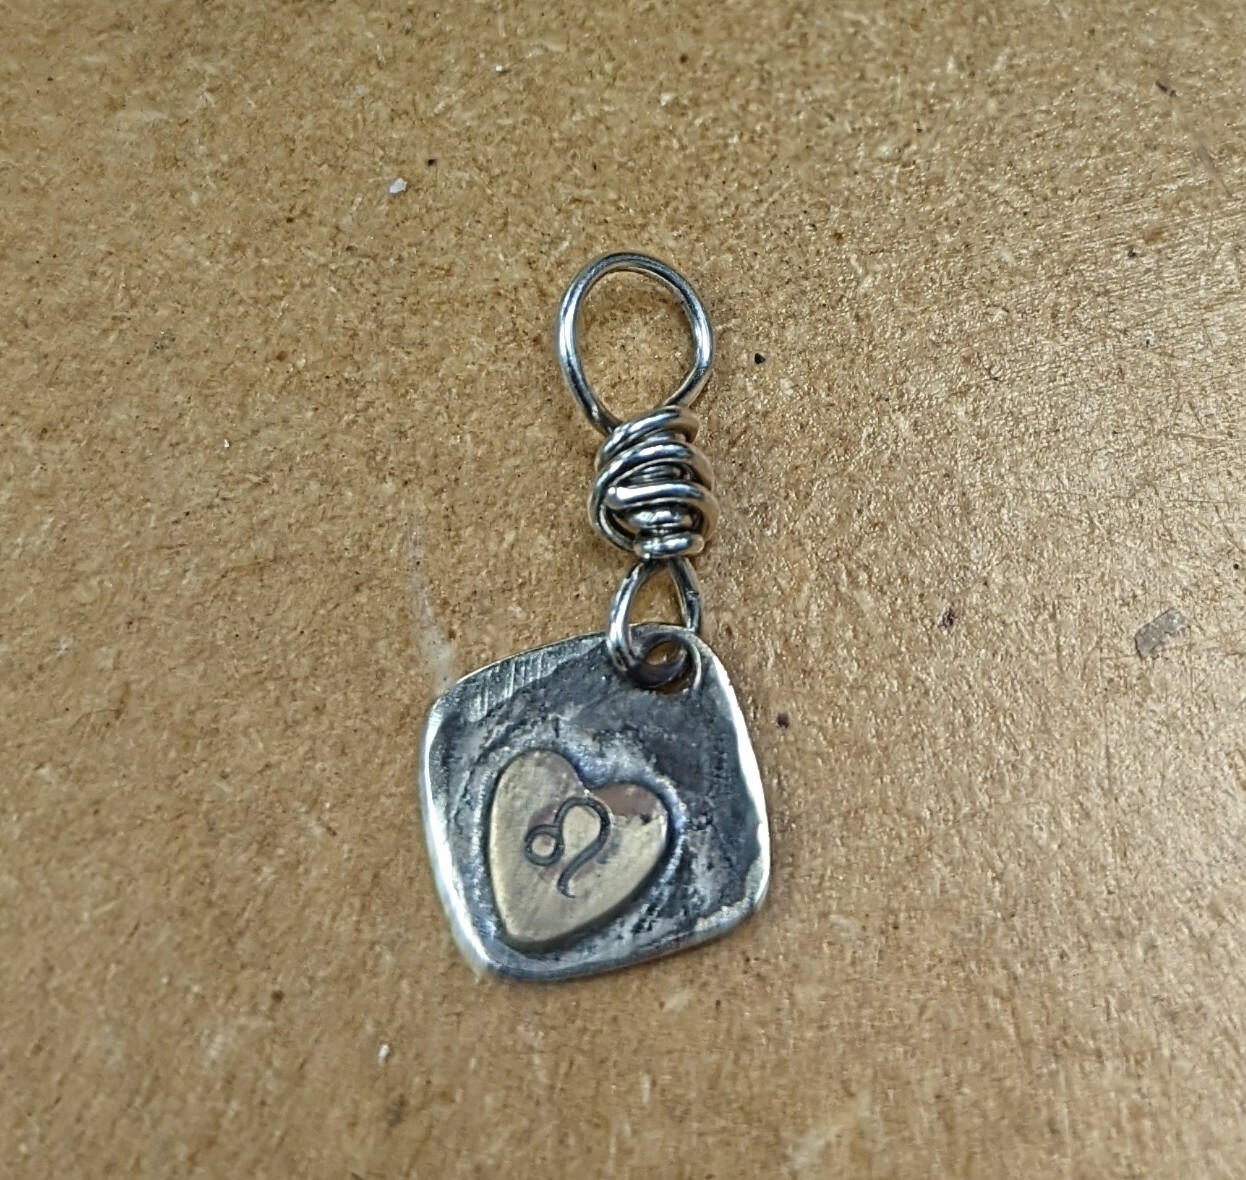
I soldered brass hearts that I had stamped with a simple zodiac design onto 10mm sterling silver blanks. I punched a hole, sanded the backside and edges, and then wire wrapped a tornado loop at the top for the tag. These babies spent about 20 minutes in my magnetic polisher and then were rinsed before the patina was added.

I did not leave the patina on long. I wanted to show what a quick swipe with the product would give you.
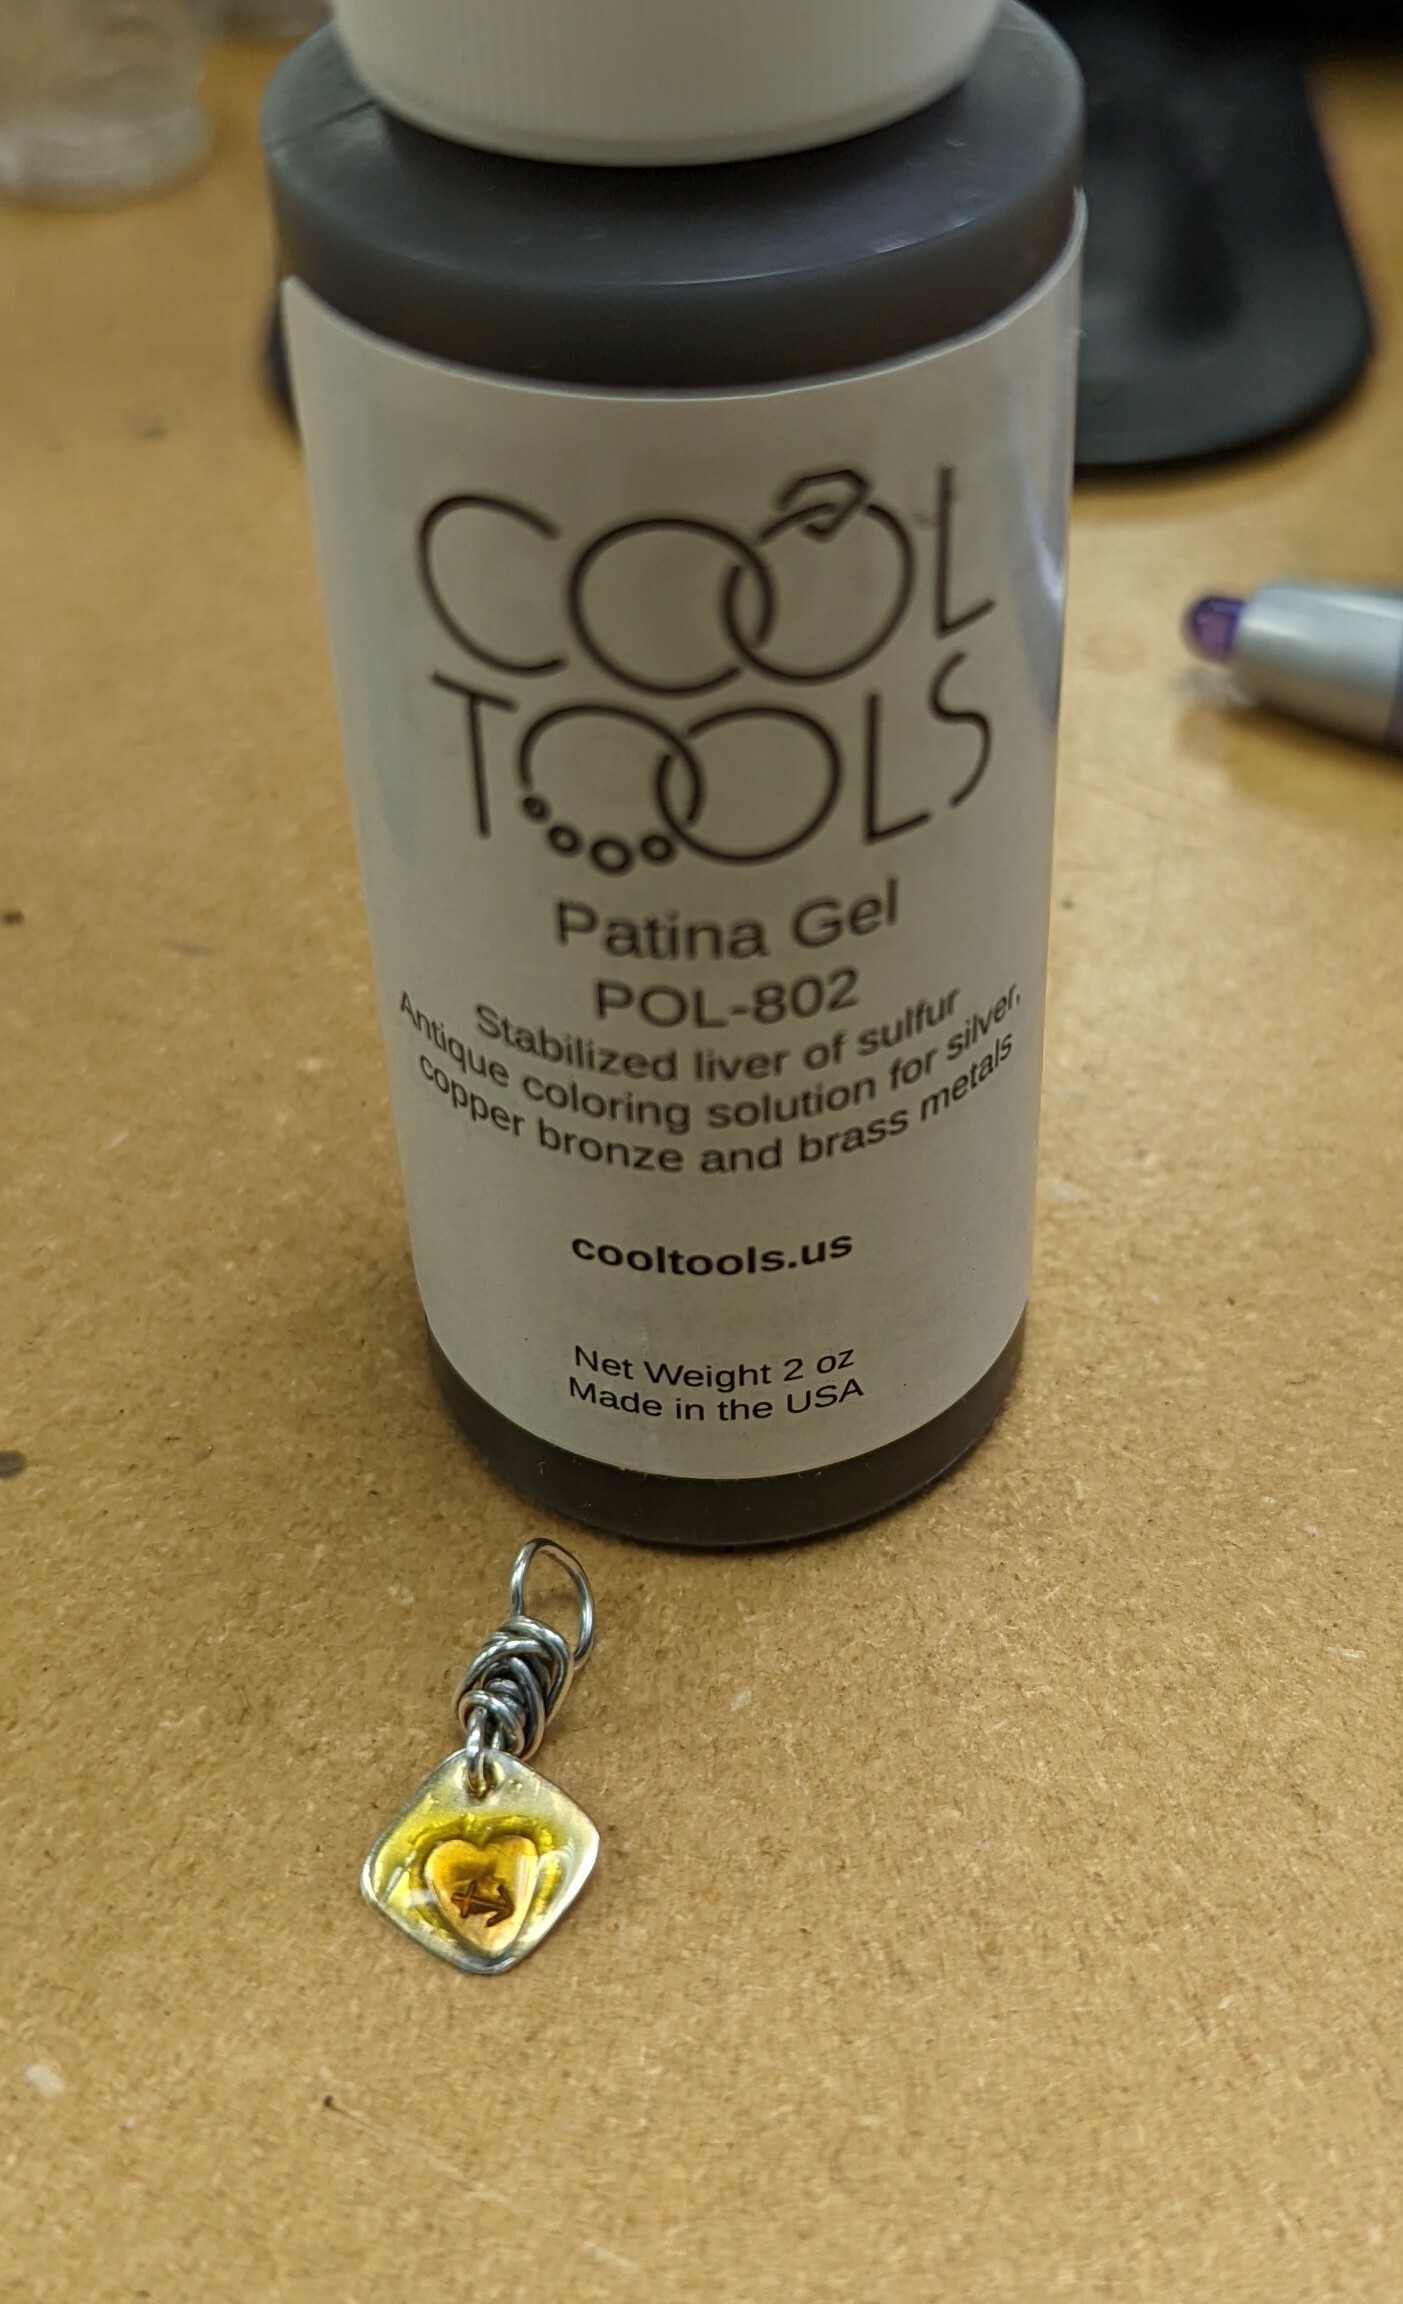
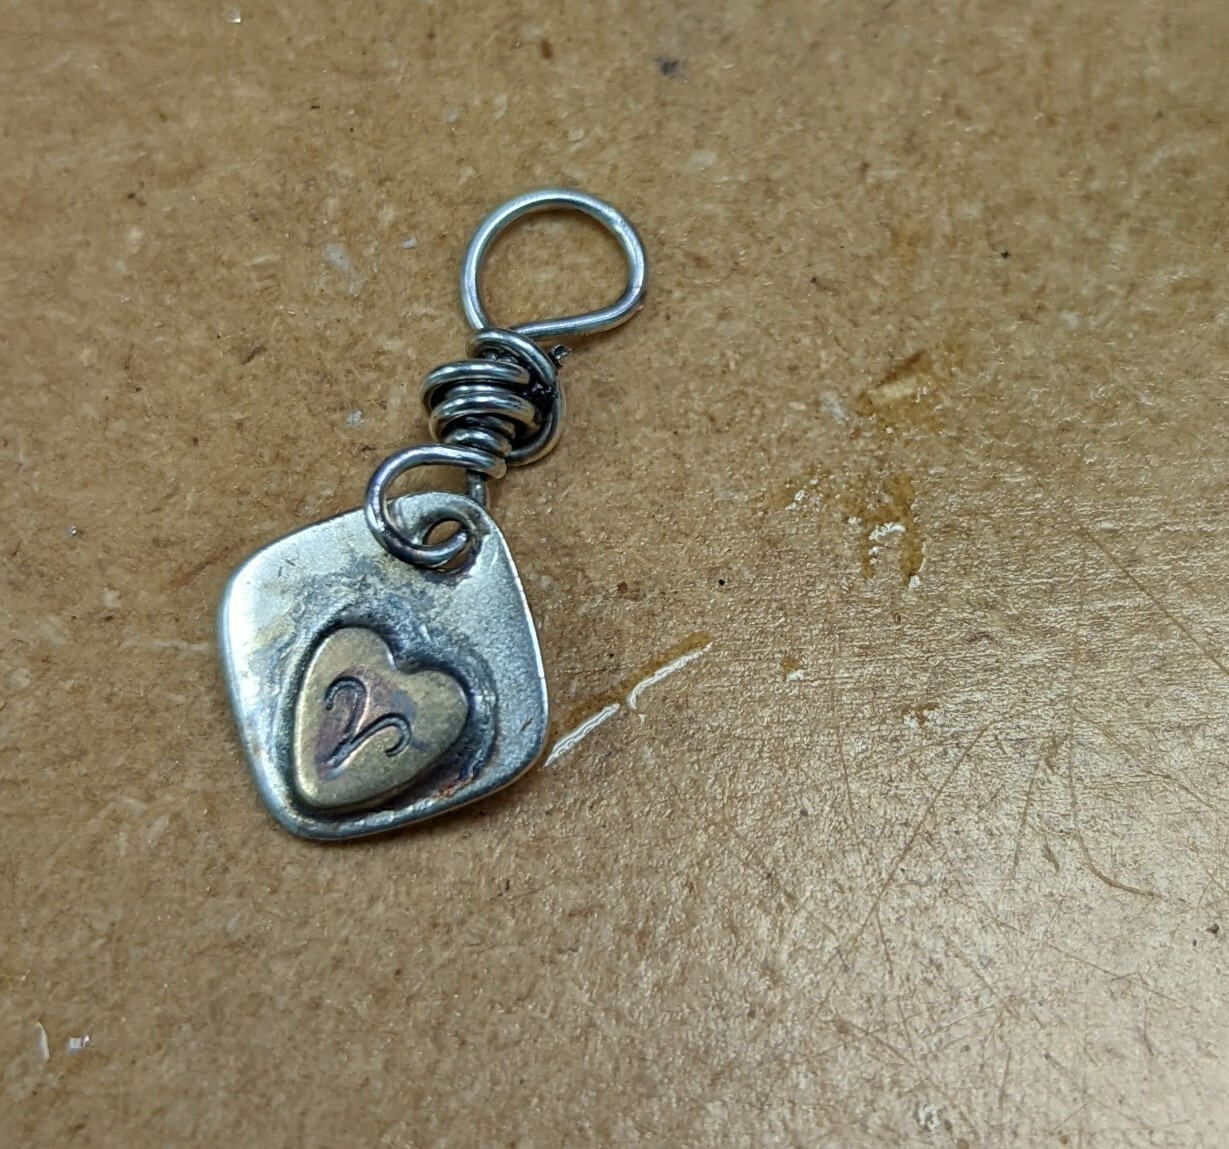
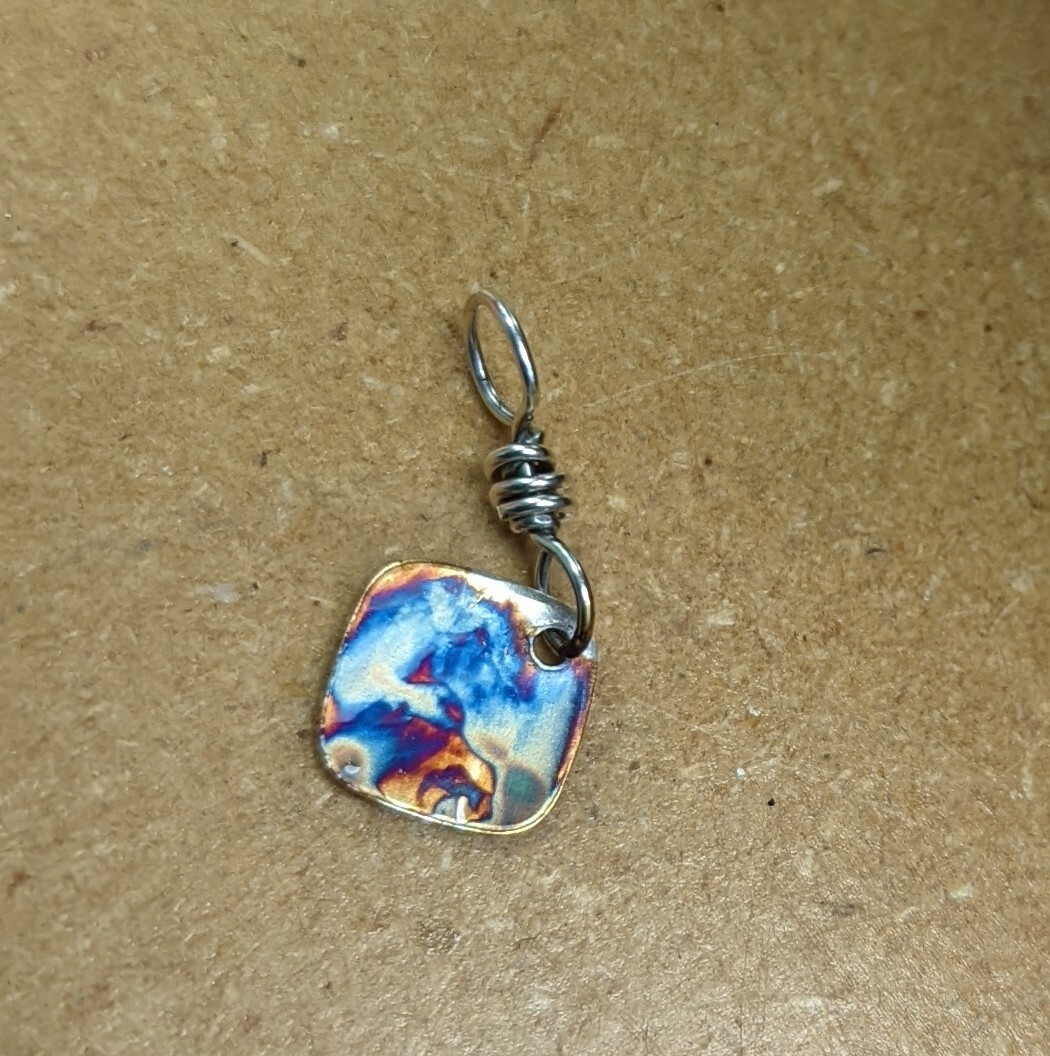
Sample 1- Cool Tools Patina Gel (liver of Sulphur)
This is the traditional rainbow giver in the patina world. This gel has a yellow color that can make it a little difficult to see what's going on and while it's not as stinky as traditional LOS, it does still have an odor. If you heat your piece up or add the gel to warm water, you will get more stink.
Here is the front of the piece with a light layer applied with a brush.
Here's the same piece after a rinse. I left the gel on about 2 minutes.
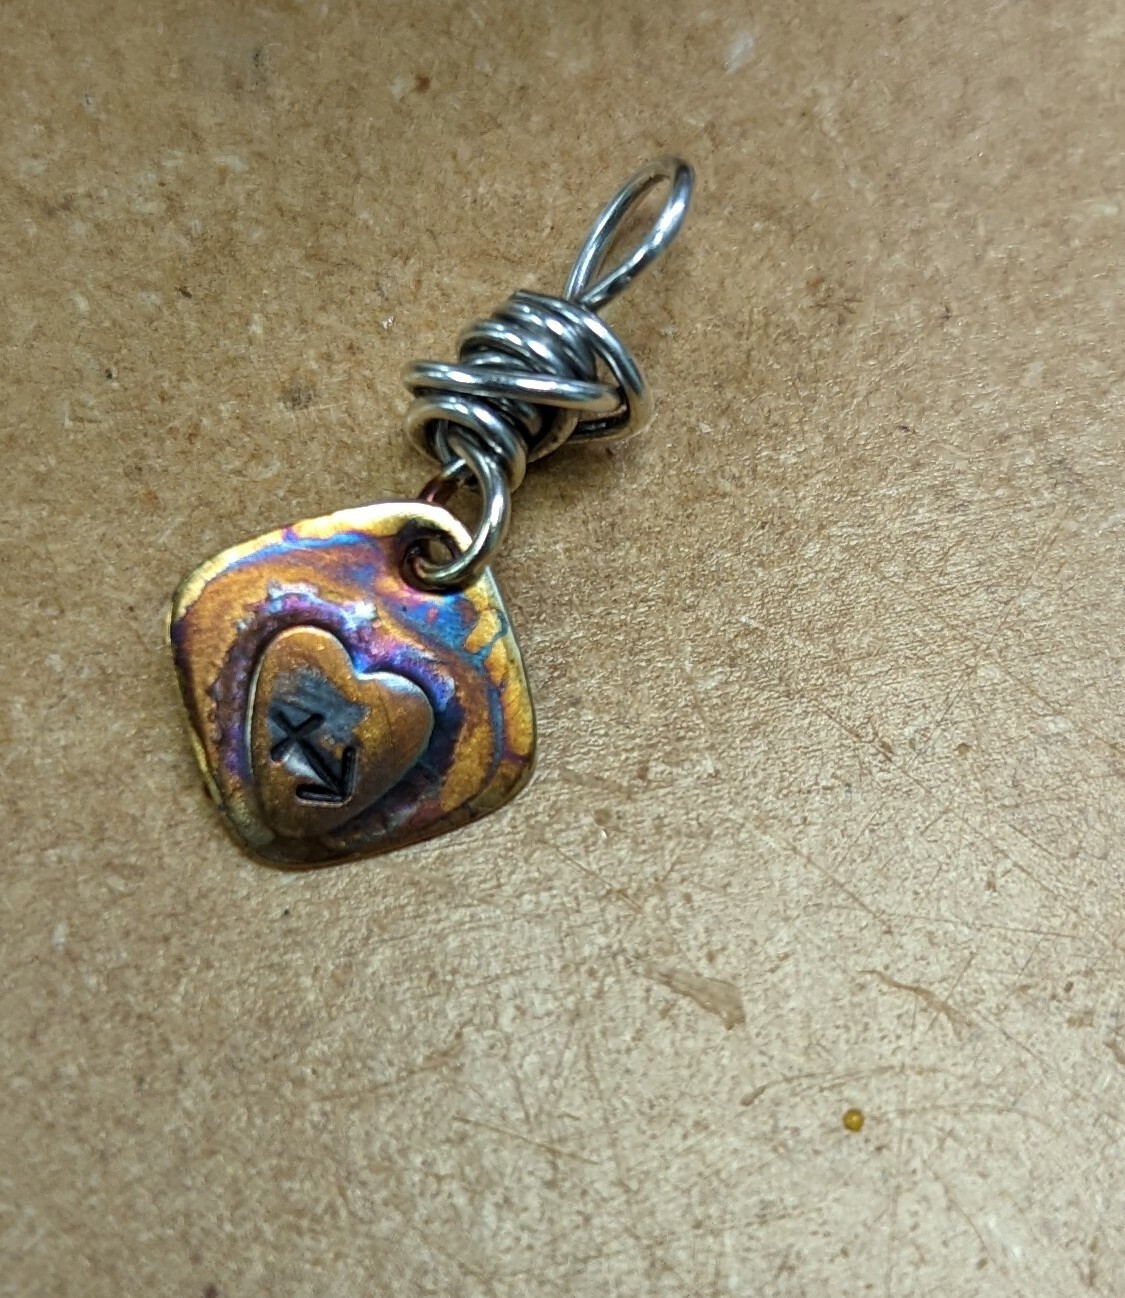
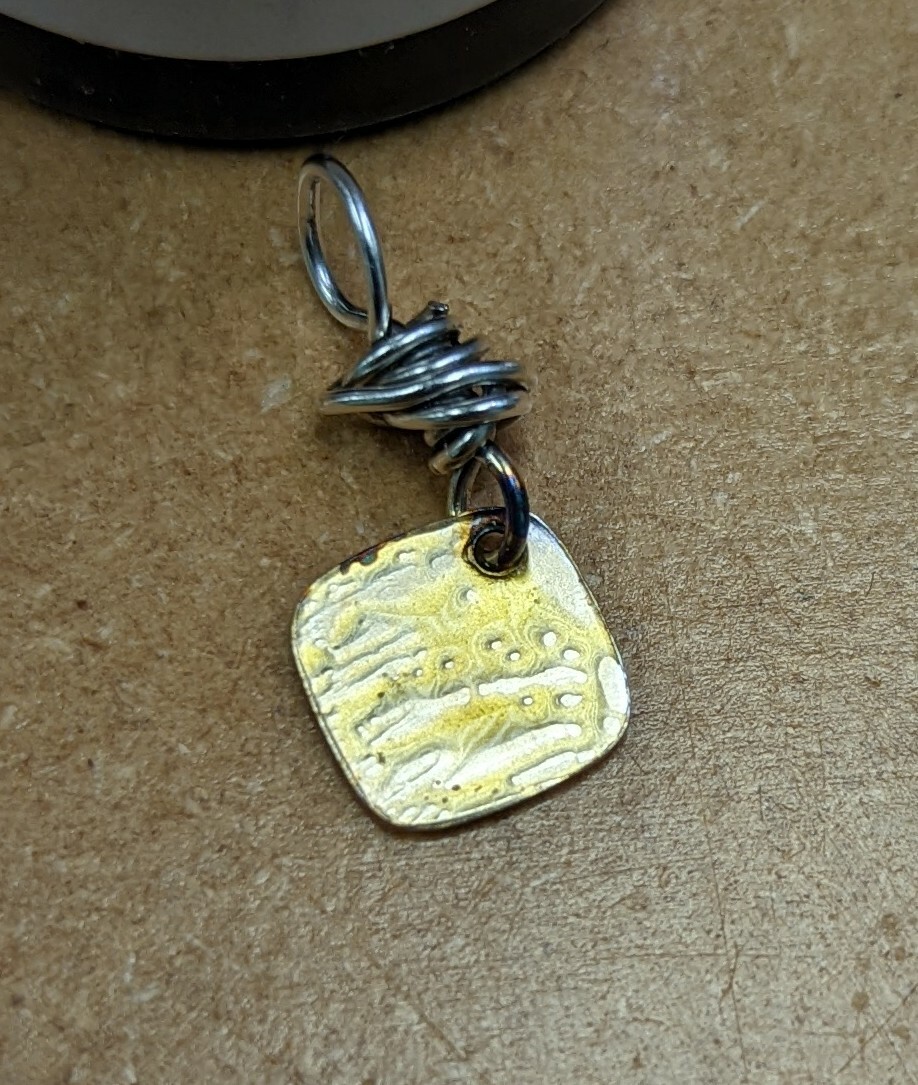
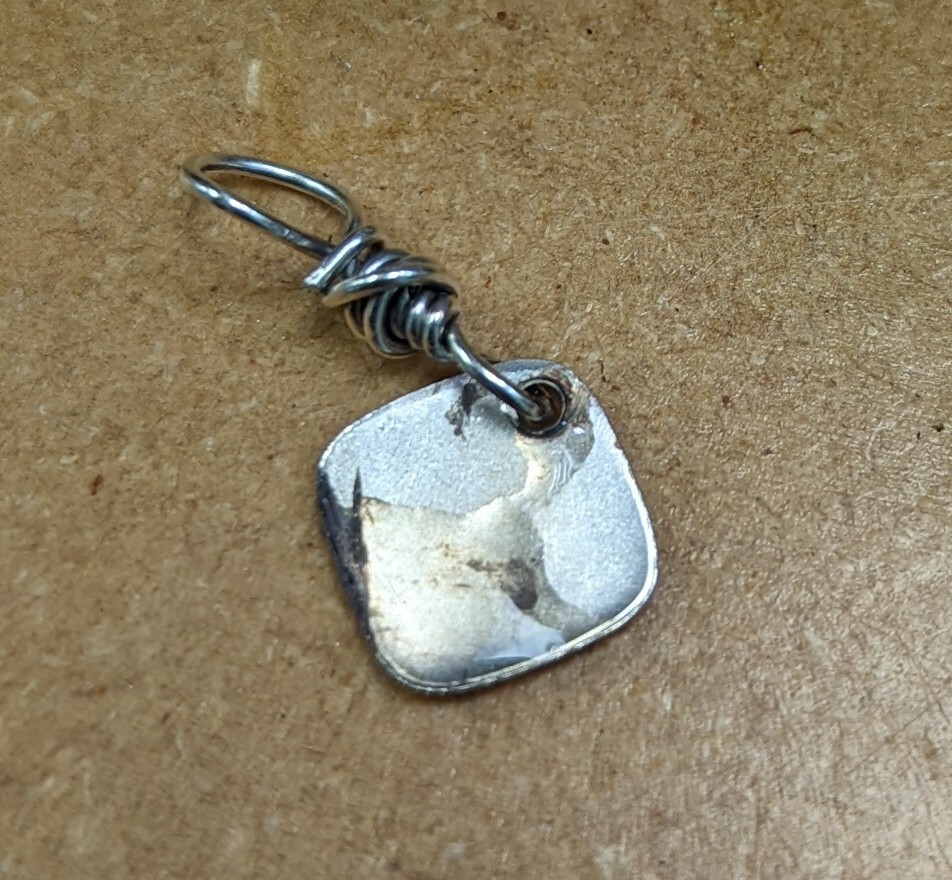
As you can see, the silver and the brass are enjoying a riot of color. I painted the back, which is polished very smooth, and got this.
The very last photo in this post shows all the backs side by side.
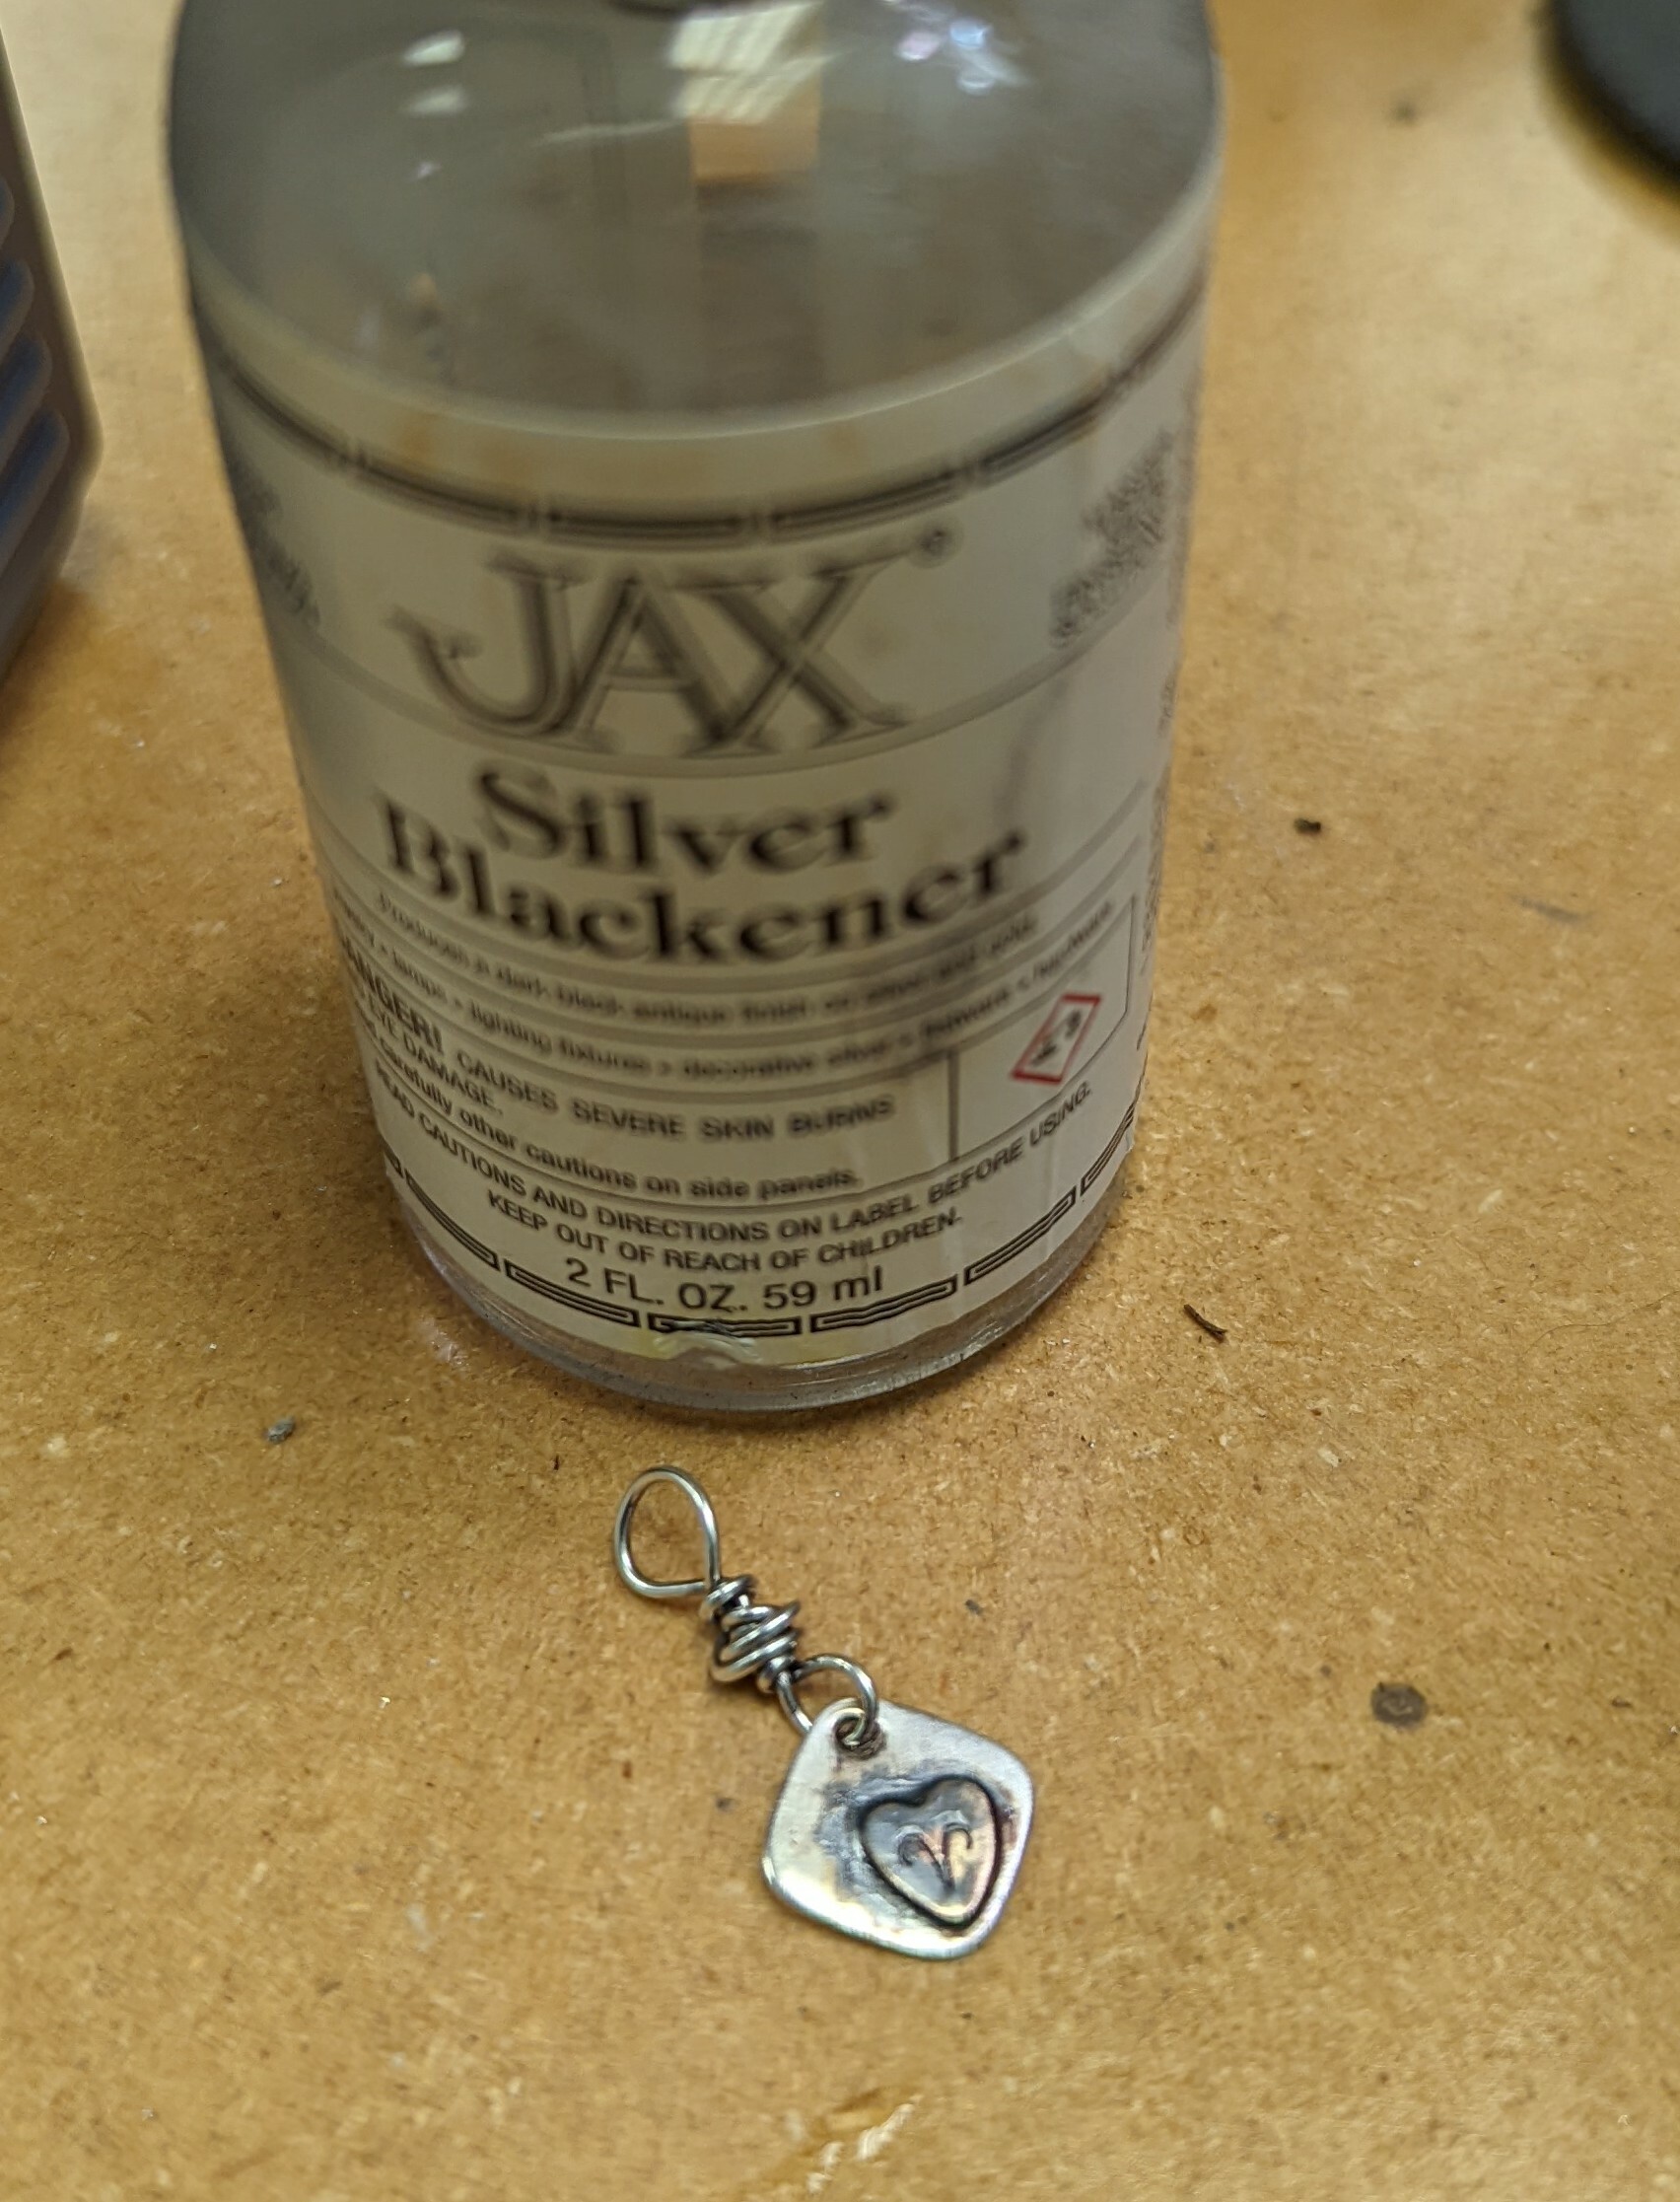
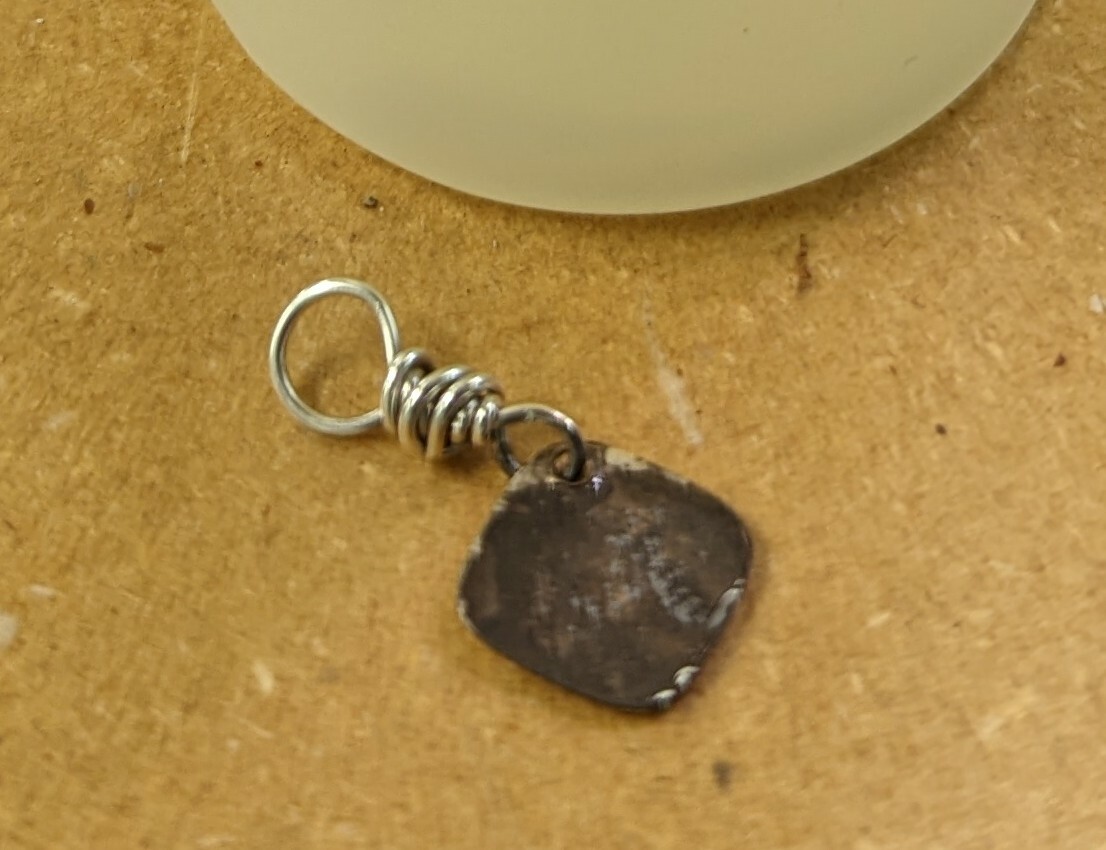
Sample 2- Jax Blackener applied with a brush
Typically this one does really well on pieces with texture and a horrible splotchy job on very smooth pieces. I think this sample proves that to be true.
It beads up on the surface and settles in around the heart.
Here it is rinsed and wiped. The color is gray and uneven but it darkened the stamped area nicely.
The beading up was even worse on the back. If I had stayed over it and moved the liquid around it would have eventually started coloring the other areas but this was what happened when I painted it on the entire surface.
Sample 3 - Fischer's Gosiba
This stuff is hard to get. The only place that carries it is Allcraft. And it's $80 a bottle before shipping. That all being said, the bottle is huge as far as patina goes and will likely last you forever. Even if you share it with someone. I had been dying to try it for years and finally broke down and picked some up this summer.
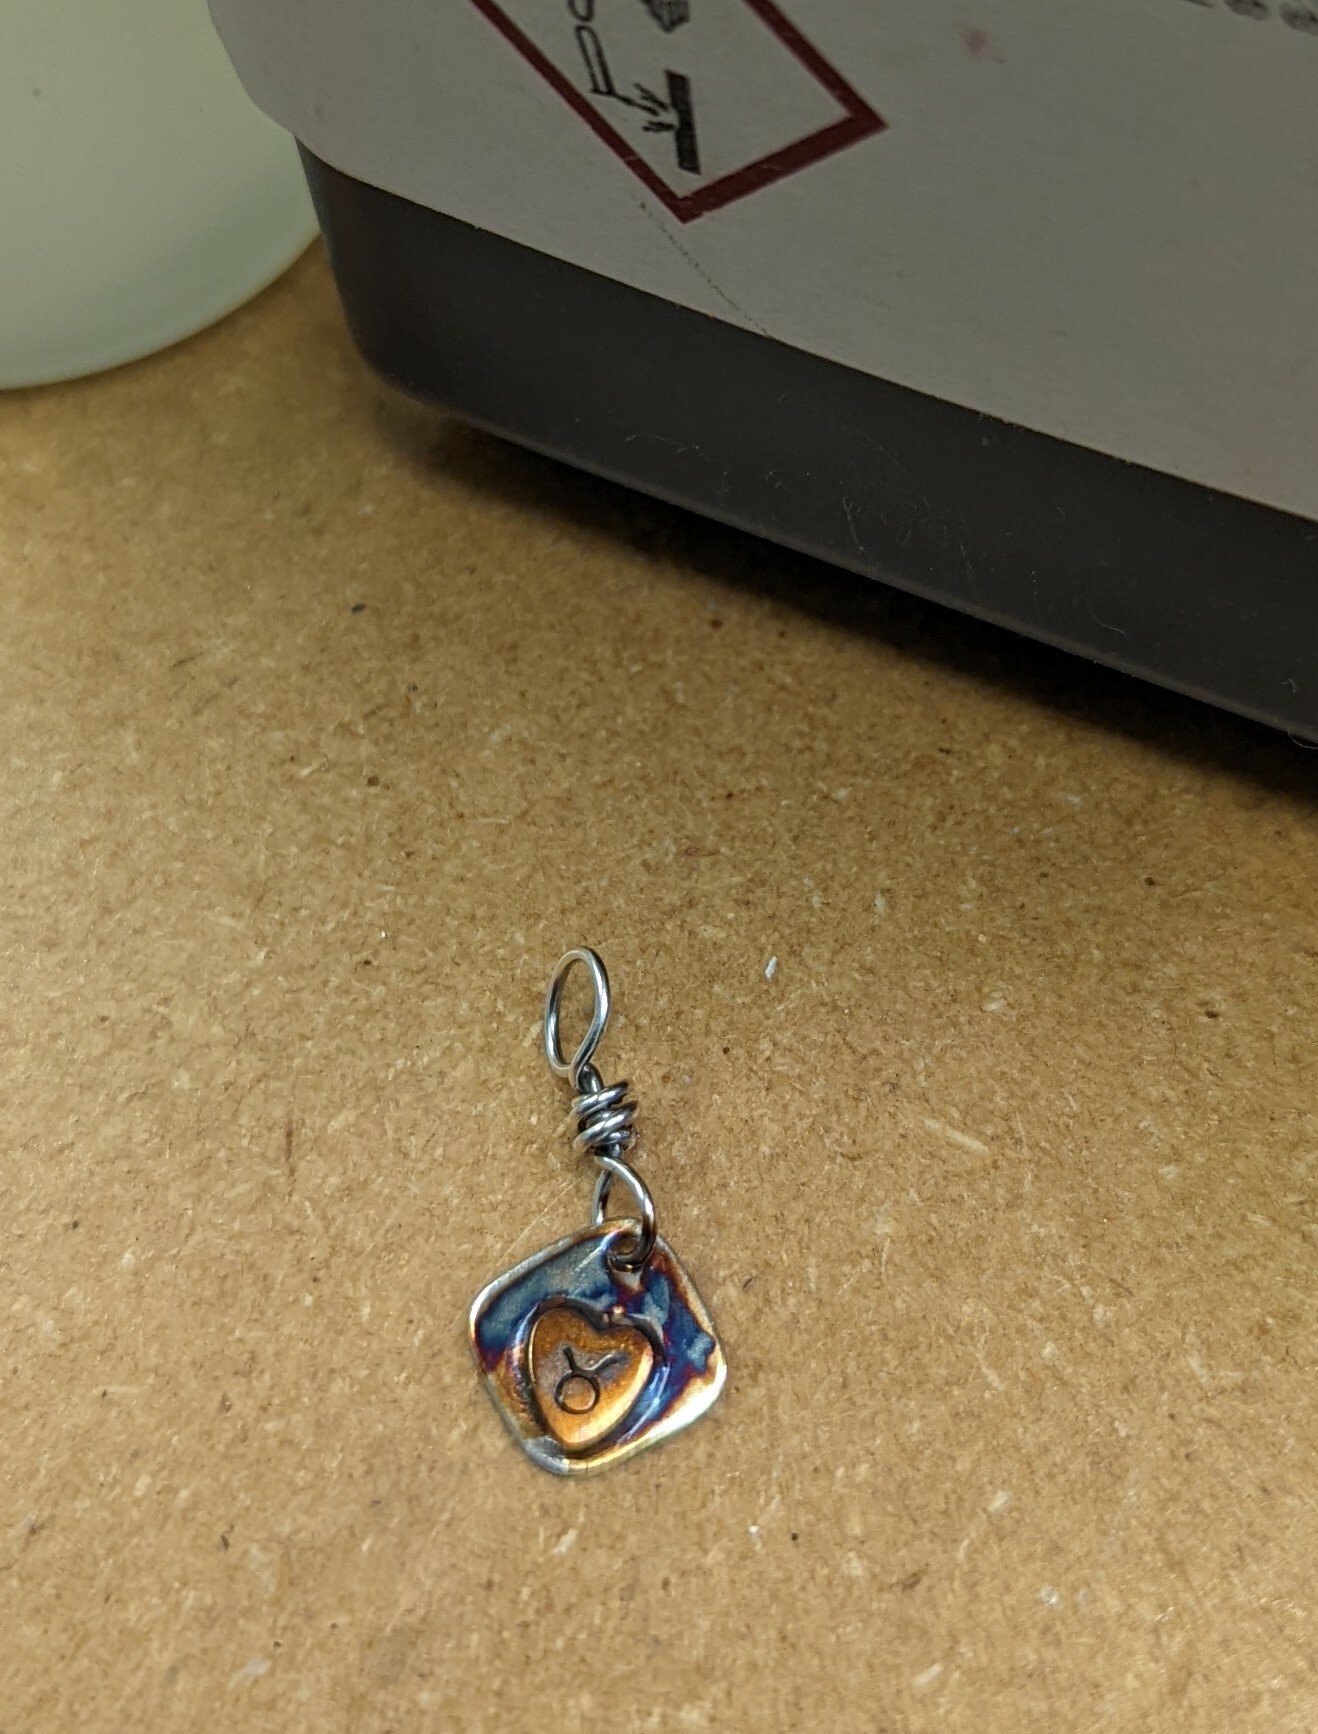
It covers fully- no beading, and goes to work fast. I was surprised by the rainbows. It's known for its deep blacks but if you apply it lightly, you get a glorious oil slick rainbow.
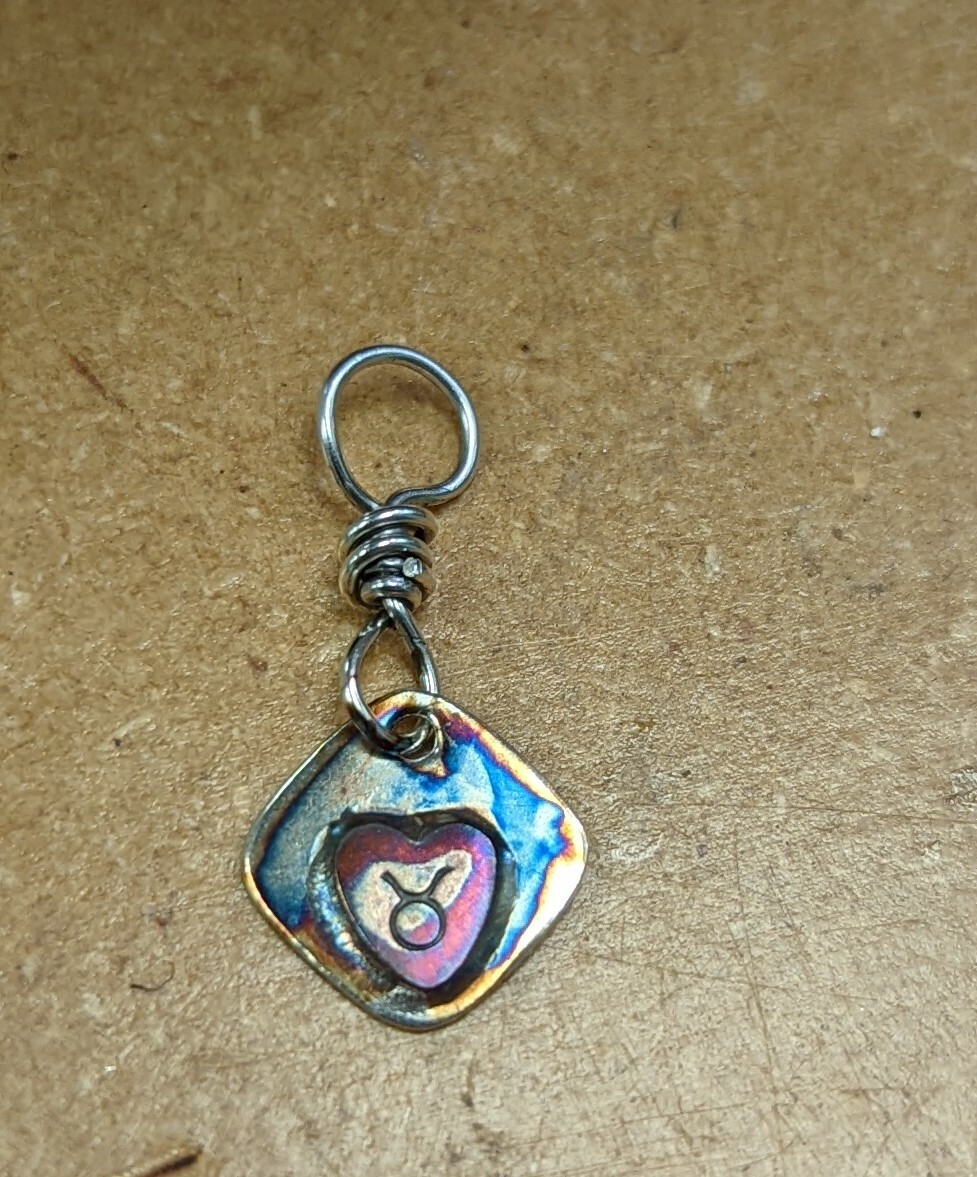
After rinsing and wiping, it has provided the highly sought after magenta that only comes in LOS with the application of ammonia and sacrifice of your first born.
The smooth surface on the back is also a win. If I wanted black, all I would need to do is apply more product.
Sample 4- Midas Black Max
I had used this before and discontinued because the lid on the bottle crusted up with the product and it fumed all my tools. There have been some improvements to the bottle and I now know to keep it far away from my tools to avoid damage and pitting.
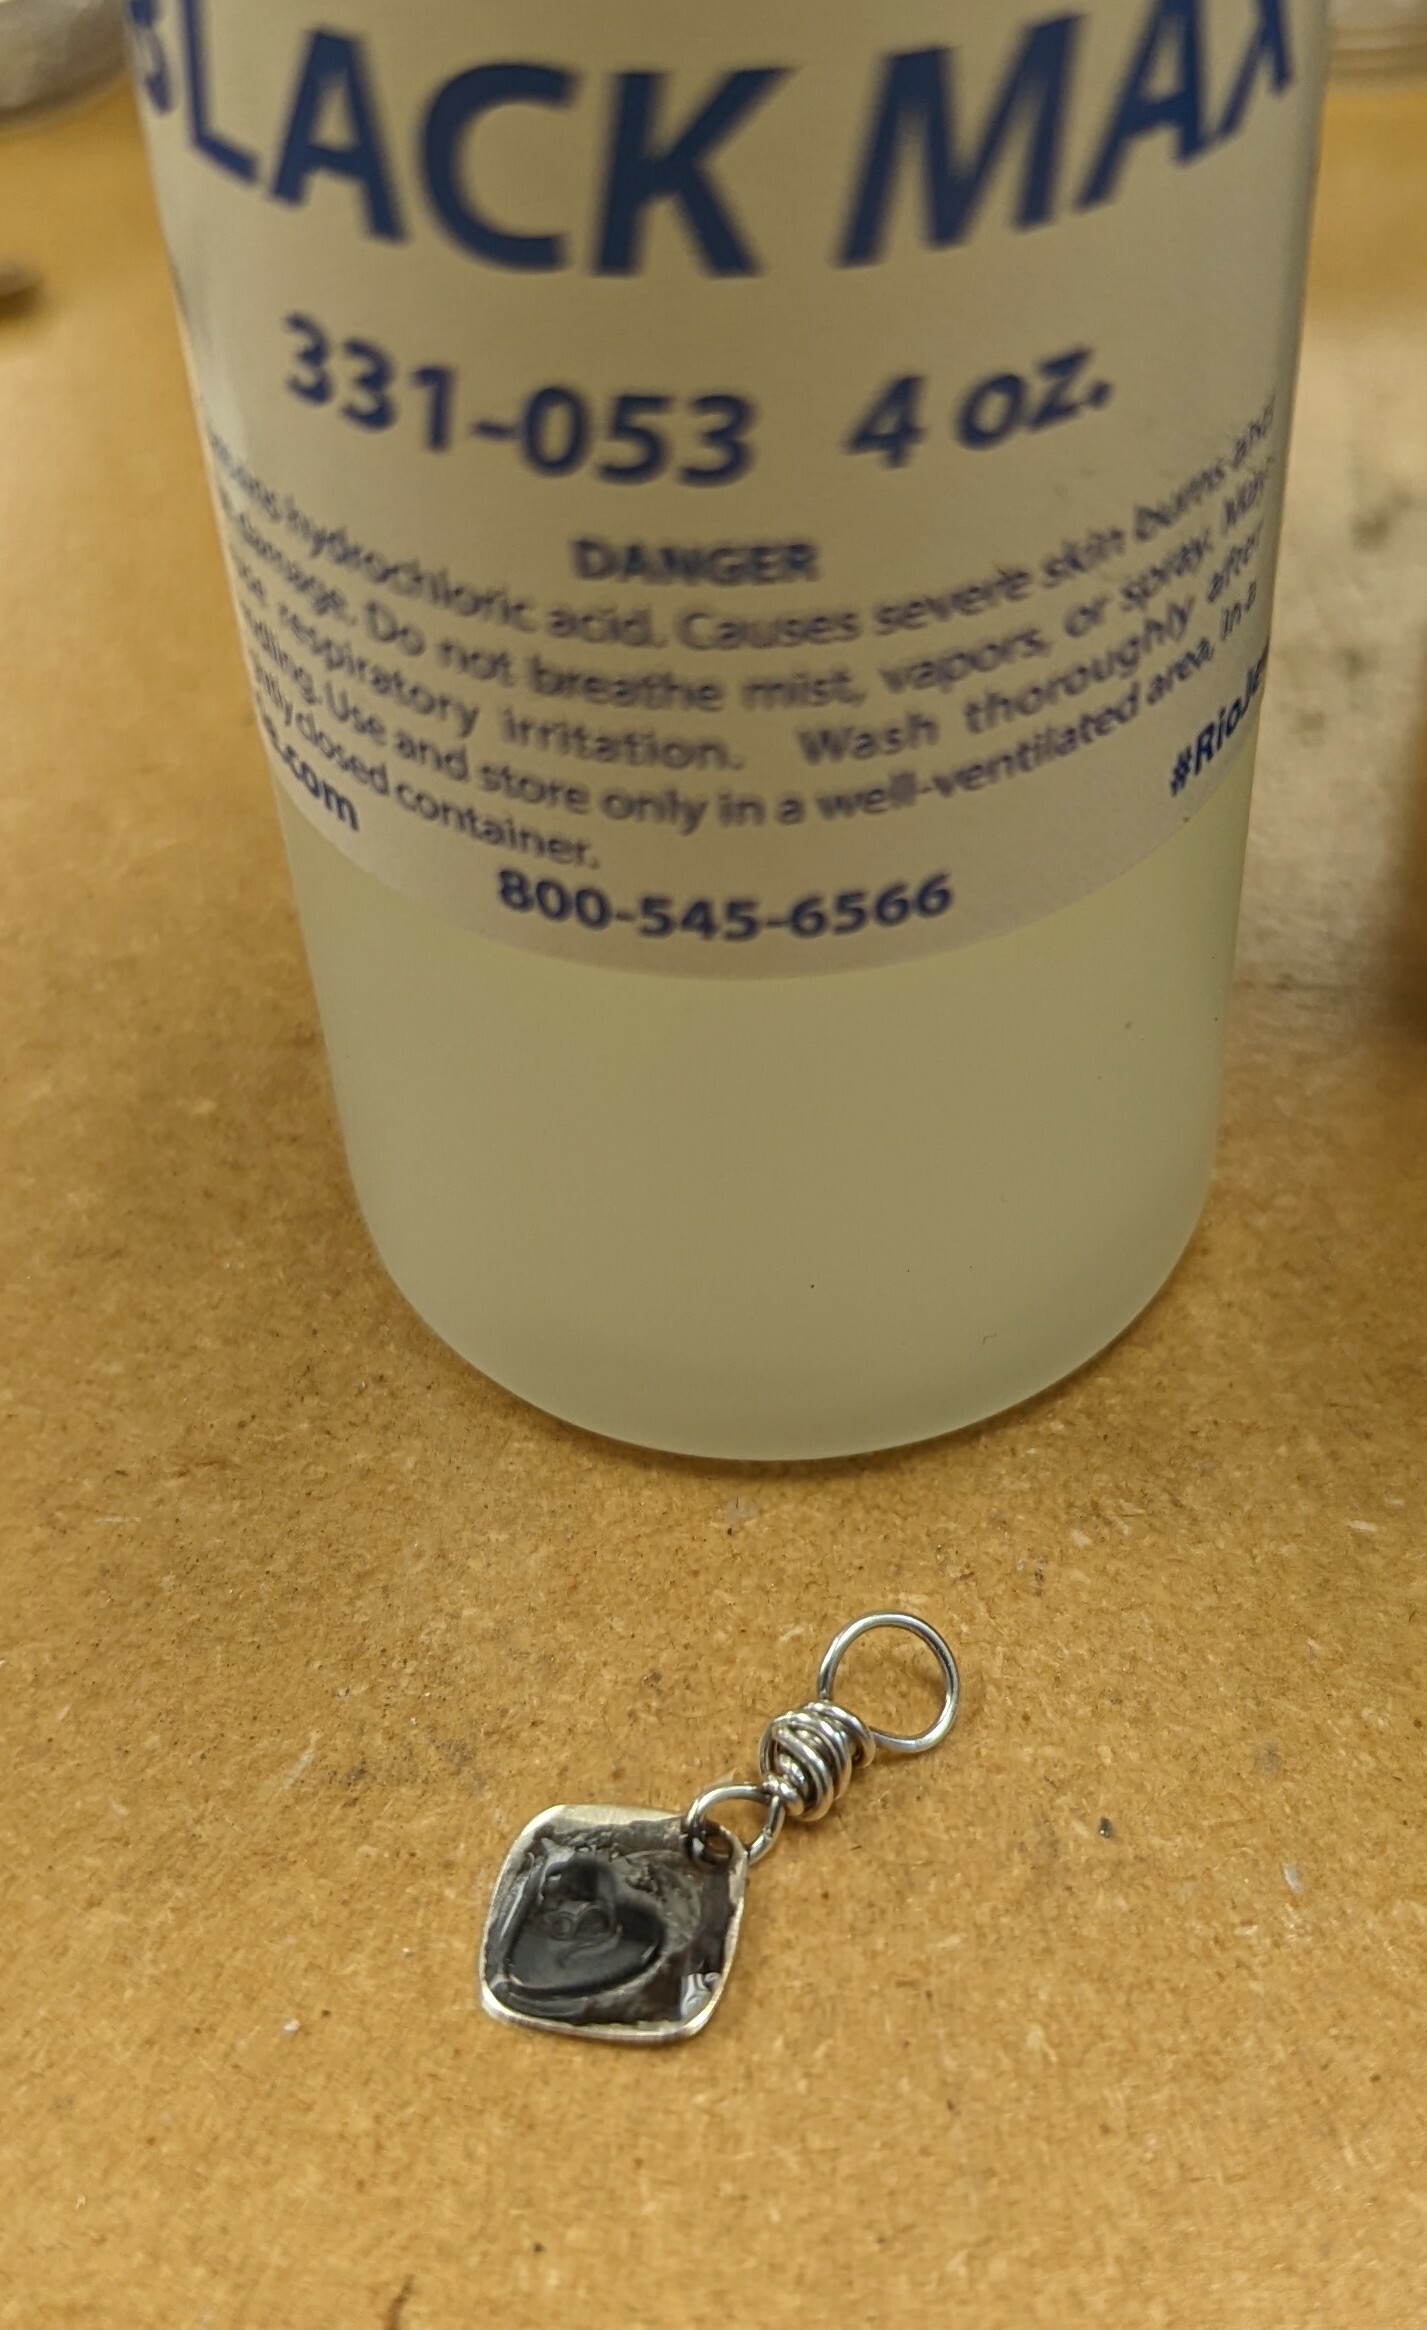
It has a tiny bit of the problem Jax has where it pulls from the edges but it covers much better. And it goes dark fast. Actually this went so dark so fast, the patina flaked off when I cleaned it in a few places.
This results in a dull, distressed look. It blacked the stamped area nicely. But it also made it matte.
It covered way better on the super smooth backside.
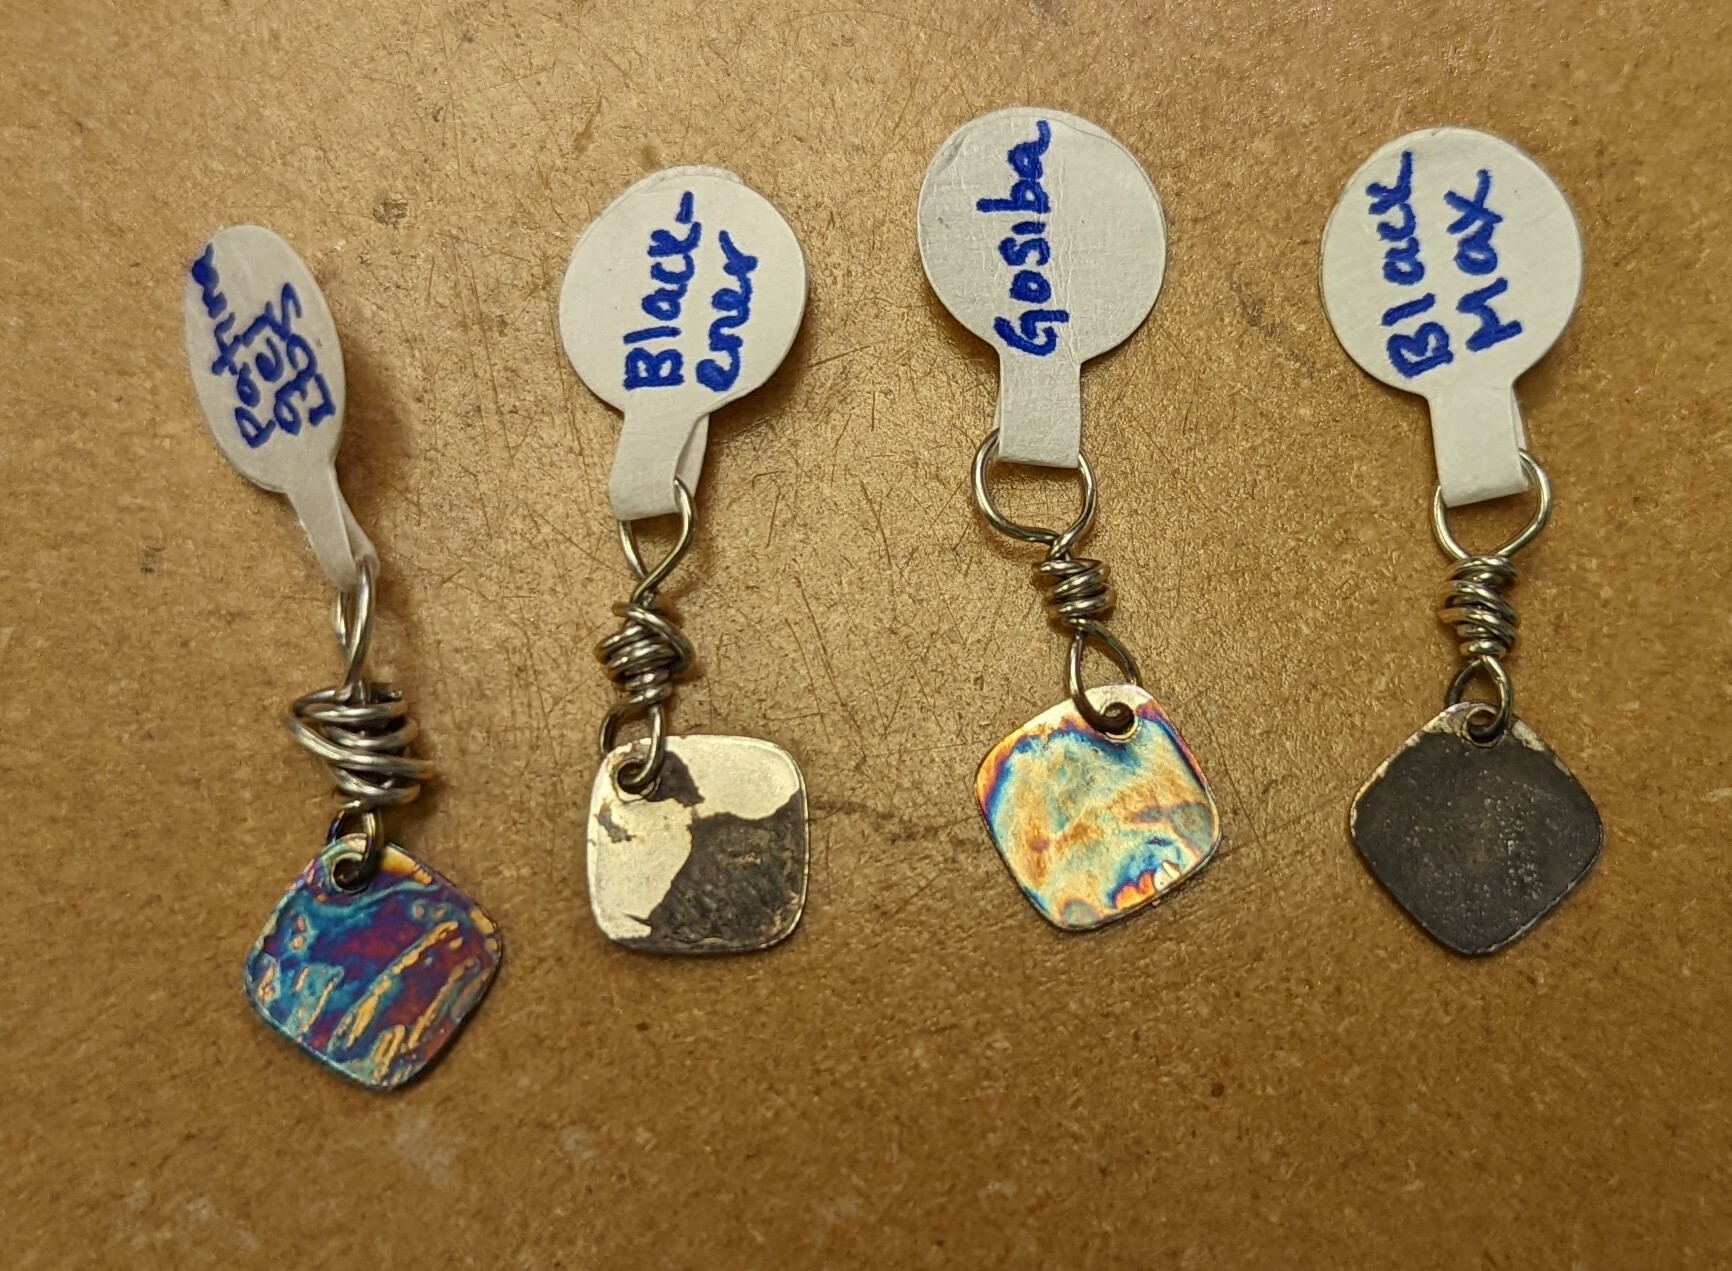
Once they were all rinsed and dried, these are the results. I apparently sacrificed a first born as the Patina Gel gave me magenta on the back. The Jax and Black Max have a similar color, but the coverage is better on the Black Max. It's also worth noting, none of these have been polished post-patina. A little rub with a Pro-pad would likely make the two black ones shine up to look more like gunmetal. More aggressive polishing would leave the patina in only the deep recesses. Polishing the 2 with rainbows would remove them except for in the texture.
II'll be this same process with textured pieces next to show you how they react differently when there's texture involved.
I hope you have found this helpful! If you'd like to support (intermittent) free jewelry making content, you can buy me a coffee! Or come to an Open Studio night here in Bartlett, TN and listen to me answer questions and do demos :)