At the end of the previous post, I said that I would discuss how I made this image. I've done this in past on Facebook, but I think this platform is better suited for this type of discussion.
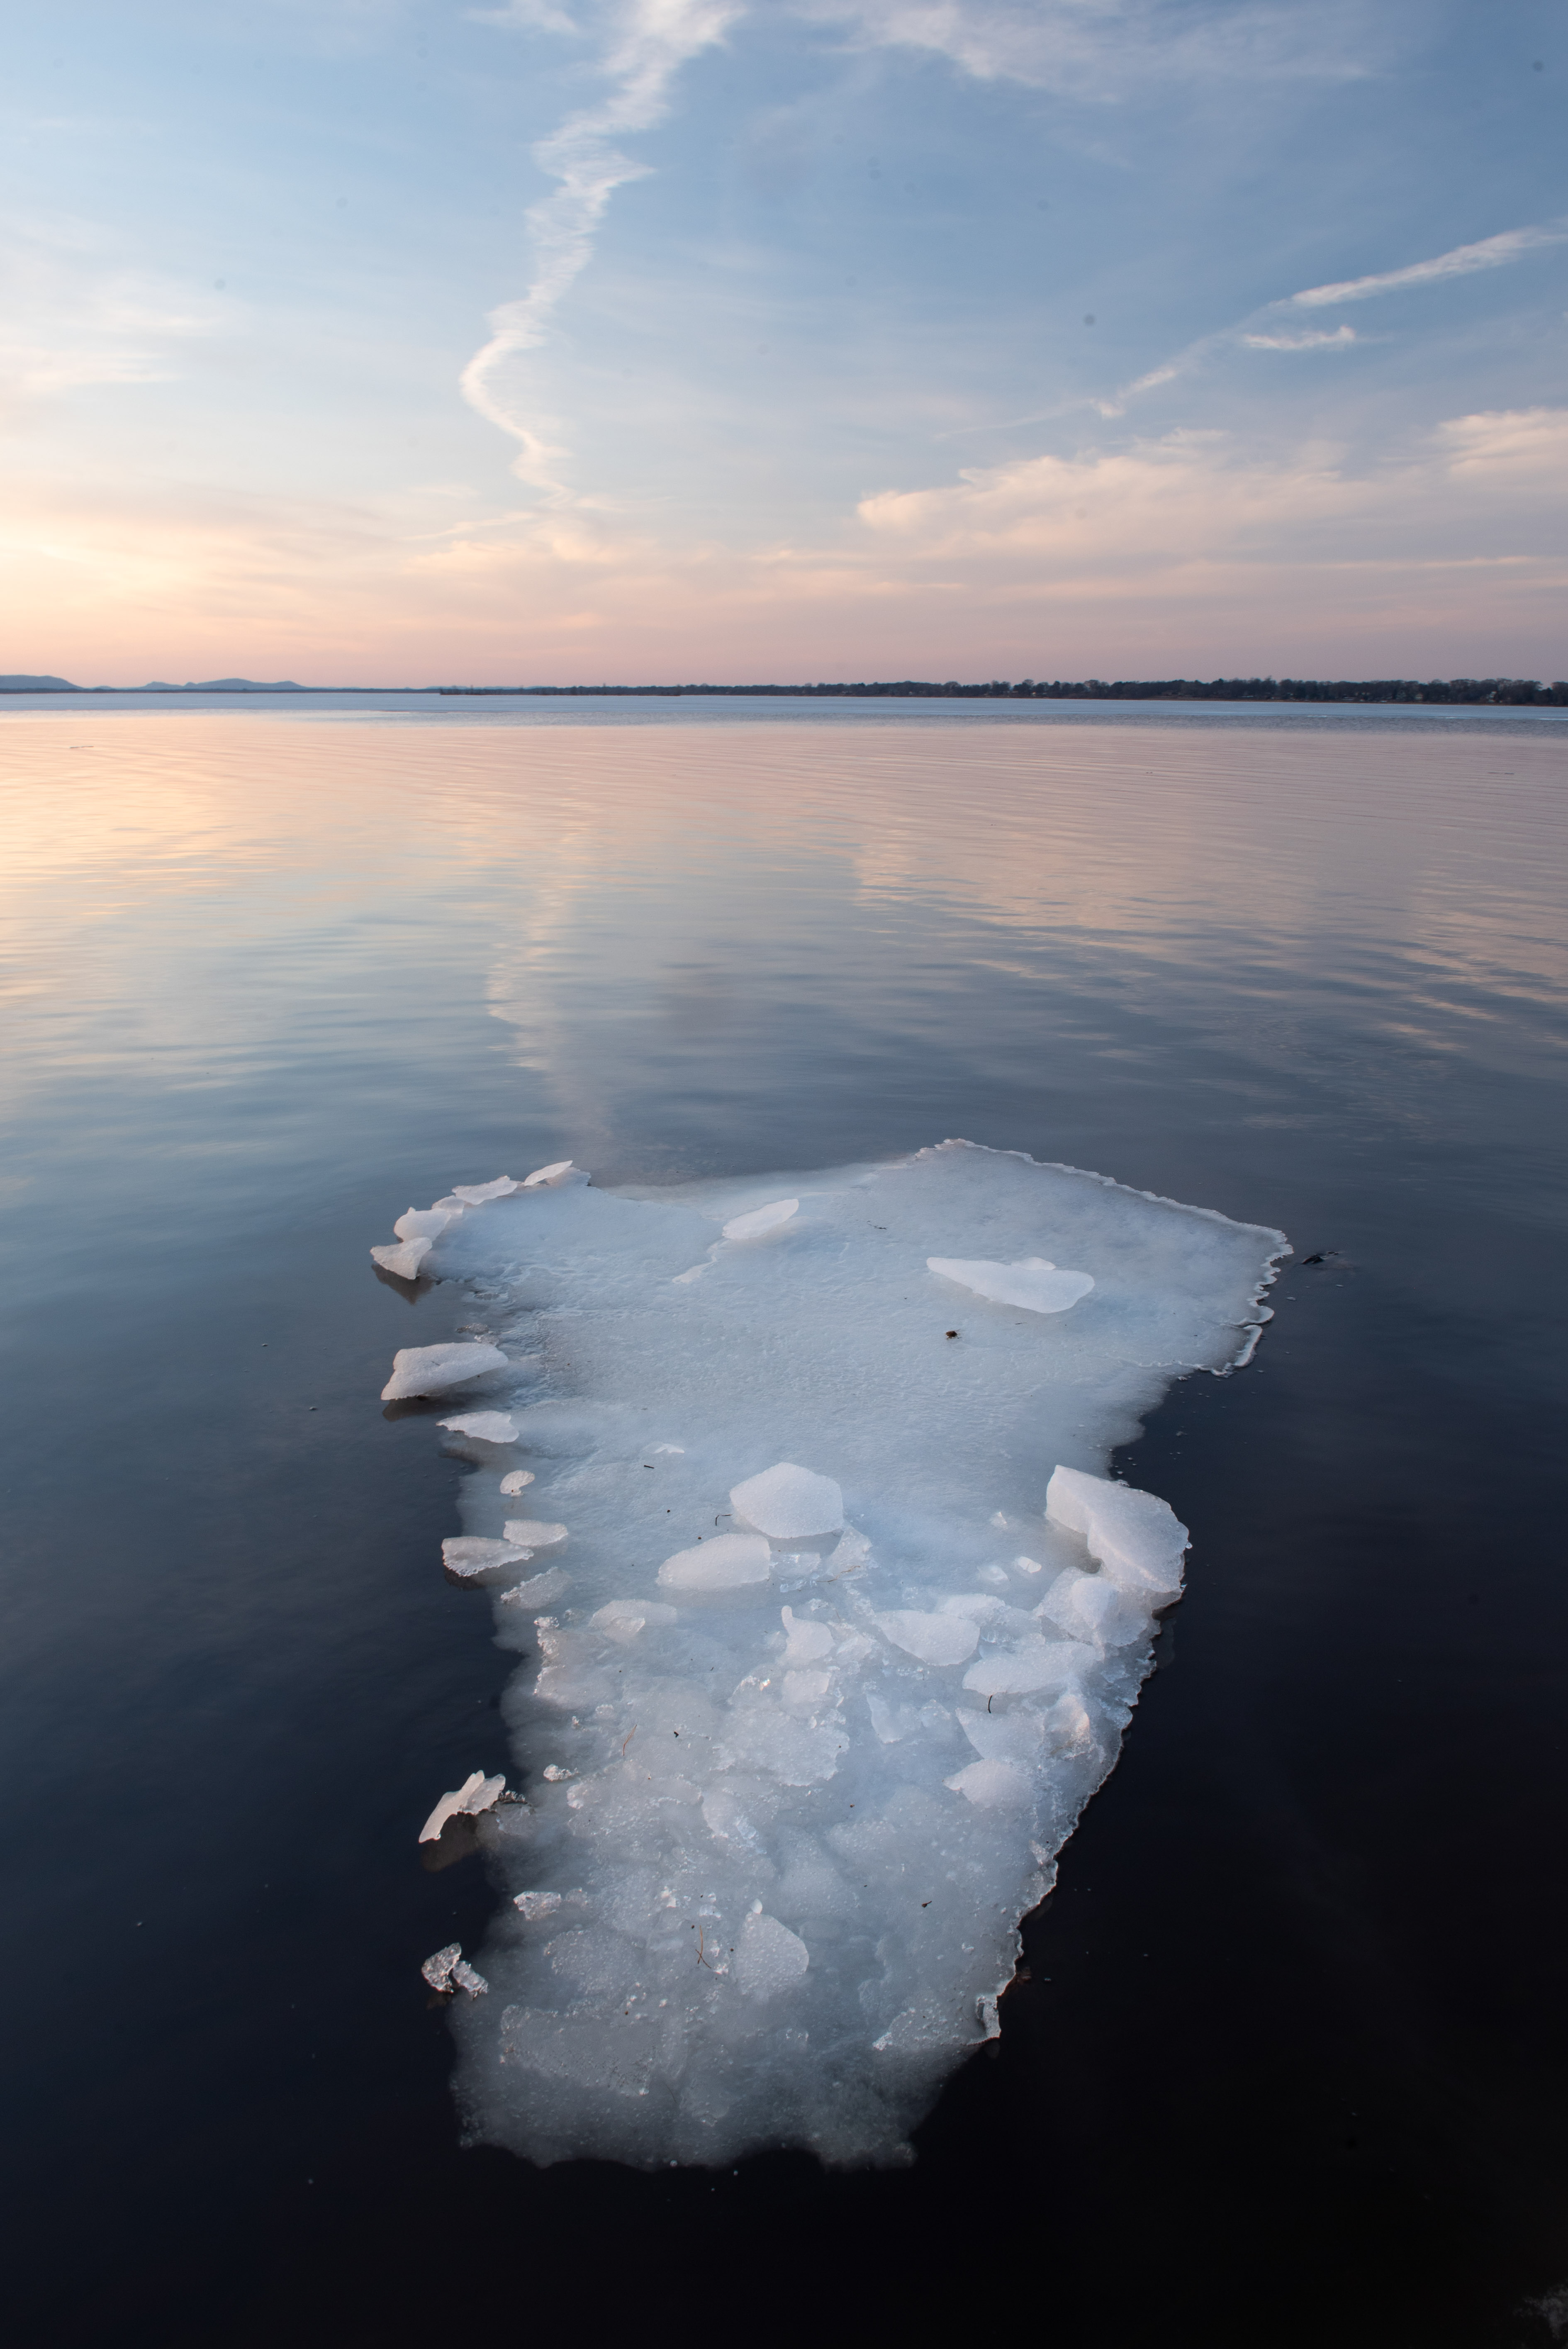
As I approached the scene, I was immediately stunned by the view. It was a calm day and the birds were chirping. Most of the ice in this section of the lake had been melted, except for some areas around the bank. The first thing I noticed was the chuck of ice, almost in the shape of South America, just kind of floating by itself. I took my camera out and started to test out a few compositions. This was one of the first shots I took.
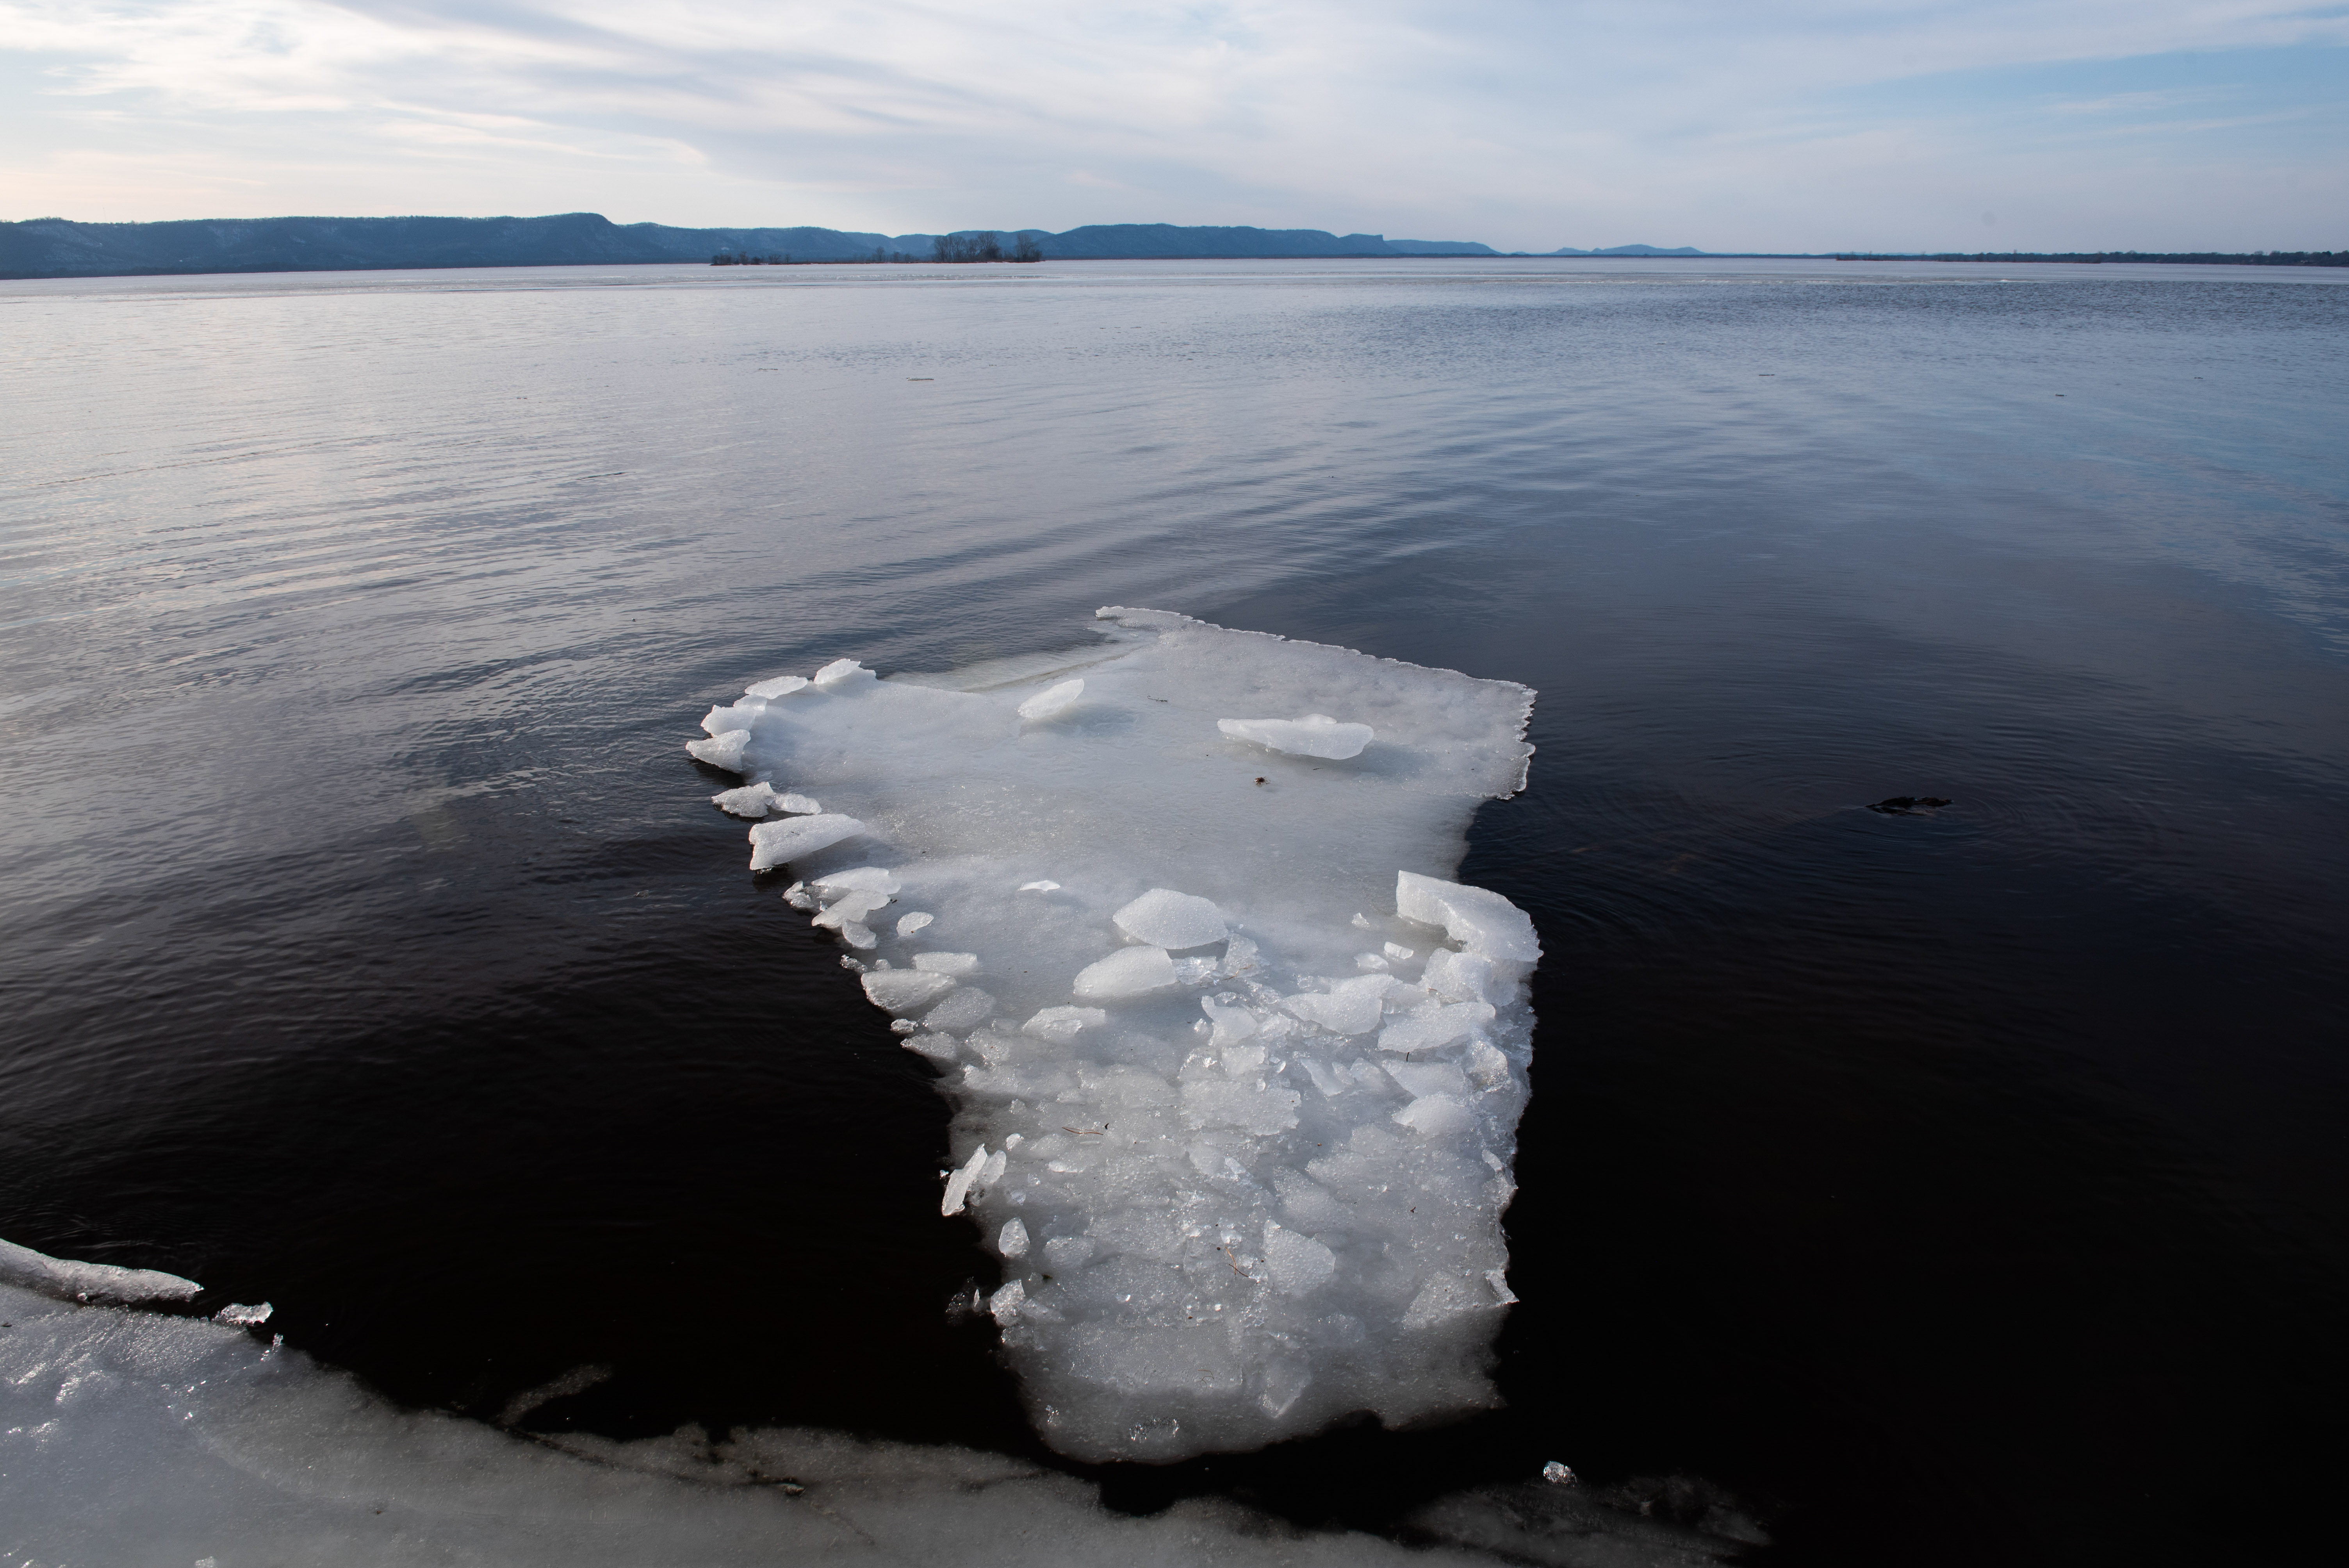
I initially wanted the ice sheet to act as a leading line guiding you towards the bluffs in the back. However, using a wide angle lens will make those bluffs extremely small. So I had I to reconfigure and try something else. I tried moving in and moving out. I moved to the left and to the right, but something was just off. It then dawned on my what the issue was. The horizontal image was the issue. I tested out a vertical crop.
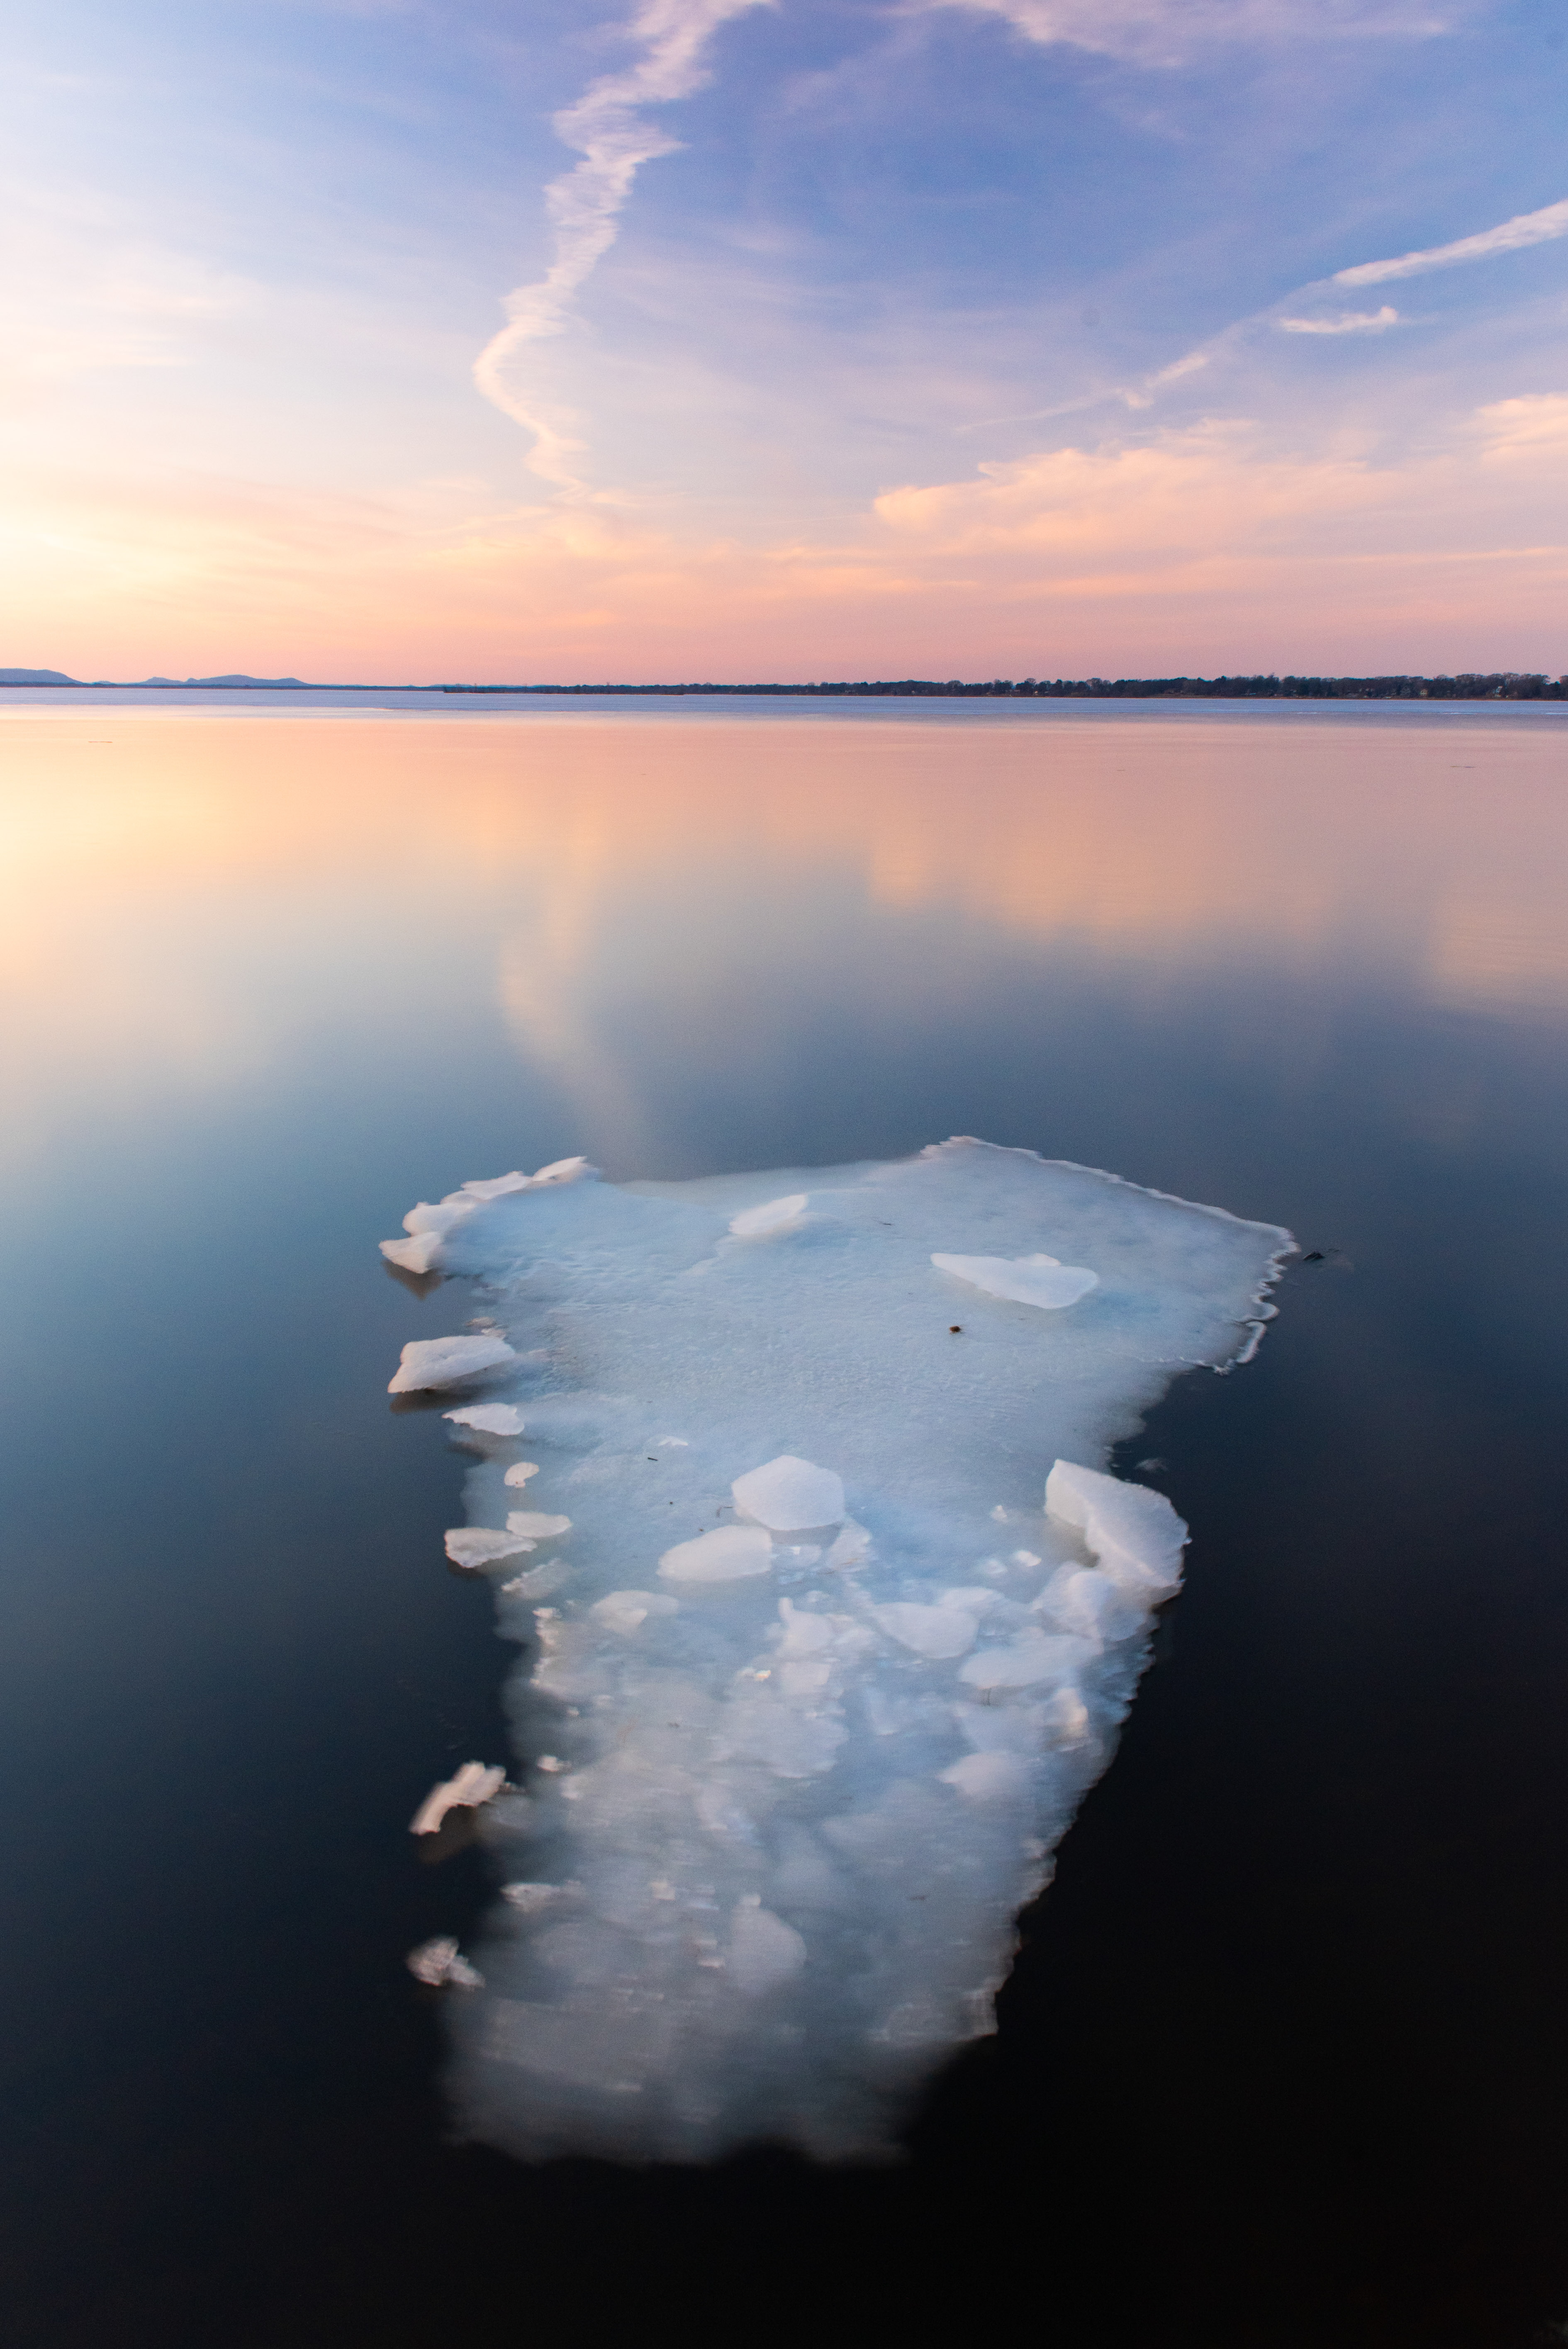
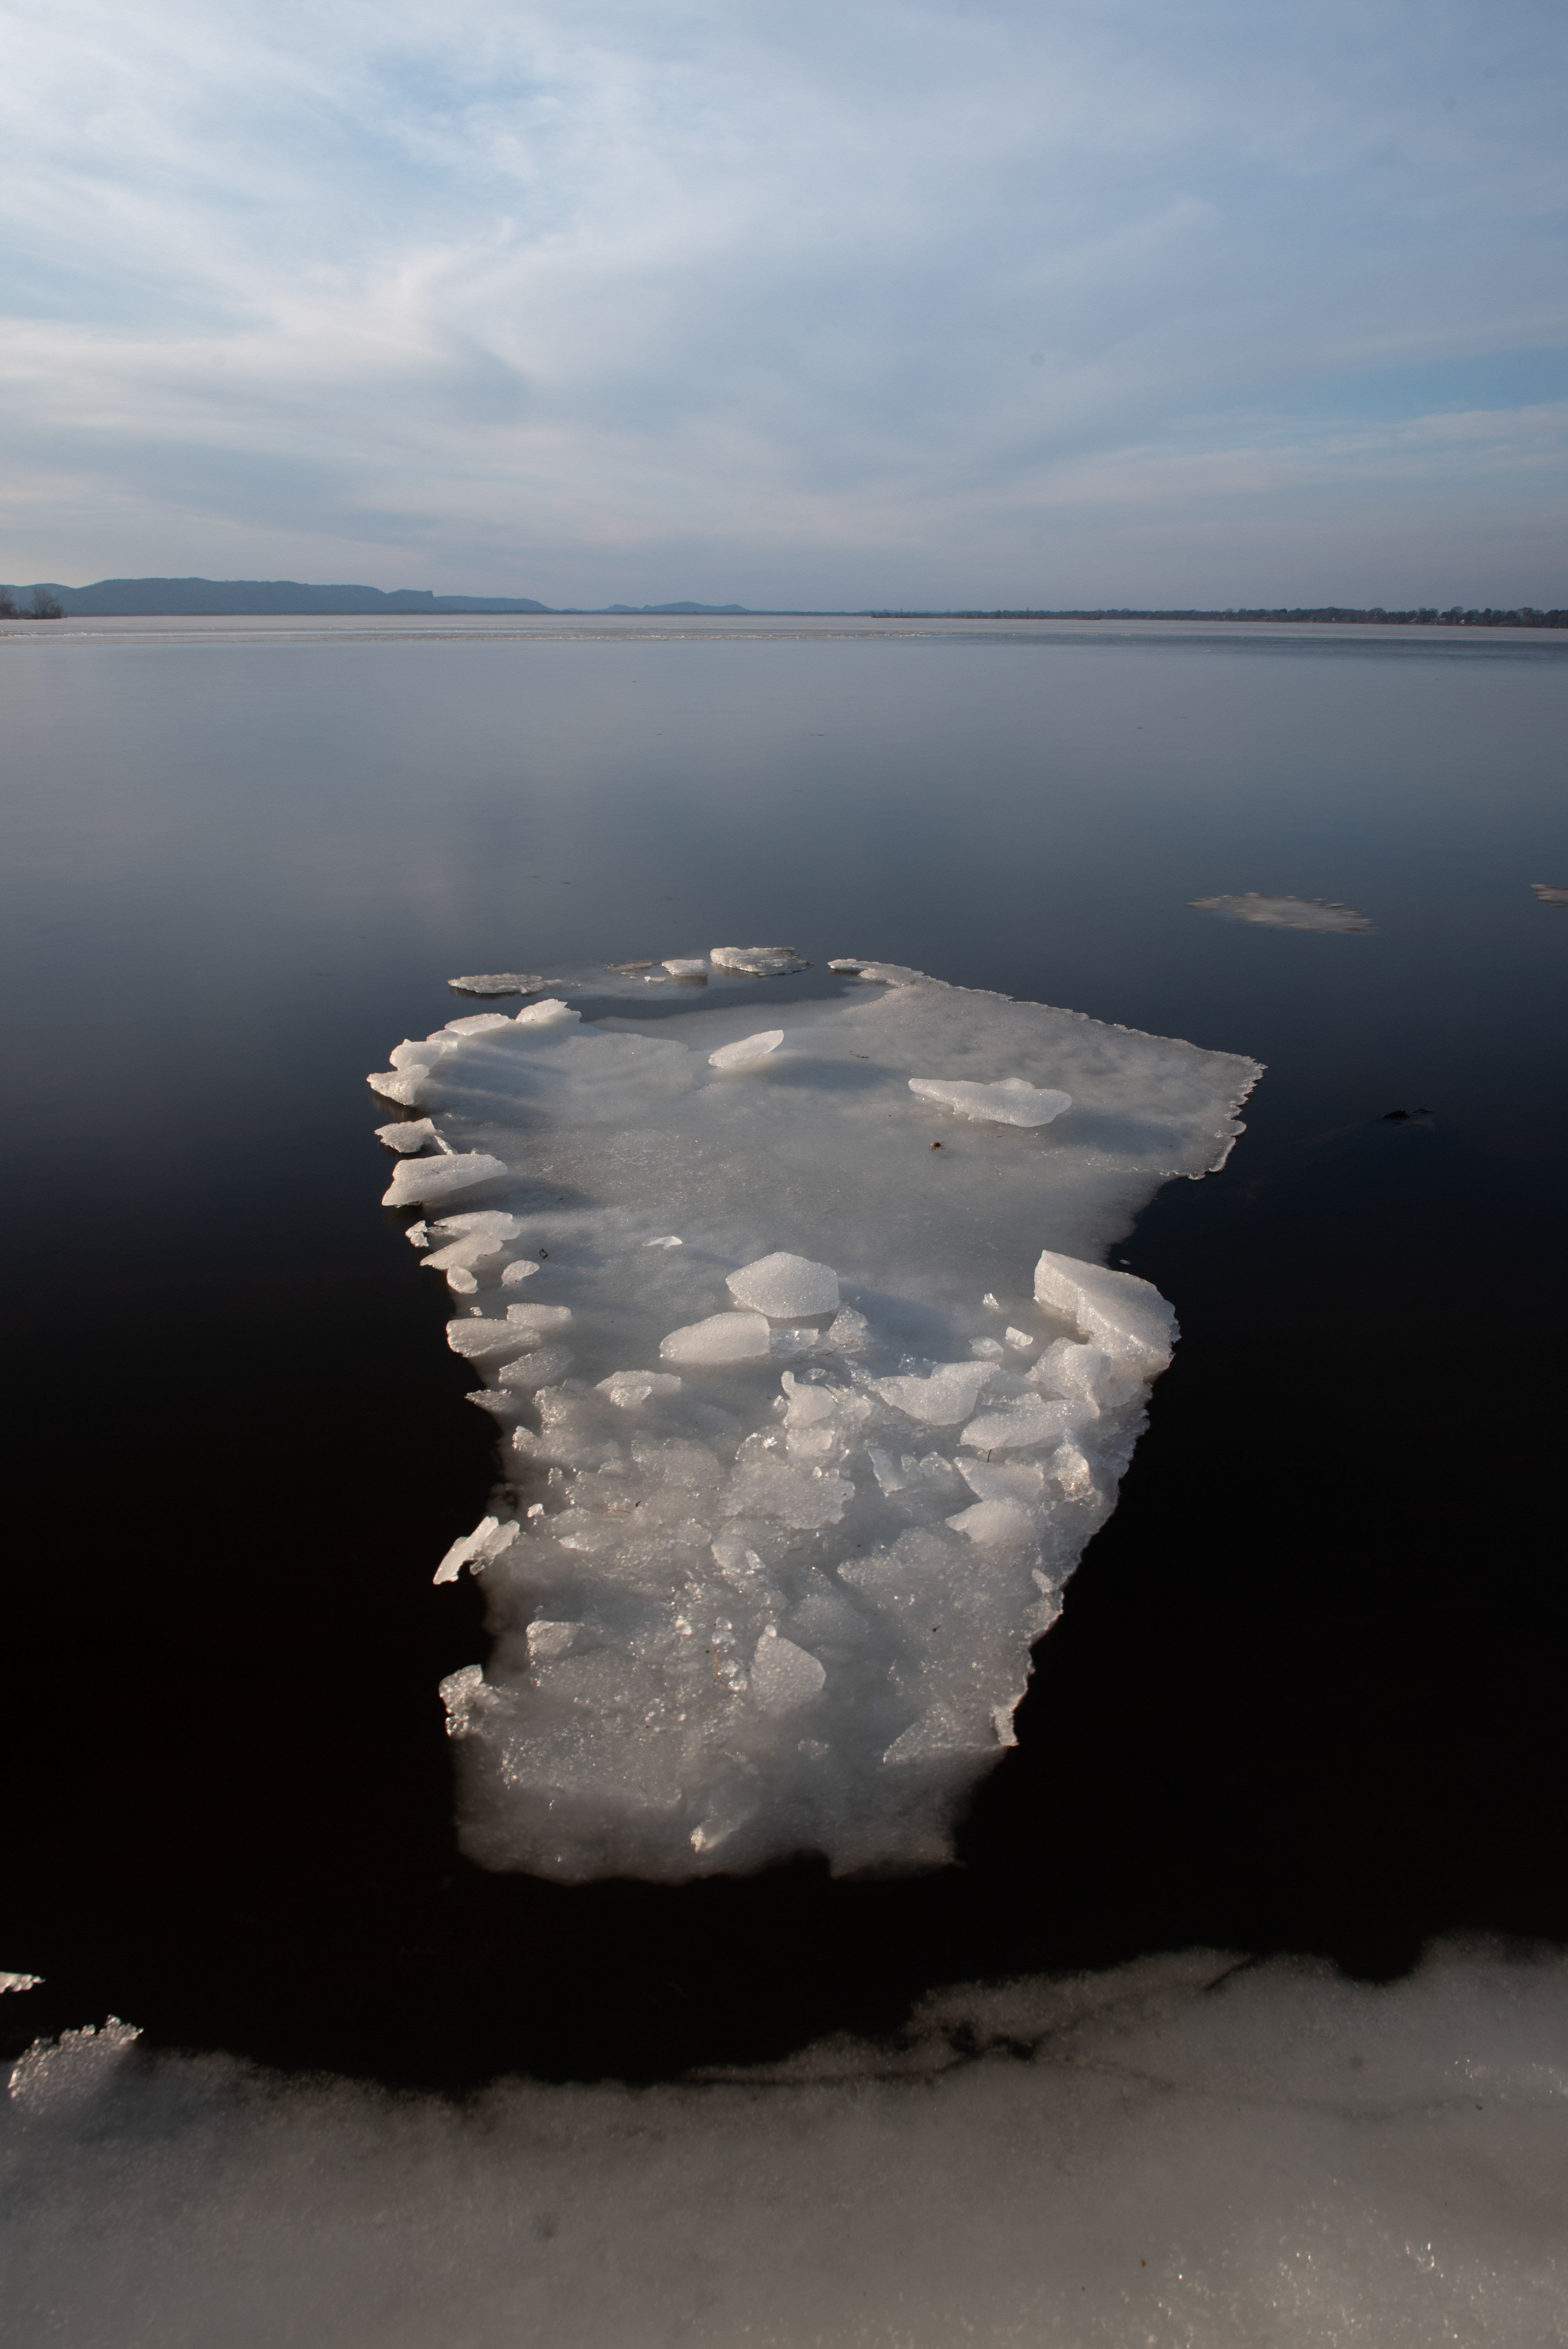 This seemed to solve my problem. So now I just had to wait. I arrived at the scene at 4:30. Sunset wasn't until 6:00 that night, so I had some time to kill. At the time, the light just wasn't right. It was still a bit too harsh. With the high clouds that evening, there was a good chance of having a great sunset. So I waited, and snapped a few test shots every now and then and had to reconfigure my composition ever so slightly due to the ice sheets small movement. It was at this point where I began to worry. My biggest concern(other than me falling through the ice) was having this ice sheet drift off into the distance. Luckily it stayed nearby. It also drifted just enough to give it some extra distance from the ice I was standing on. I kind of felt like the ice at the bottom of the frame was a distraction.
 The light kept on getting better that evening. This image, and the image above, were taken roughly 20-30 minutes apart from each other. Both were taken using a 10 stop ND filter to blur the water, but they look completely different. And it all has to do with the light. While I liked this image above, I wanted to stay longer. I had already been here for over an hour so what's and extra 30 minutes. Waiting can be difficult. You are never guaranteed great light, but sometimes mother nature is just on your side. Often times, people may say, "Wow, you get so lucky," or "you are in the right place in the right time." While that is true, it is also true that we(landscape photographers) make our own luck. It wasn't lucky that we drove all over town, or hiked that extra mile, woke up early or stayed up late to get the shot we desired. There is so much planning involved.
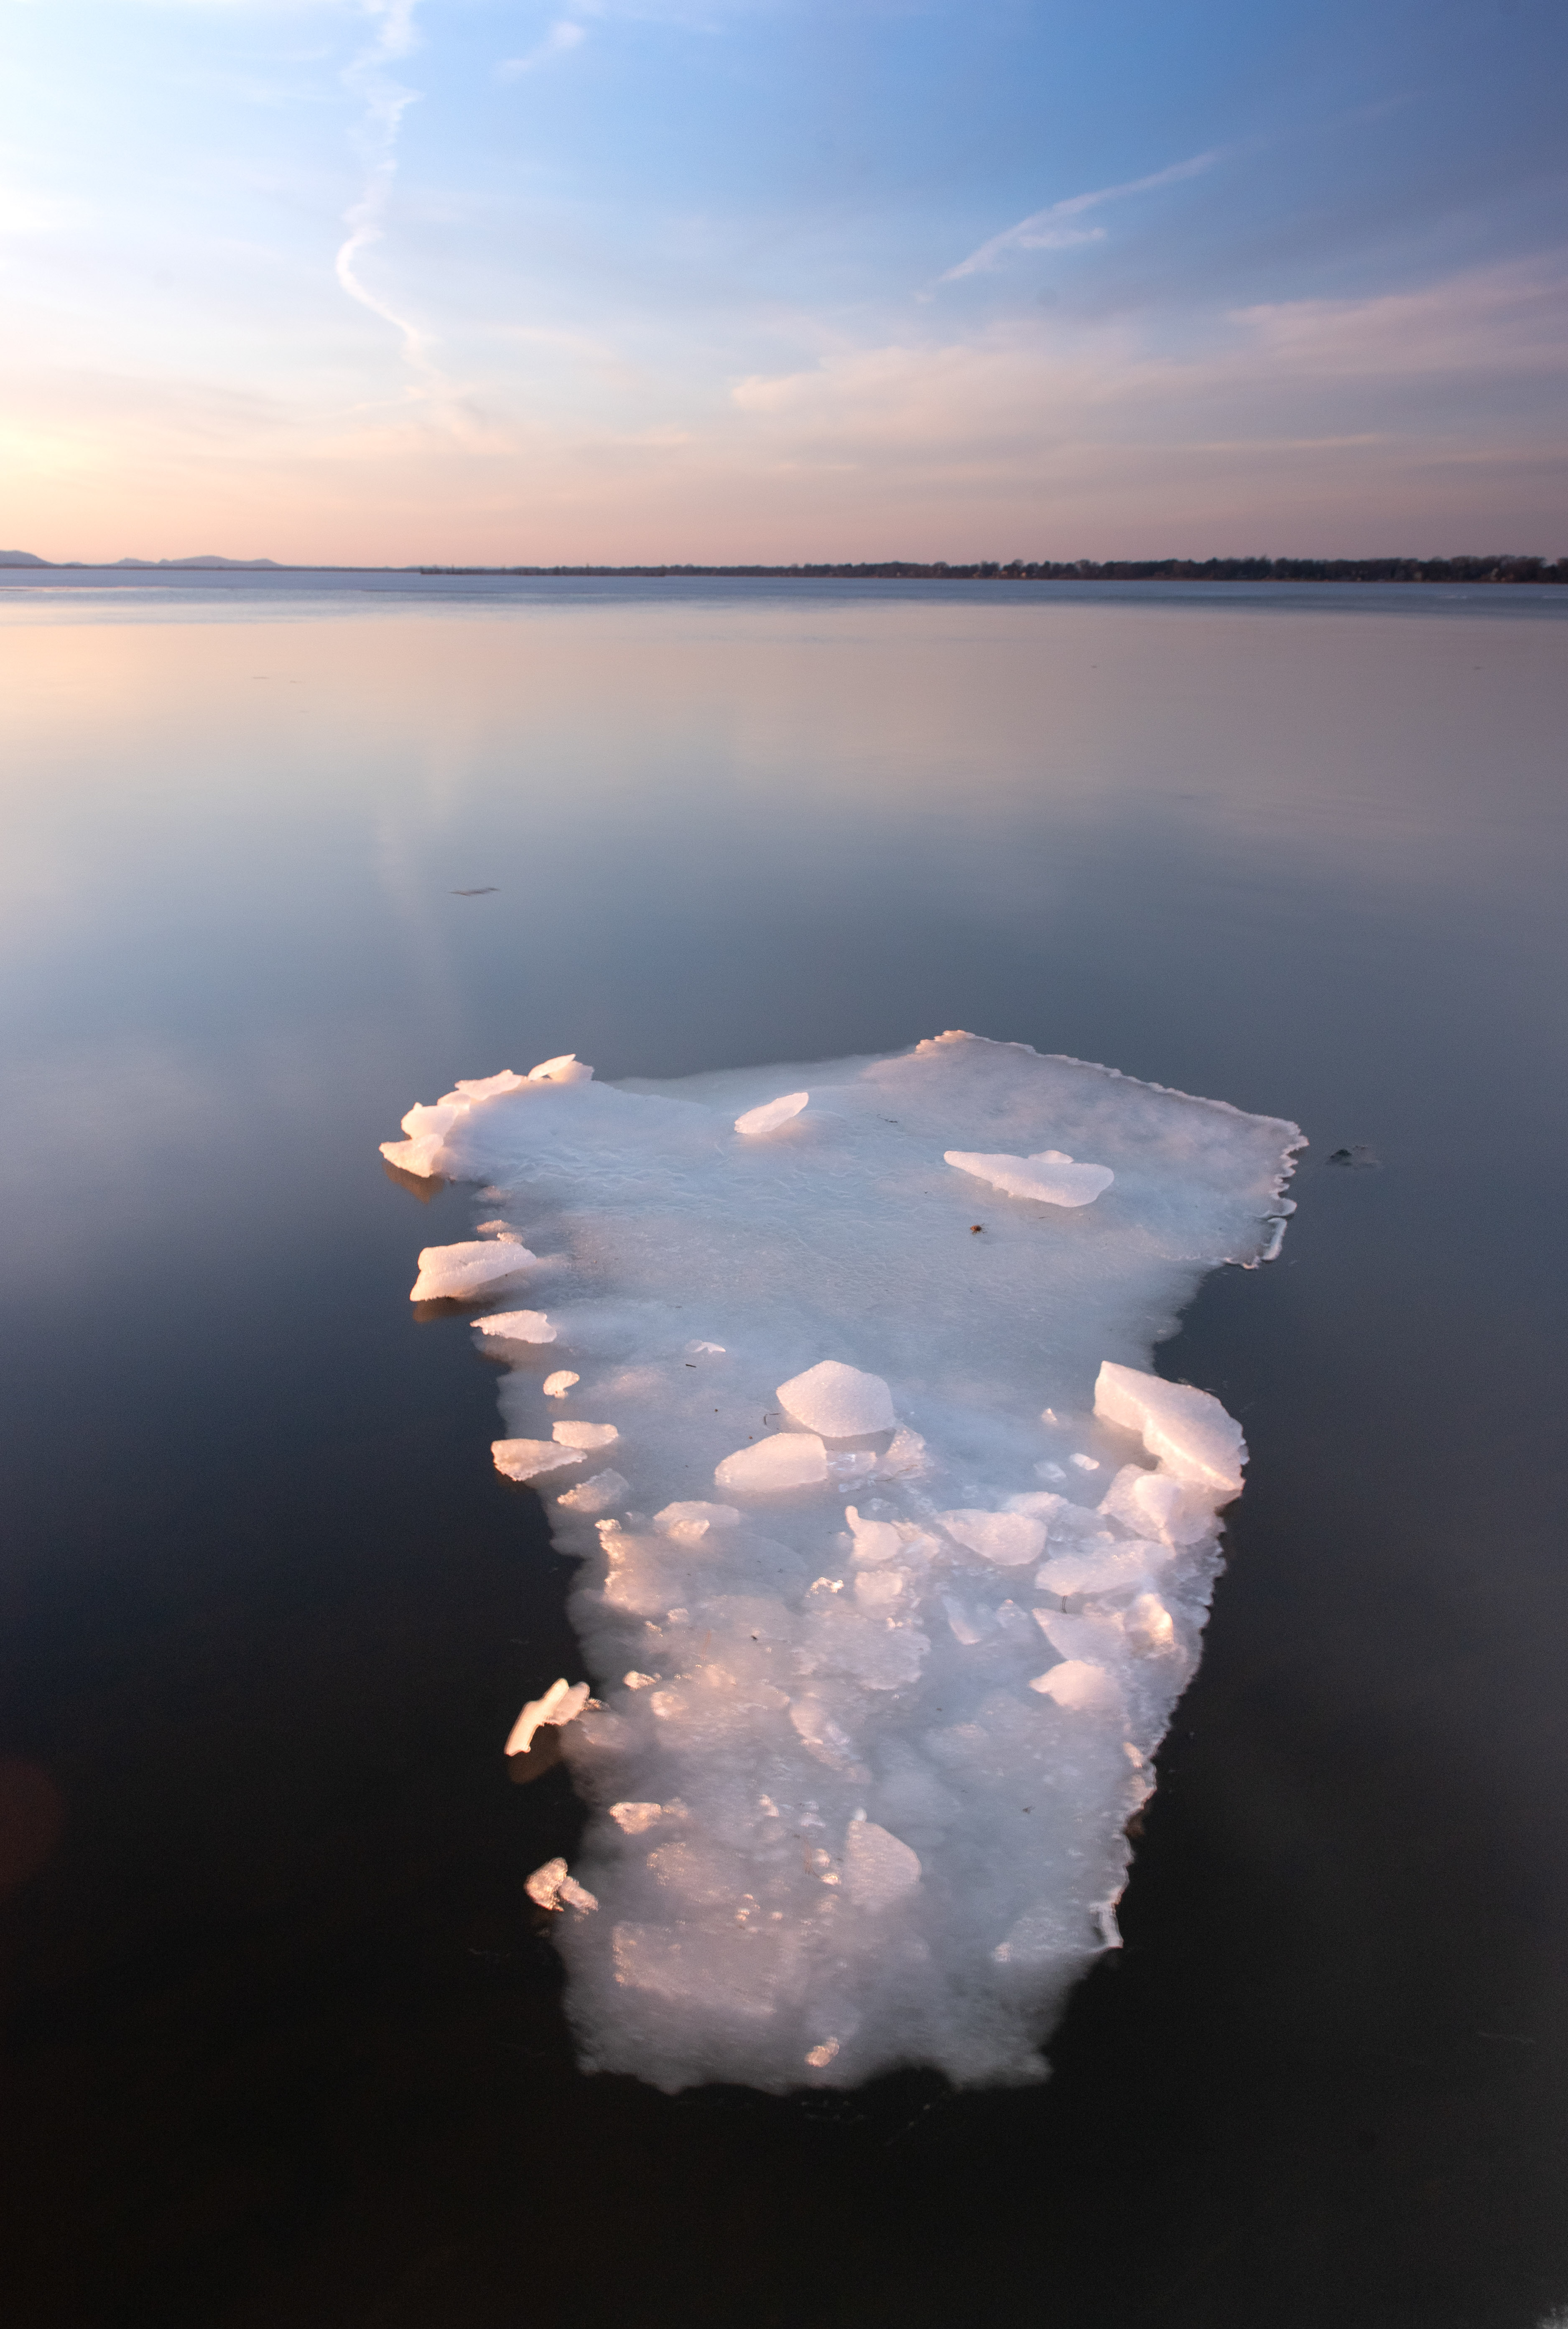
Anyways, as the day was growing shorter, the light was getting better. While it wasn't the most amazing sunset I've seen, there was a soft light that spread across the lake, which paired nicely with the calming water. The sun was almost setting when I took this image.
 This is what I was looking for! The settings for this images were ISO 100, F/13, 1/6 of sec, and no filter was used. I did use a tripod. Now that I locked in my composition, I dropped in my 10 stop ND filter. I wanted to really smooth out the water and the filter would give me the results I was looking for.
 I looked at the back of the LCD screen, and loved the results. However, I wasn't a fan of the slightly blurred out ice sheet near the bottom of the frame due to it moving slightly. My only hope was to blend the layers together in photoshop. My settings for this image were: ISO 320, 24 mm, F8, 6 sec, with a 10 stop ND filter. You may notice that the ISO is different in the images. Because the 10 stop ND blocks so much light, I couldn't shoot it at ISO 100 without using too long of a shutter speed. I still stayed around after this shot, and took a few more photos, but I felt like this was the best shot I took all day.
When I arrived home, I imported the images to my computer and found these two images. I made some minor tweaks to each one(exposure, contrast, highlights, etc..) I then imported the two images in layers into photoshop and masked out the blurry ice sheet to reveal the sharper ice sheet layer below. I had to play around with the exposure and color a bit since they didn't match perfectly. Next I imported the combined layers back into lightroom where a I began to edit the image.
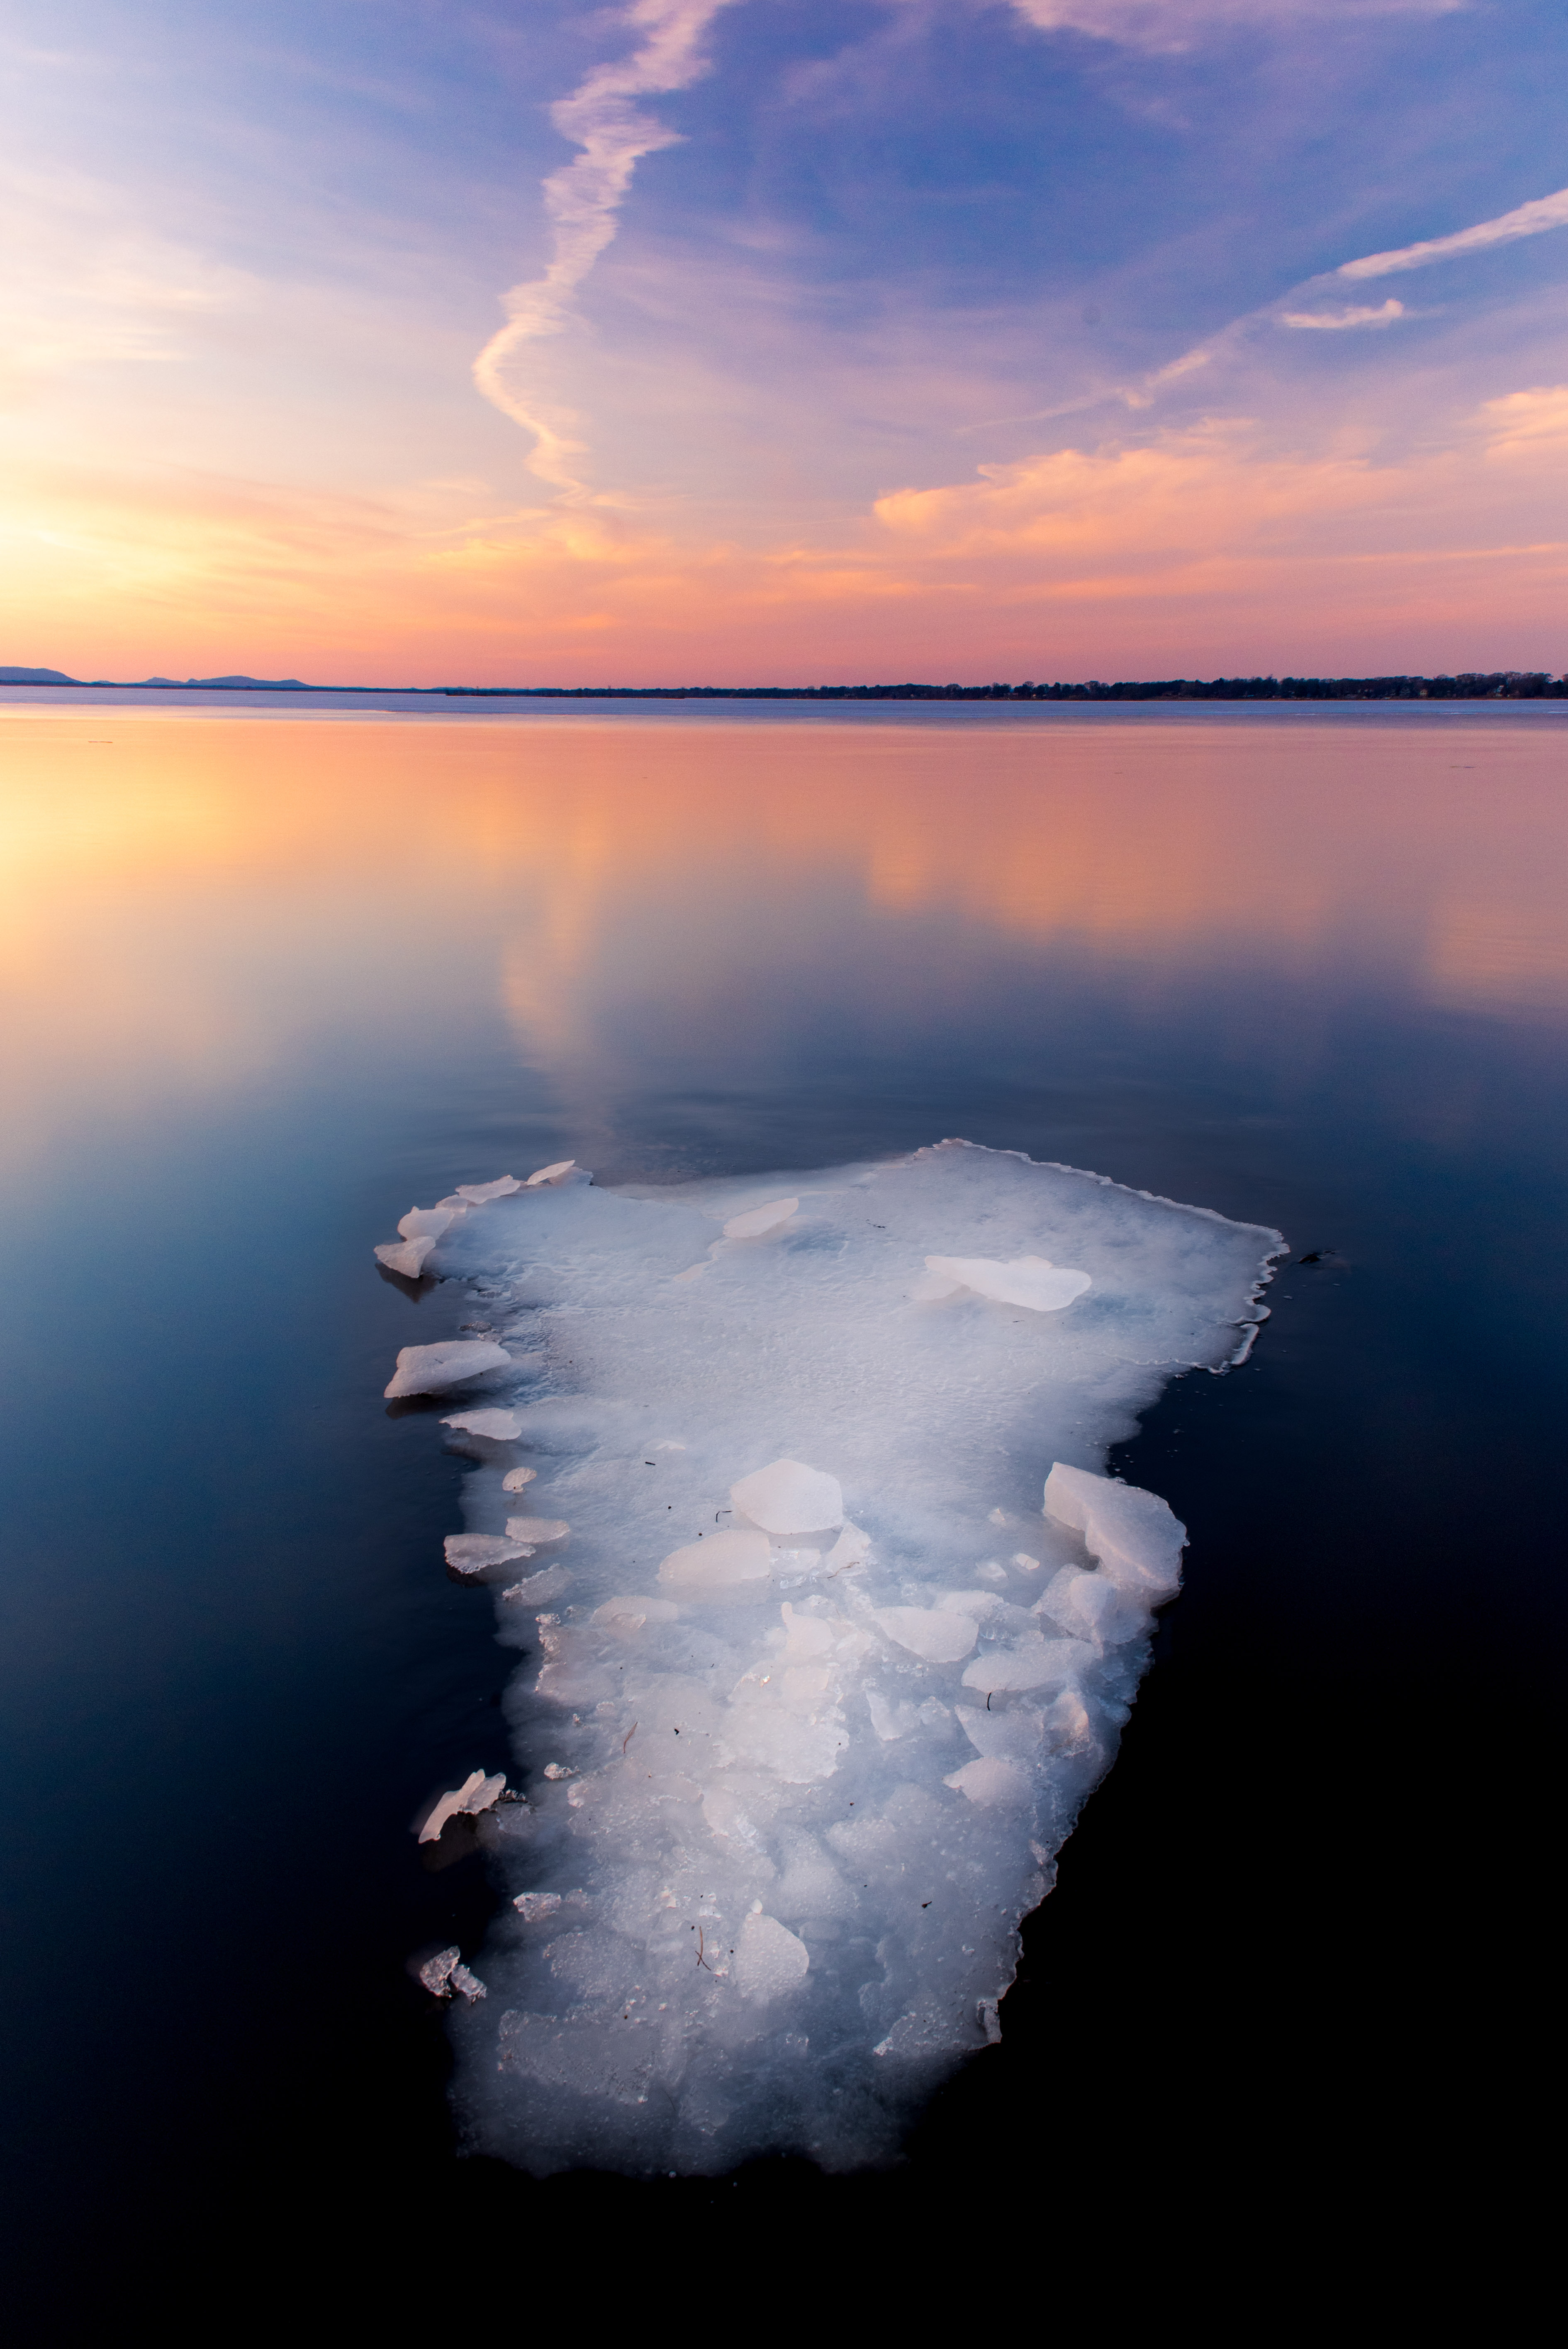 This was the final result. Again, I didn't do too much to the image. I played around the exposure, contrast, highlights, added some vibrance, etc... The one thing that did help improve the image was in the split toning. I added a orangish color in the highlights and a blues tint to the shadows. I found that these two colors worked extremely will with each other. They were also the two most dominate colors in the photo to begin with. I didn't go overboard. More often that not, less is more when it comes to editing photos. The last thing I had to do was remove all the little specs of dirt that were sitting on the ice sheet by using the clone tool and the content aware. The image below is the final image from that day. It's easily my favorite image of 2020 so far and might be one of my all time favorites. Although time can change. I often have to sit on an image for a few months to determine it's true value to me. That being said, I am still really proud of this image. Now, to start planning my next image.
If you like my work and want to help support me, consider buying me coffee.
Thank you for your support.
Jason