
So, perhaps you found a few images that you liked, thought about merging them in a cool way,applying some effects, but didn’t really have the tools to get it done. Here is a geeky , but neat, solution :)
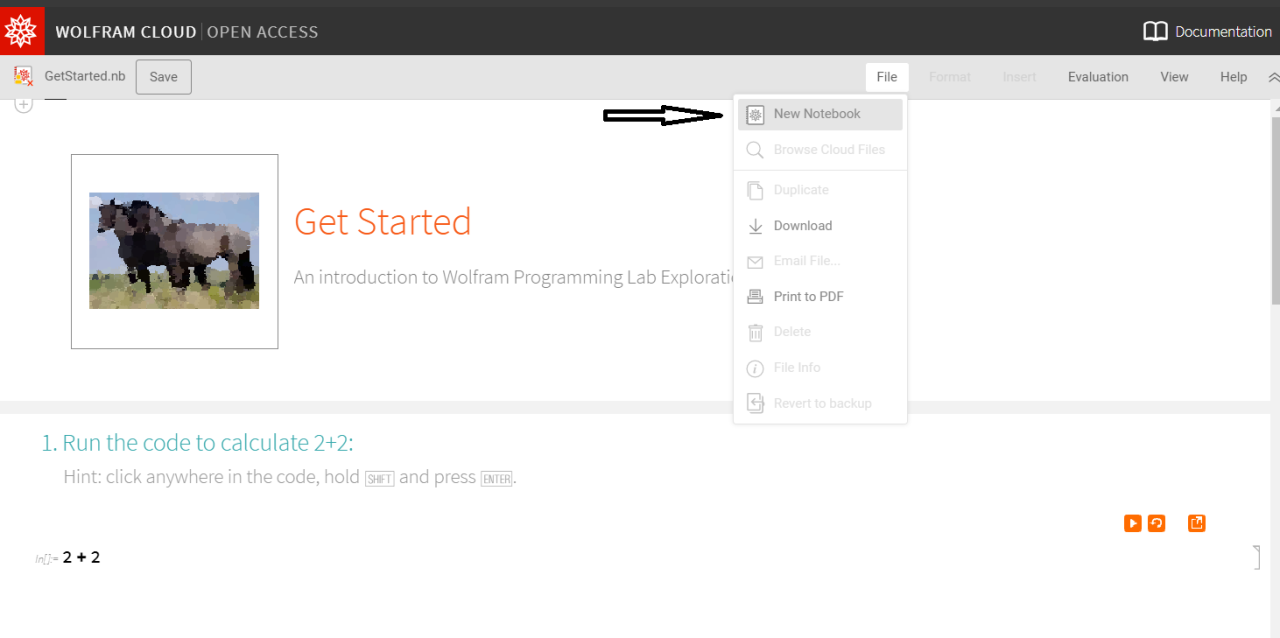
1. I’ll be using an older version of Mathematica, but you can also visit https://www.wolfram.com/programming-lab/ and click on ‘Start Programming Now’ , then proceed to creating a new Notebook ( it is where you are going to code - don’t worry, not much knowledge about coding is required to get this specific task done ) . You are also going to need the Wolfram Player ( free to download ) to view bigger notebooks.
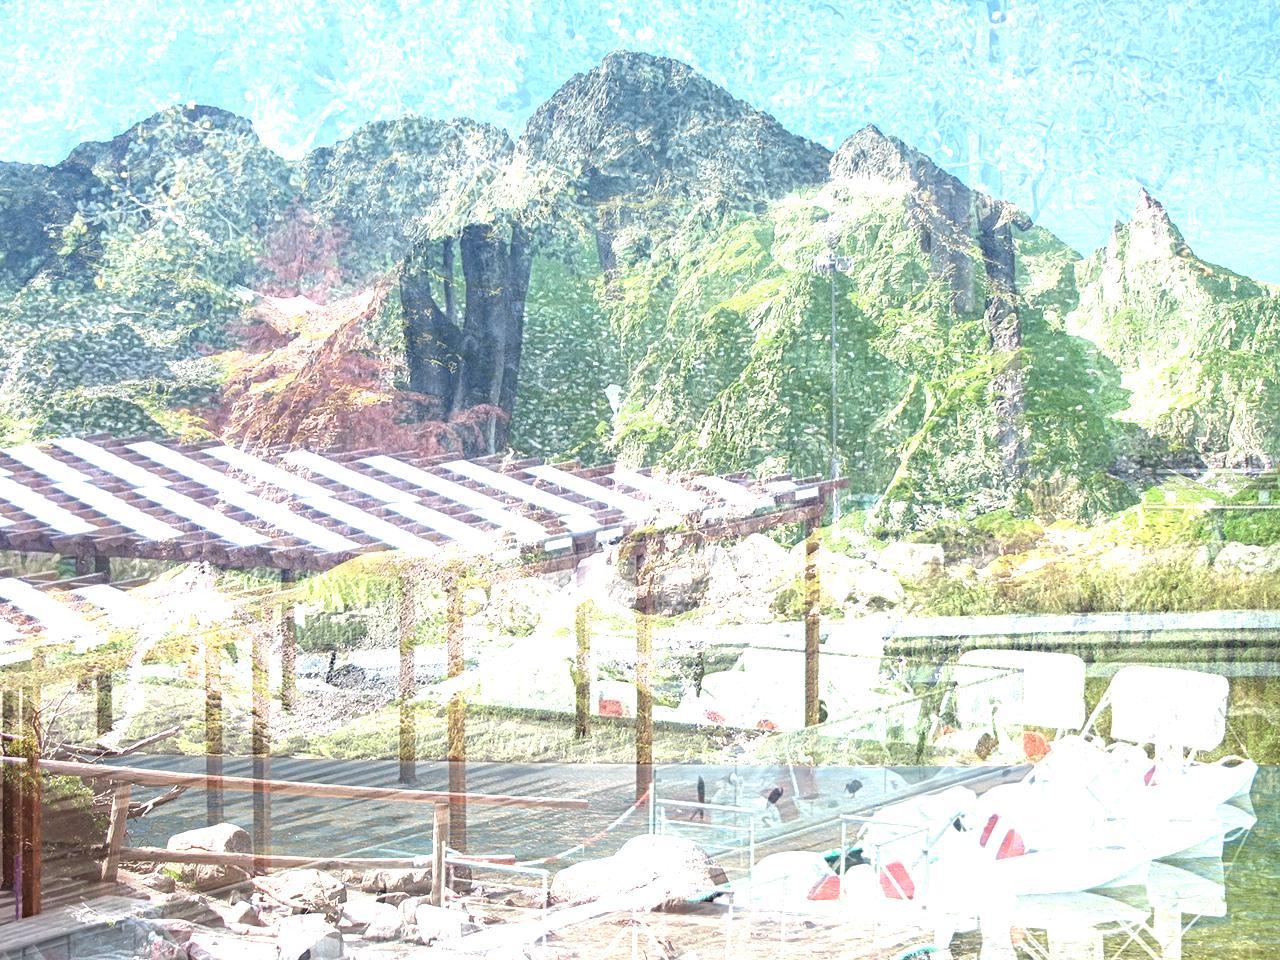
2. In order to create your wallpaper, you need 2 images of your choosing that you are going to add. Yep, this is a possible operation , and in Wolfram Language it is done easily via : ImageAdd [ img1, img2 ] .
But instead of ‘img1′ and ‘img2′, we are going to copy and paste the images we want. For that, you can just google the images and then copy and paste them inside the ImageAdd function:
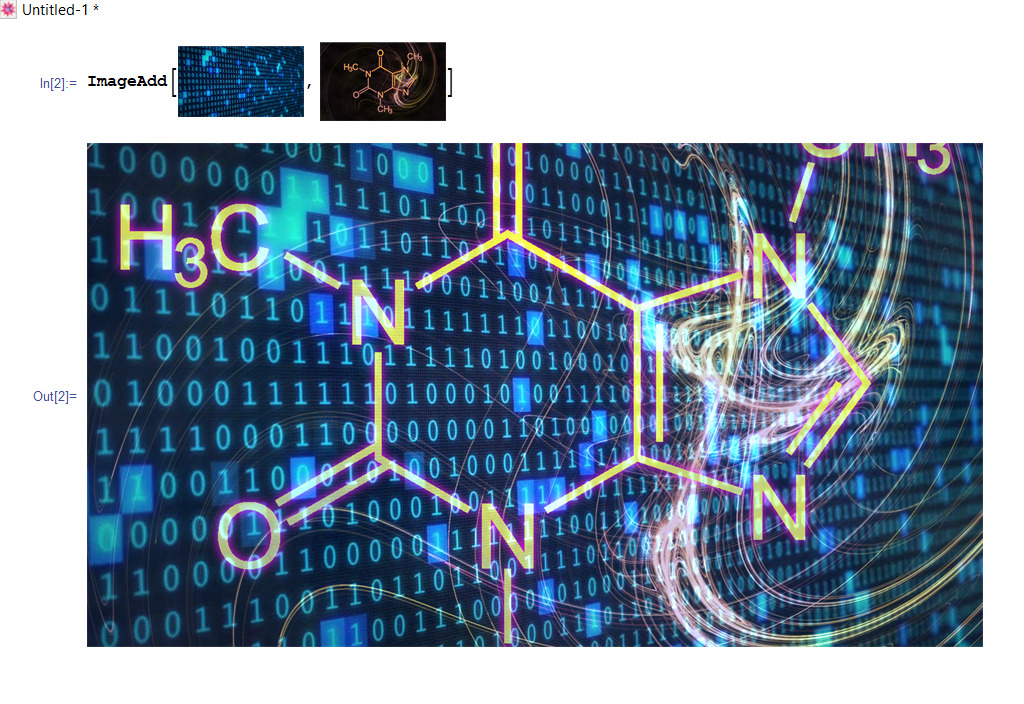
Above you can also see the result : the cell containing the adding function was executed using ‘Shift’ + ‘Enter’ ( the same is available in the labs ). The order in which the images are being put does matter and it depends on size and other factors, but you should be able to experiment and see which fits best.
Note : I highly recommend that if you are using the programming labs, the images should not exceed a certain size , since the browser can only display documents within a 10MB range ( try the Wolfram Player if you wish to view a bigger notebook - it also allows you to view cool projects and demonstrations! ) - you can also import their own example images
3. Add any effects you like, using ImageEffect . For example , I added some noise to the previous image:
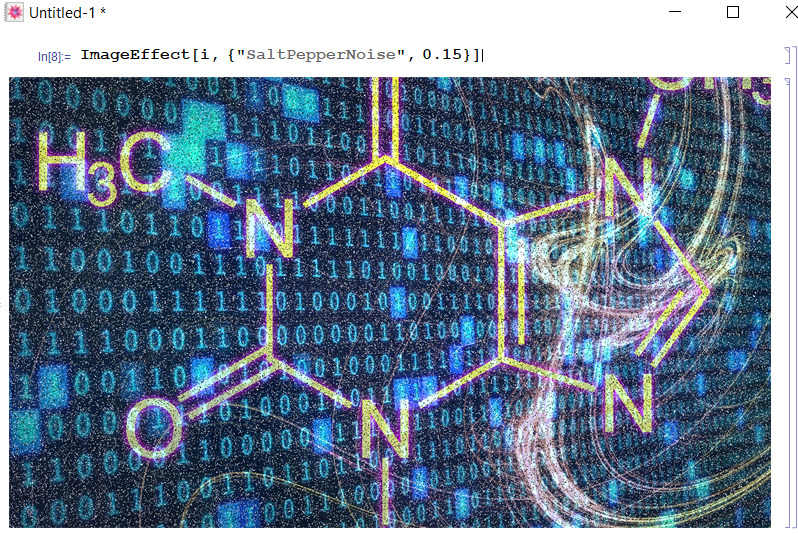
Note: the variable ‘i’ was used to save the original image so I do not copy and paste it each time. The assignment is simply done by writing “ i = paste image here “ .
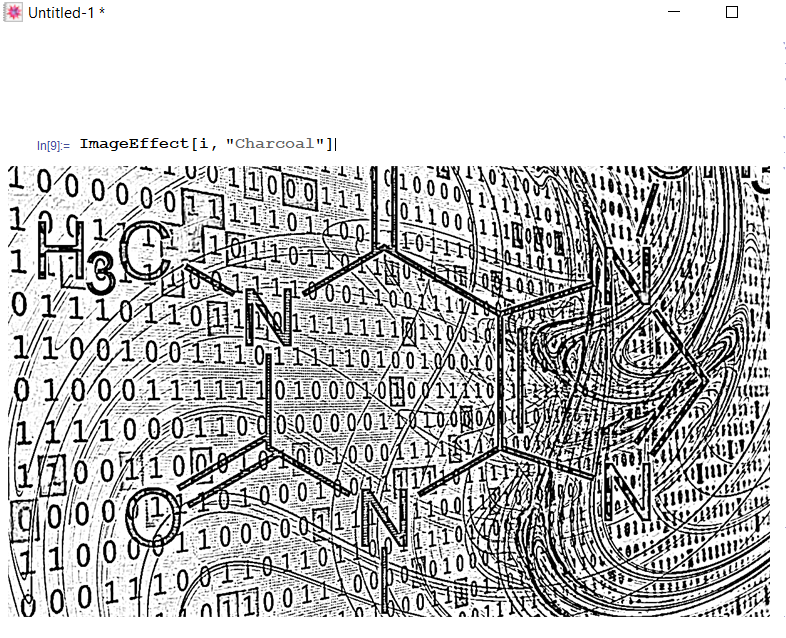
Charcoal effect :
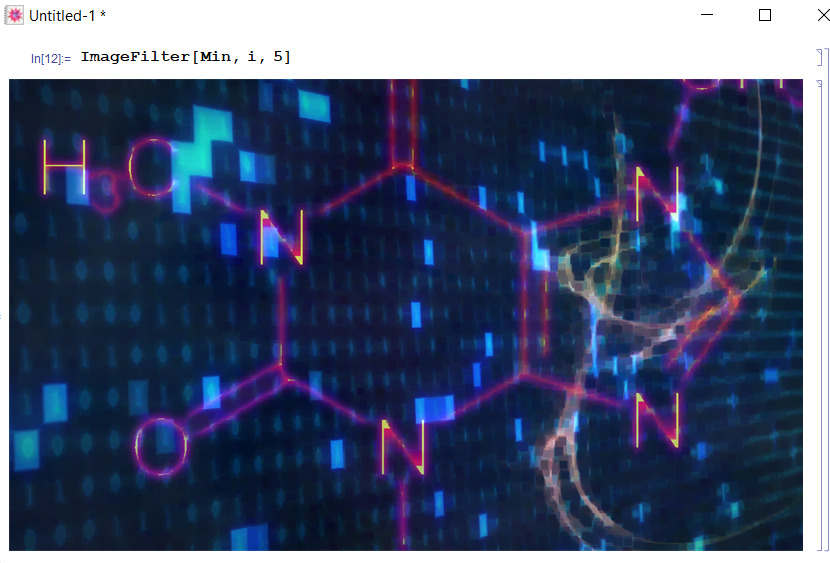
Here is a neat effect by applying a minimum filter (that is, it takes the minimum from all the pixels within a selected region ):
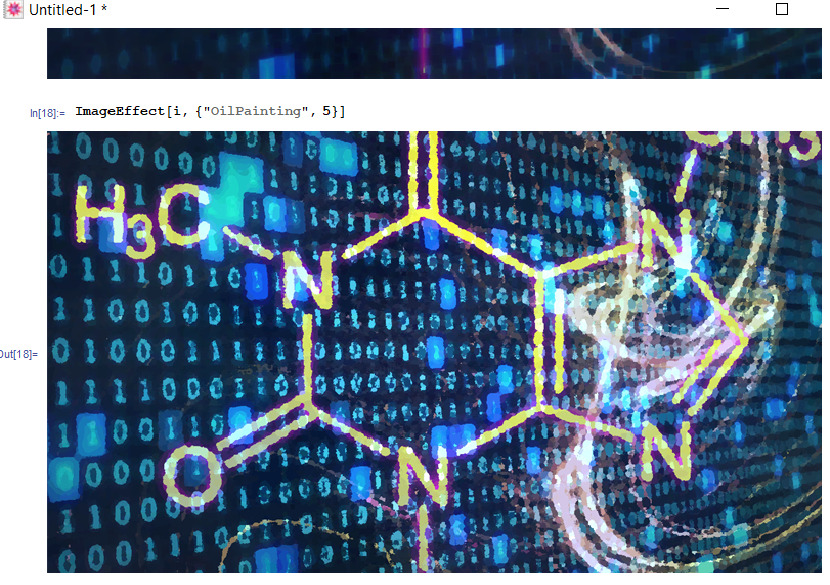
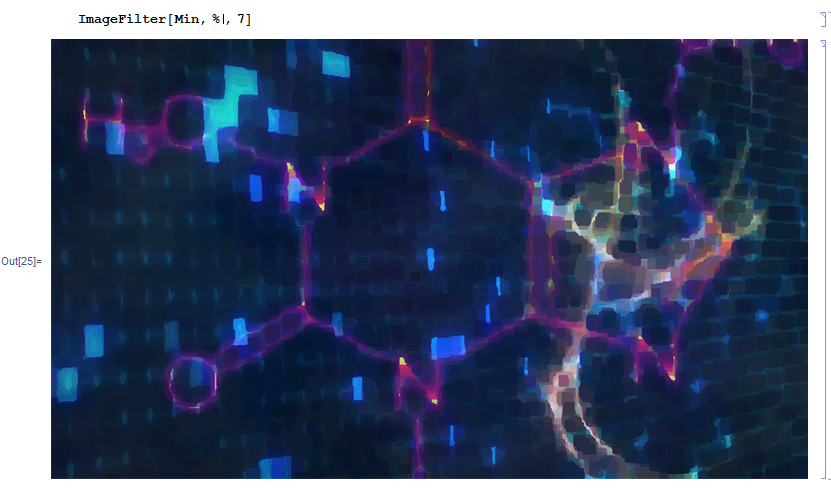
How about applying an ‘Oil Painting’ effect, then applying a filter to it?
With filter:
In order to check out other effects and ways of modifying the images to make them even cooler, check out the documentation : https://reference.wolfram.com/language/guide/BasicImageManipulation.html
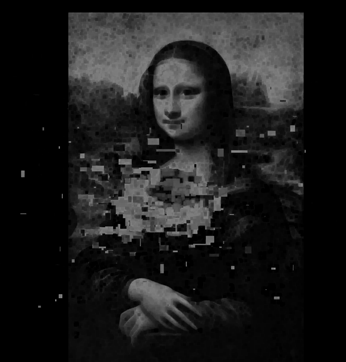
Below, I’ll share a few other images I managed to manipulate with suggestive titles :)
1. Mona Lisa as recollected by an unknown A.I. ( circa 2050 )
2. The Old Earth - recollected from the same unknown A.I.
Hope you enjoyed and learned something new :) This post is also available on my Tumblr blog ! Check it out :)