Knitting is a wonderful hobby that can produce beautiful and cozy items for yourself or your loved ones. But sometimes, you may run out of yarn in the middle of a project, or you may want to switch to a different color or texture. How do you join new yarn without creating unsightly knots or loose ends?
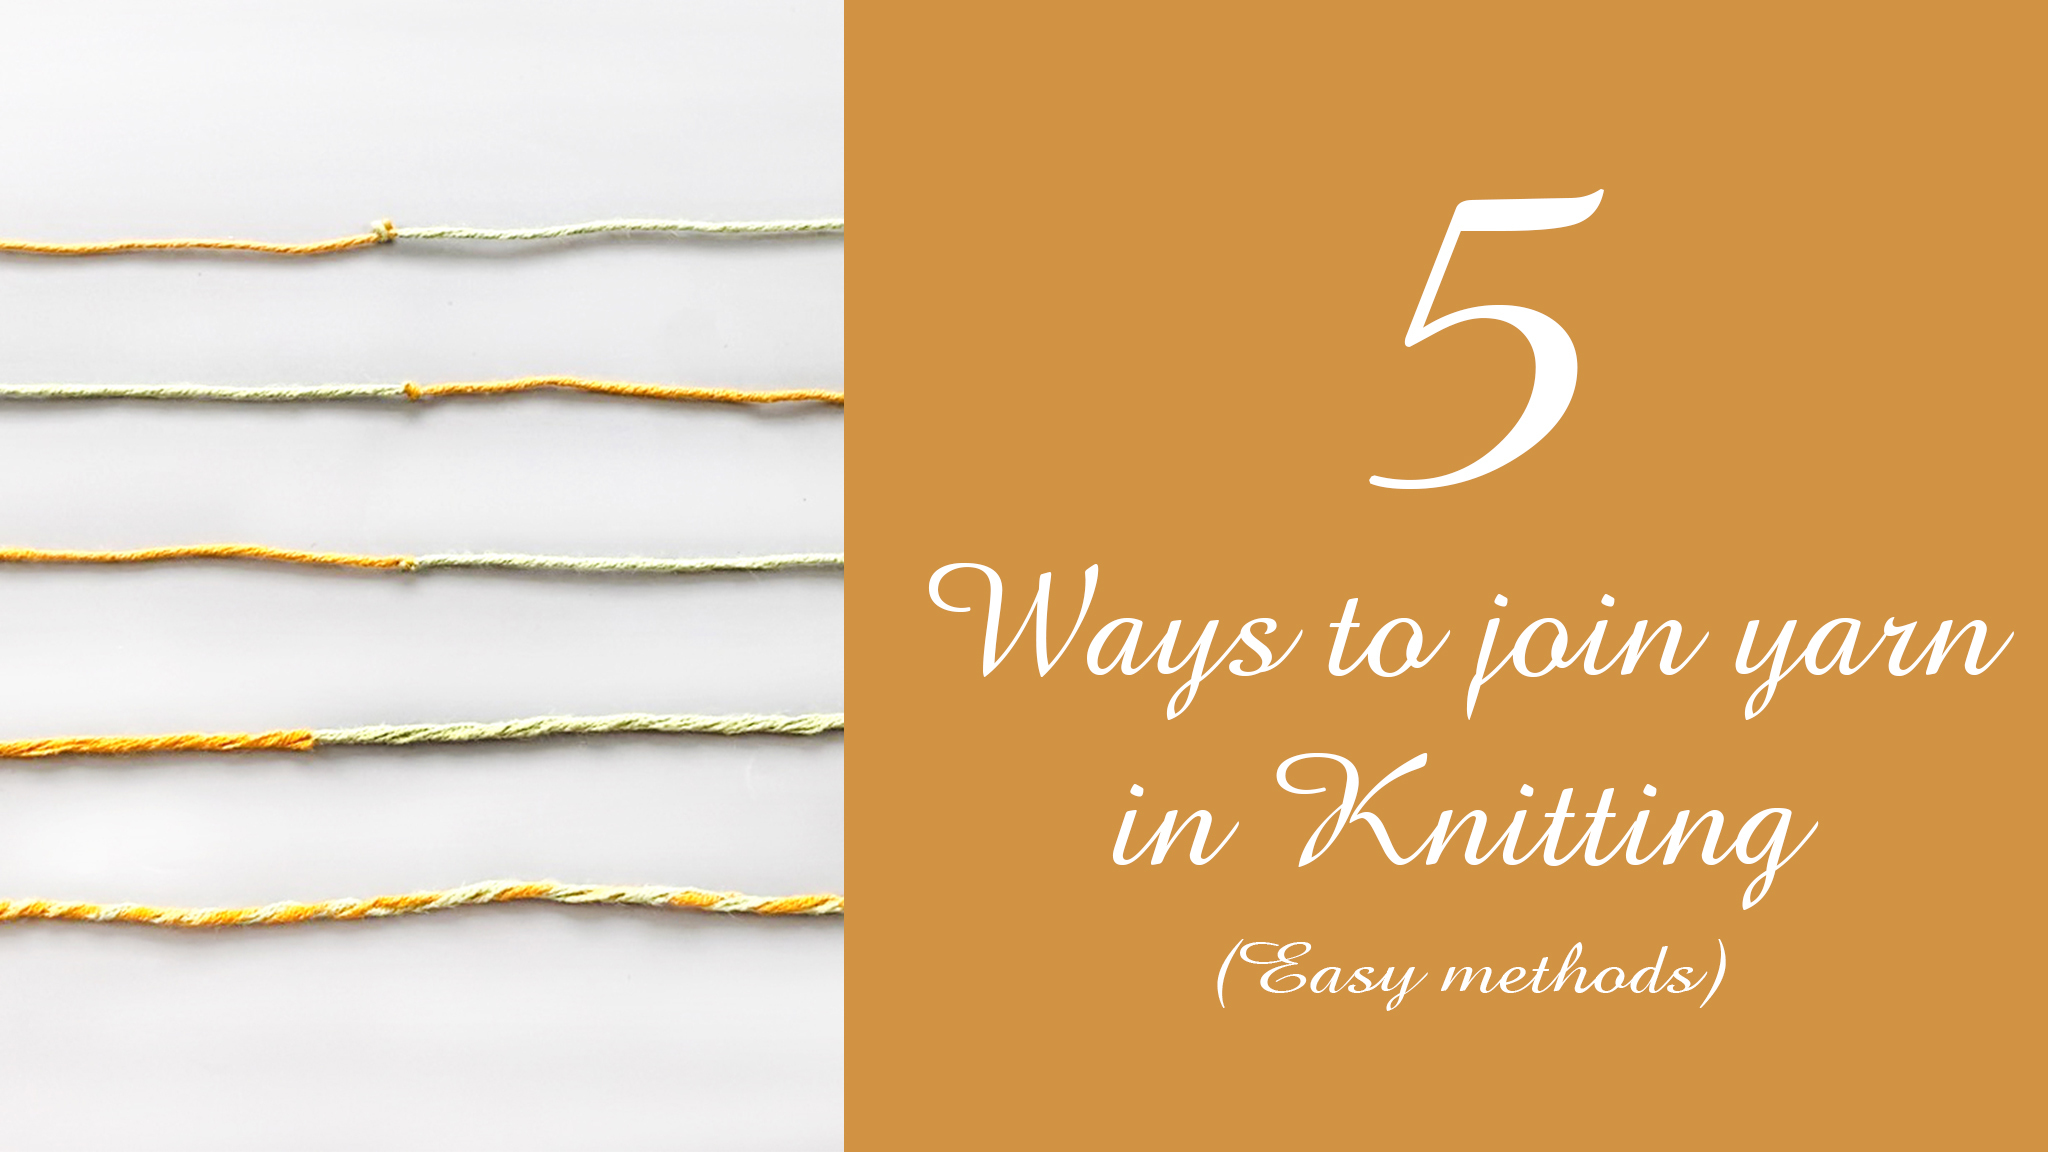
In this post, I will show you five quick and easy ways to join new yarn in knitting, using invisible and magic knots. These methods will help you create smooth and seamless transitions between yarns, and save you time and hassle in weaving in ends, and it will make your knitting look more professional and neat.
Ready to learn how to join new yarn in knitting like a pro? Let's get started!
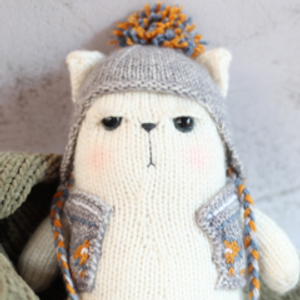
I have used two colours for this tutorial.
https://www.youtube.com/watch?v=9H-lHMoDpmk
Fisherman's knot (Classic magic knot)
Step 1: You will start with two ends of yarn – one will be the working yarn you’ve just come to the end of and the other your new yarn you wish to join.
Step 2: Wrap your old yarn around the new yarn and tie a knot.
Step 3: Pull the knot as tight as you can.
Step 4: Next we will repeat the process with the other yarn tail, wrap your new yarn around the old yarn and tie a knot Pull both knots tight.
Step 5: Pull either end of the yarn so the two knots meet.
Step 6: Pull to make sure both are tied tightly, then cut off the ends as close to the knot as possible.
Square knot
Step 1: You take new yarn on the right side and place it cross over the old yarn on the left side and tie.
Step 2: Make sure both of your ends are facing upwards again.
Step 3: Now we will take the yarn on the left side ad place it cross over the yarn on the right side, and create another tie. Pull all ends of yarn to tighten your knot as much as possiple .
Step 4: Cut off the ends as close to the knot.
No-ends knot
Step 1: Pinch the new and old yarn 1 inch from the ends (line up the ends so that they are even). Then, pinch the ends between thumb and forefinger to hold them in place.
Step 2: Wrap the new yarn around your thumb 2 times. Make sure that the yarn goes in between your forefinger and thumb as well, but on the outside of the pinched yarn ends.
Step 3: Bring the new yarn so it goes between your thumb and the 2 ends of yarn. Make sure to keep pinching the ends of the yarn as you do this!
Step 4: Tuck the ends of the yarn down towards your thumb. Push the ends down so that they are completely folded over.
Step 5: Pull gently on the new yarn and allow the loops to slip off your thumb until the loops into a knot.
Russian join
Step 1: Thread the yarn on a sharp sewing needle.
Step 2: Fold the yarn over and use the sewing needle to go in between the fibers of the yarn (follow the yarn for around 2-3 inches). Don't worry if things bunch up a bit and the plies seem to come undone a bit.
Step 3: Pull the needle through, straighten things out a bit but don't pull tight.
Step 4: Thread the other yarn on sewing needle, pull it through the loop of the first yarn and to go in between the fibers of the same yarn.
Step 6: Pick up either end and give it a good tug. This should bring the join closer together and close the loops in the center.
Step 7: Straighten out the join and trim away the tails on either side.
Note
Don't worry if your join looks a bit wonky before you pull things tight. That's quite normal and you can smooth things out in the last step.
Braided join
Step 1: This technique works well with plied yarn (yarn made from multiple strands). It creates a seamless join but takes a bit of practice.
Step 2: Thread the old yarn on a sewing needle.
Step 3: Use the sewing needle to go in between the plies of the new yarn to join the two ends together. (follow the yarn for around 3-4 inches).
Step 4: Pull the needle through, straighten things out a bit but don't pull tight.
Step 5: Thread the new yarn on sewing needle, pull it through between the plies of the old yarn.
Step 6: Straighten out the join and trim away the tails on either side.
In conclusion, joining a new ball of yarn doesn't have to be a hassle. Each of these methods has its place, depending on the type of yarn and the project at hand. It can be helpful to view a video tutorial if you’re not quite getting the hang of these techniques. Try them out, find your favorites, and never let a small ball of yarn disrupt your creative flow again. Happy crafting!
I hope you enjoyed this video tutorial and learned something new.
If you decide to make this pattern or any my patterns, please share your photos of your finished toys with me on Instagram using the hashtag #Cheryx.Knitadream. I can't wait to see your creations!