Gathering and Processing Juncus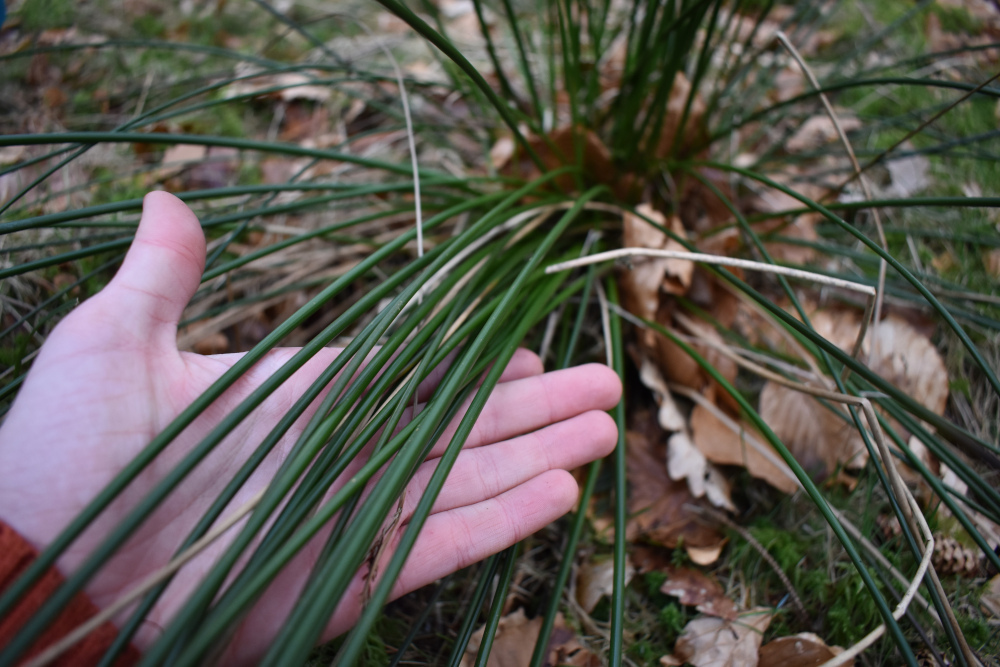
This month I've decided to cover these beautifully abundant little rushes :)
Predominantly I'm talking about Juncus Inflexus - Hard Rush and Juncus Effusus - soft rush here, but they are a useful little family and it's worth experimenting with which ever type of Juncus grows in abundance locally to you.
As I've probably mentioned before, I feel there's a certain joy to be found in using plants that are sadly often dismissed as 'common weeds'.
Although at other points in our existence these versatile little spikers would have been utilized massively for craft, shelter and medicine, now they are simply a spurge to some farmers who for obvious reasons want to maximise the amount the grass at whatever cost to diversity.
I've come across many a farmer who is waging a full-on battle against the Rushes growing in their fields so I think it's super important to give these plants some love and appreciation!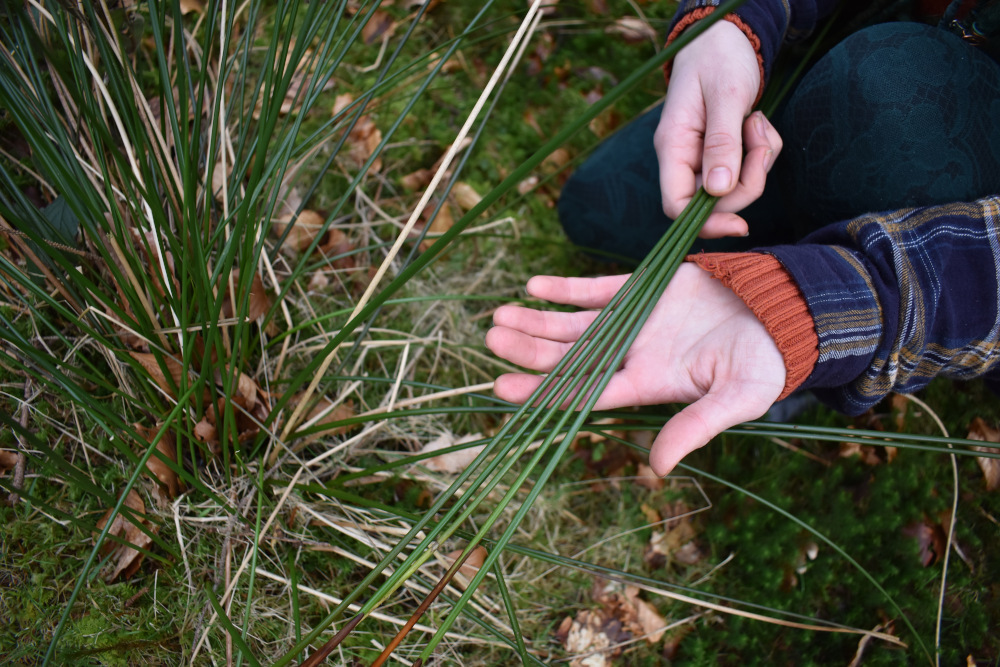
Where to look for Juncus -
Look out for their long, green stems growing in fields, forests and boggy areas. They'll pretty much grow anywhere there's enough water and are identifiable by their long, round, sponge filled stems that grow together in clumps.
Although you'll find them growing in a variety of places my preferred place to gather is in the woods. Here they grow super long due to less light.. They also aren't constantly getting nibbled by Sheep in the woods like they often are in the fields!
The difference between J.inflexus and J.effuses is that the former is slighter lighter in colour with furrows/ridges along the stem and an interrupted spongey pith down the middle.
J.effuses on the other hand has a darker shiny green, with a much smoother surface and an uninterrupted spongey pith down the middle.
Both make for good weaving/cording but do behave slightly differently so if you have access to both gather some of each to play with.
Gathering -
Once you've found and identified the Juncus, you'll need to select the stems you want to gather. Avoid the old brown/damaged scraggly stems and select the ones that are nice and fresh looking - just a handful of nice, green, long stems from each clump!
Do this either with scissors or a knife and cut as close to the base as possible. You can also remove the stems by holding them gently at the base and pulling. The ones that want to come with you will easily pop out. Don't force the ones that aren't feeling it.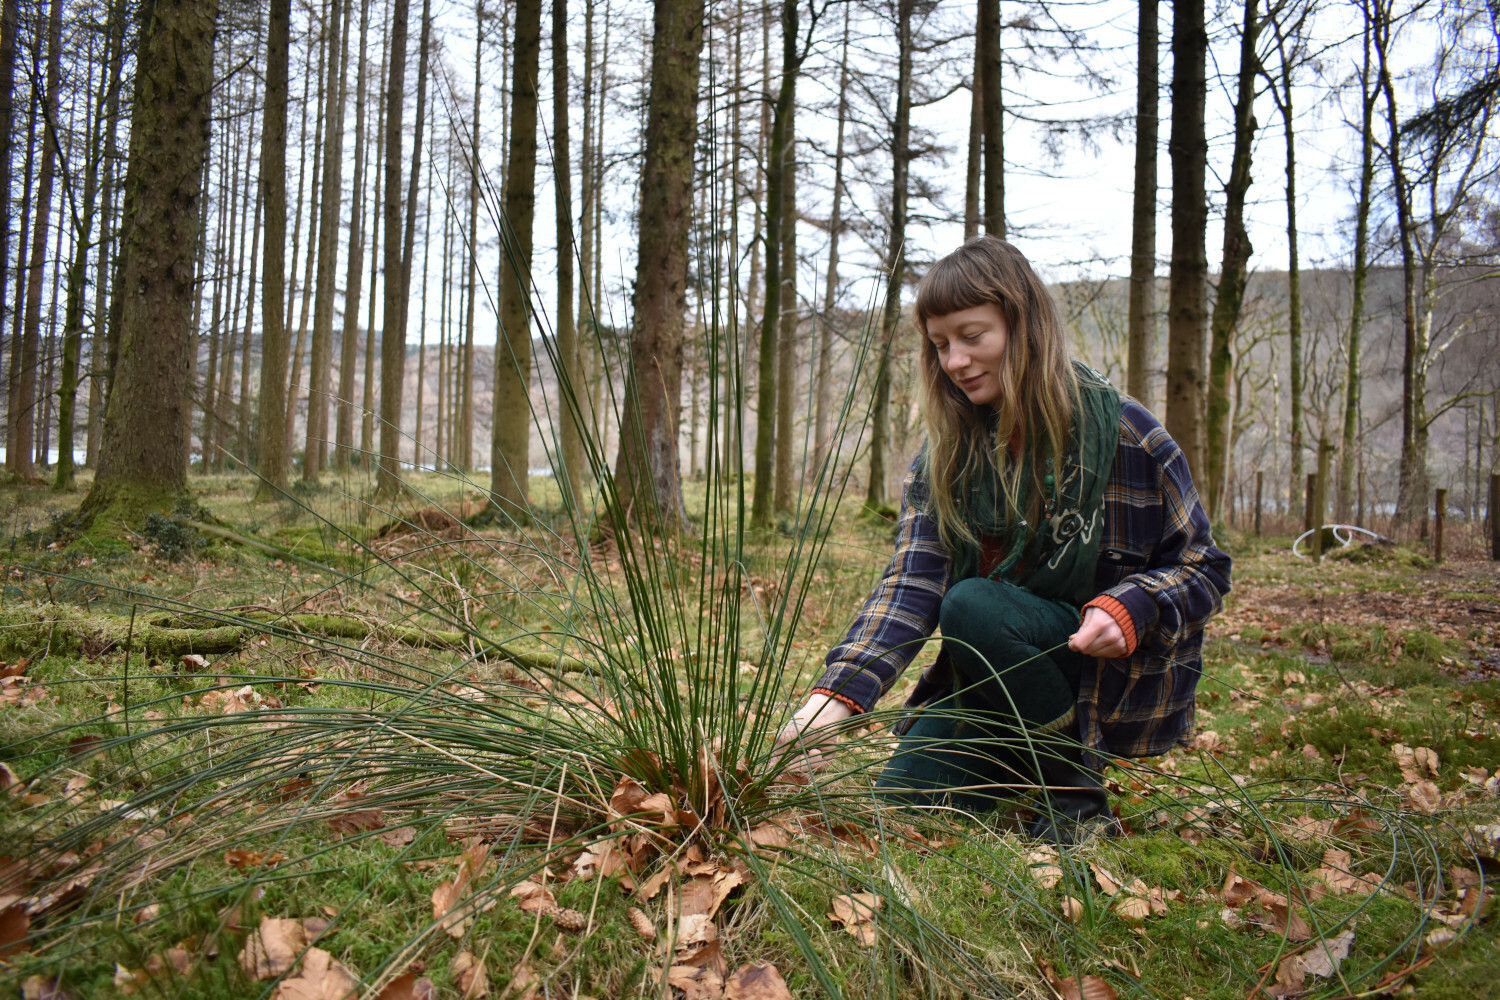
Processing -
Depending on what your plan for the Juncus is will decide how you next want to process your stems :)
Kept whole, the stems make fantastic spokes and weavers so gather yourself a good bunch and dry them as is. To dry either hang the stems in little bunches or spread them out thinly on a surface.
They are fairly fast drying perhaps taking 1-2 weeks to fully dry and once they've lost their moisture you can keep them stored out the way in any breathable type of crate/boxes. I personally like to use old vegetable crates.
For making either fine cordage and tiny baskets I like to split the stems down further. This must be done straight after harvesting, the longer you leave it the trickier it will become.
Splitting process -
Firstly, take the longest/thickest stems and split them down the middle with your thumb nail. Try to follow the way of the stem's fibres and not stray too much to one side or the other.
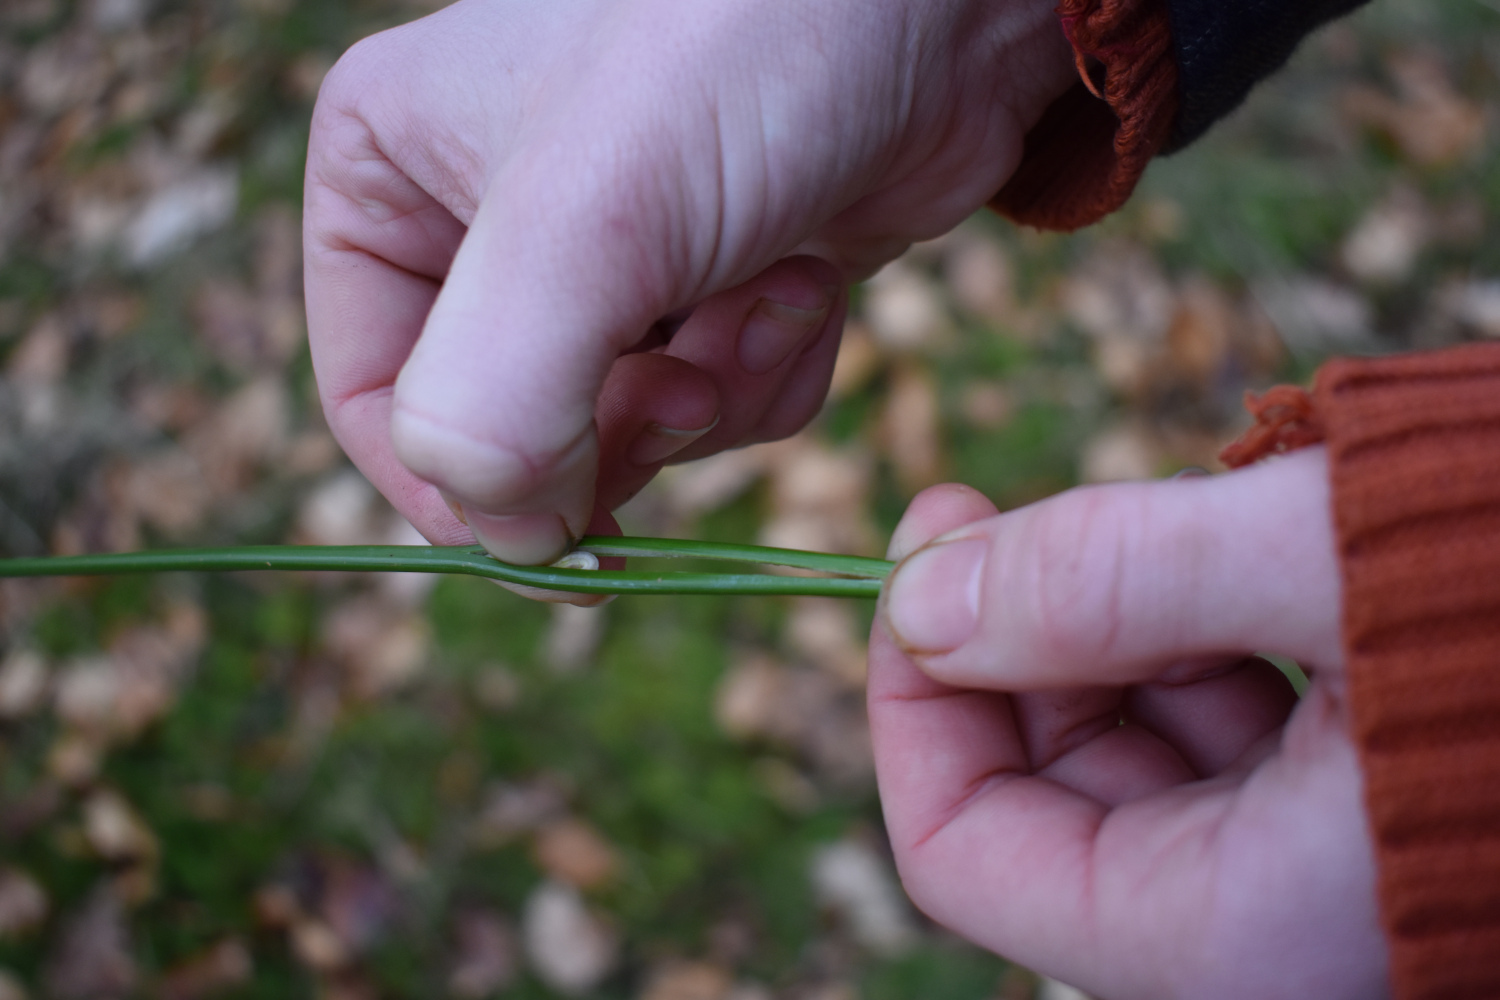
Then from each half on the stem push the spongey pith out..
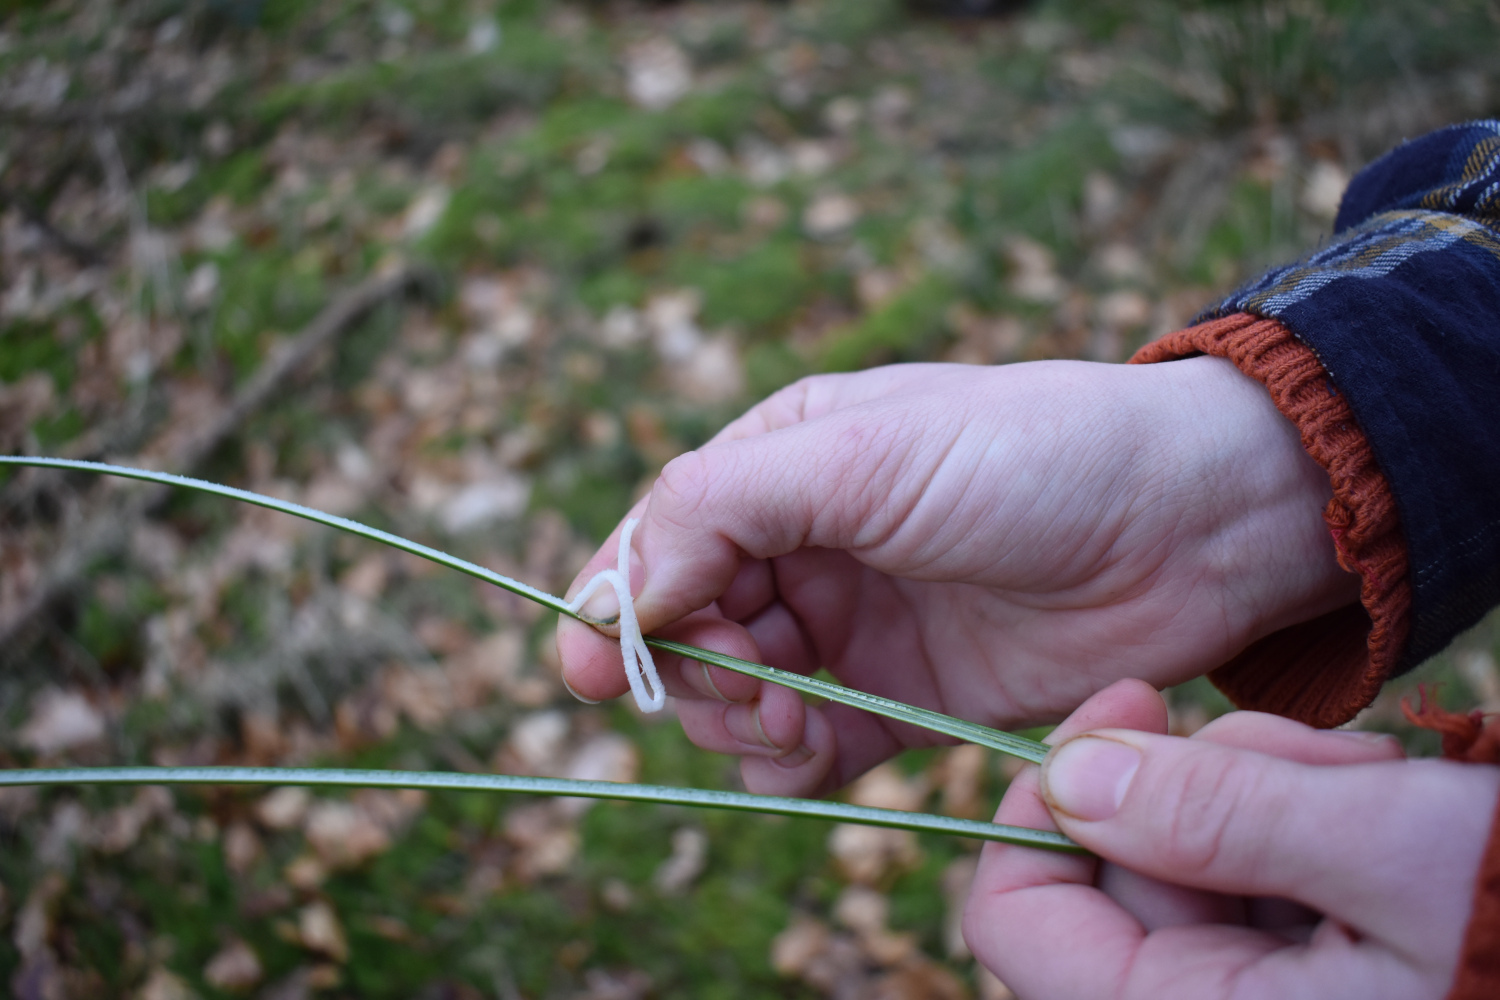
Again, with that handy thumb nail keep splitting the halves down further until from the original one stem you have a nice little bunch of fine long fibres.
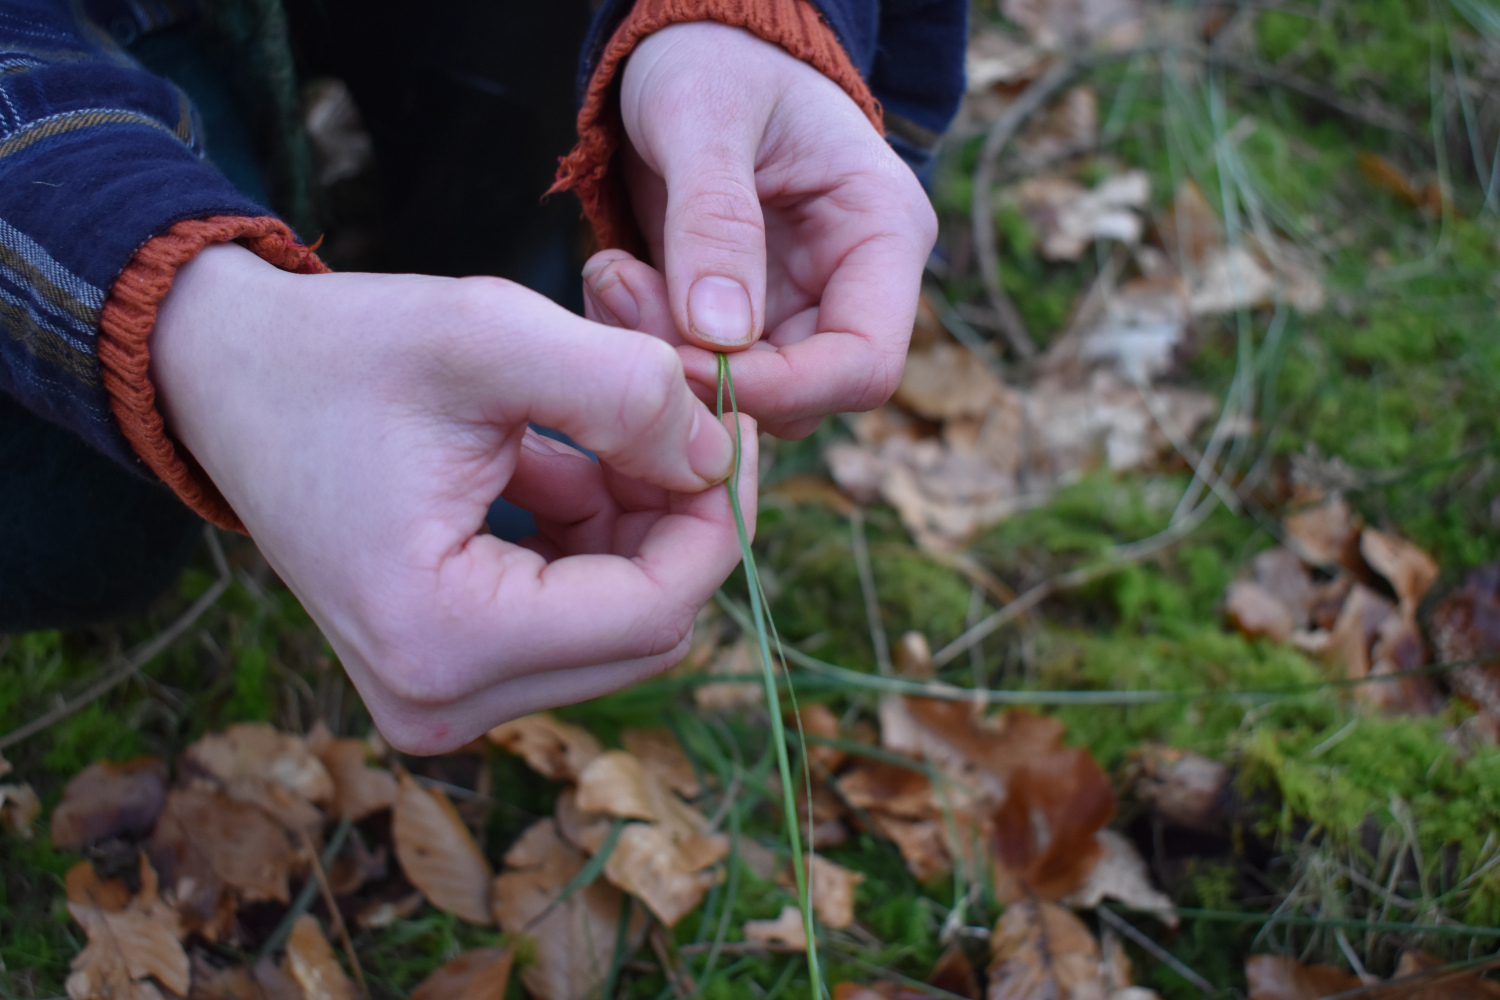
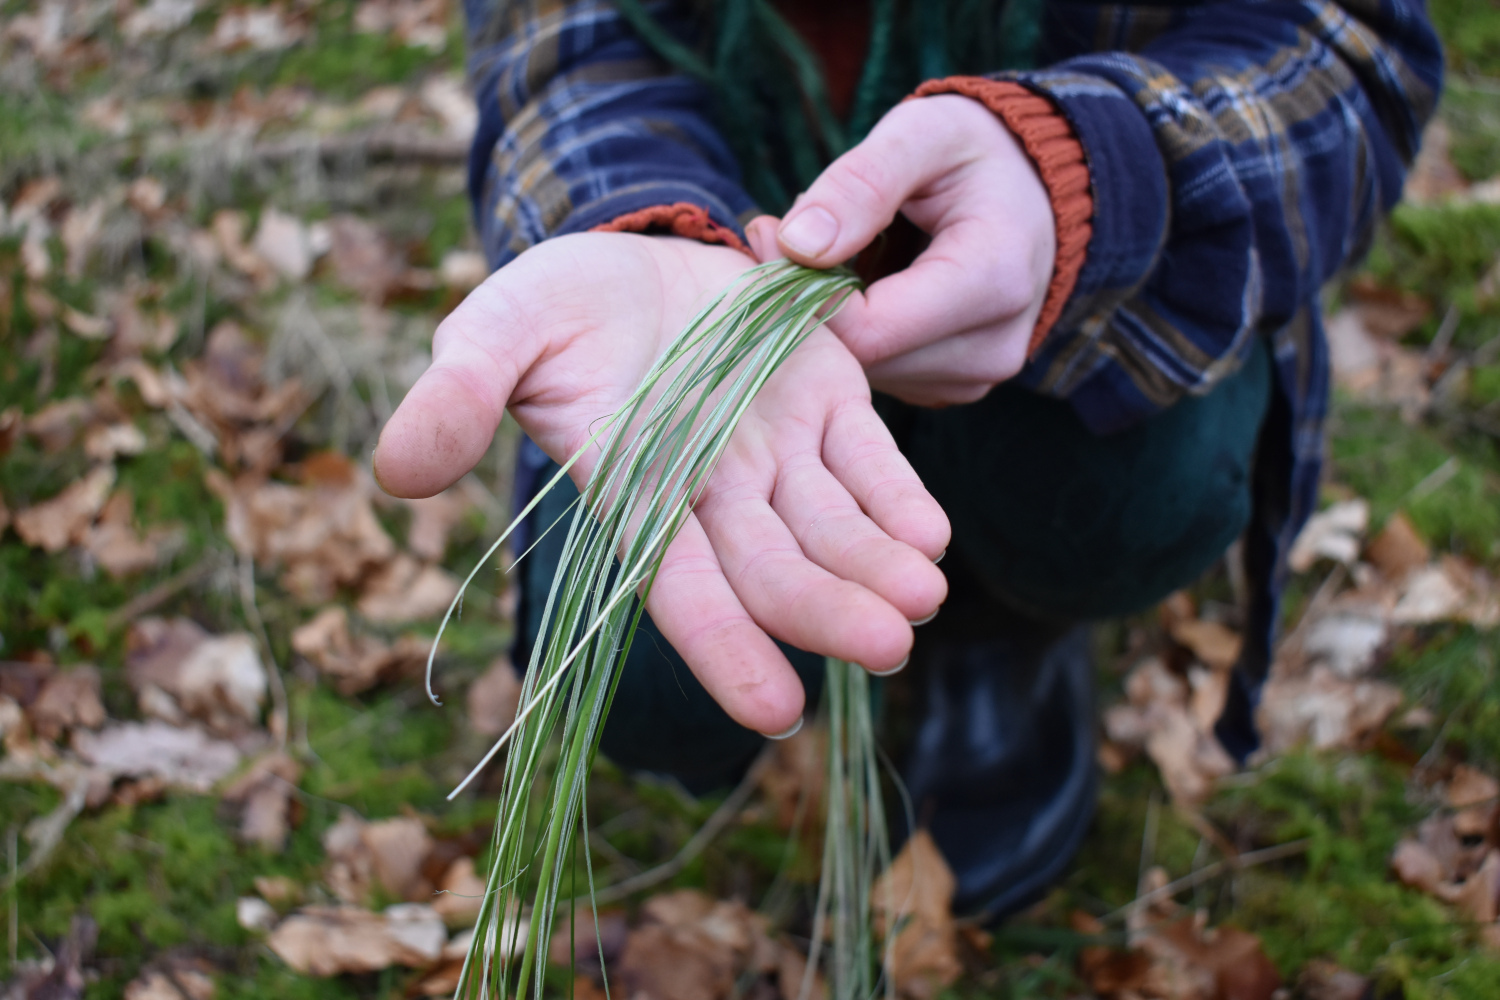
Just repeat until you have as many fibres as ye fancy :)
Hung somewhere airy in the house, these will dry in no time.
Soaking/Rehydrating
To soak the whole Juncus stems ready for weaving, spray them with hot water and leave them covered with a damp towel for 8ish hours. As always, we want to rehydrate them to the point of being flexible again but no more. If you leave them actually submerged in the water, they tend to become swollen with the water leading to a saggy basket when the fibres eventually dry out.
To rehydrate the split fibres obviously takes a lot less time and my preferred method to do this is to simply take a bunch, dip them in some water and let them rest in a towel for a few minutes then you're good to go.
Uses -
As I mentioned before Rushes are super versatile in their uses.
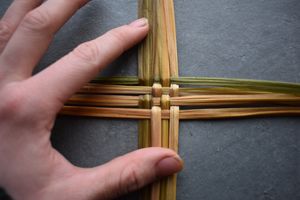
My two favourite ways to use them are either as cordage or as spokes in twined baskets. Being slightly sturdier than other leaves they make a great basis for other soft leaves to twine around such as Crocosmia, Daylilies, daffodils along with many others!
The stems also make a good core in coiled basketry, a technique we'll cover later on in the year :)
Here are a few examples of baskets I've made with rush-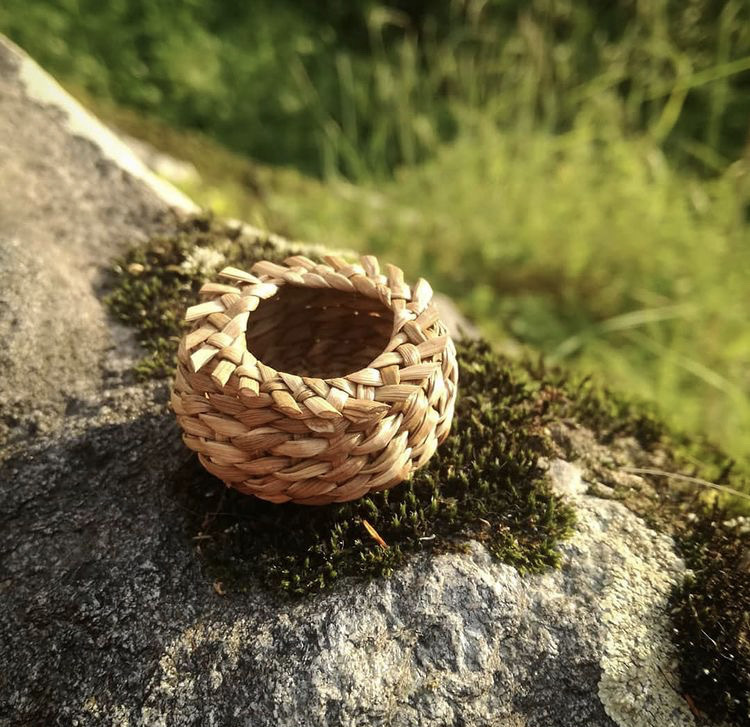
This lal basket I made when I was in India, I was desperate to weave and found some type of Rush growing in a small pond. Both the spokes and weavers are of whole Rush stems.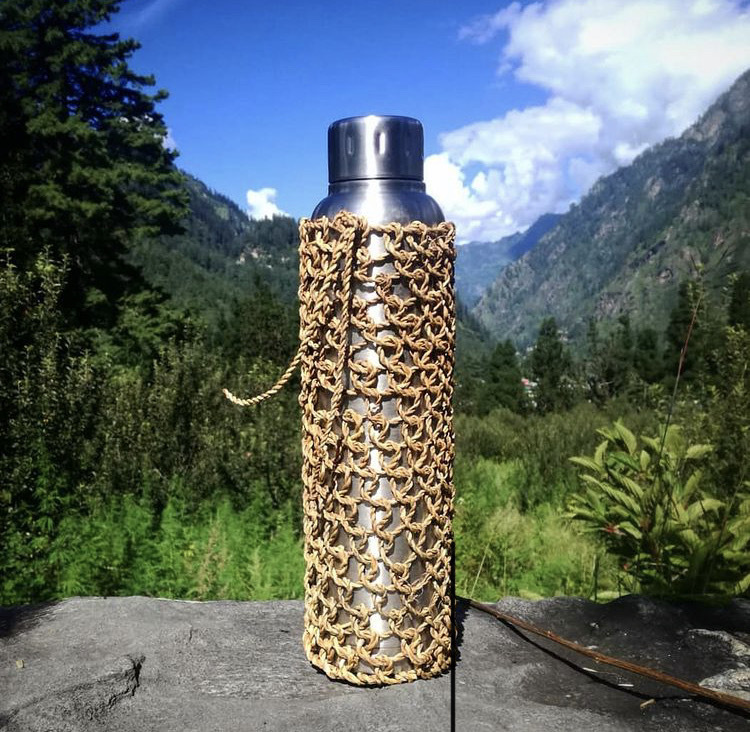 This is also made out of the same mysterious pond Rush and was created with a technique called looping. This is going to be the technique we're going to cover in our project at the end of this month.
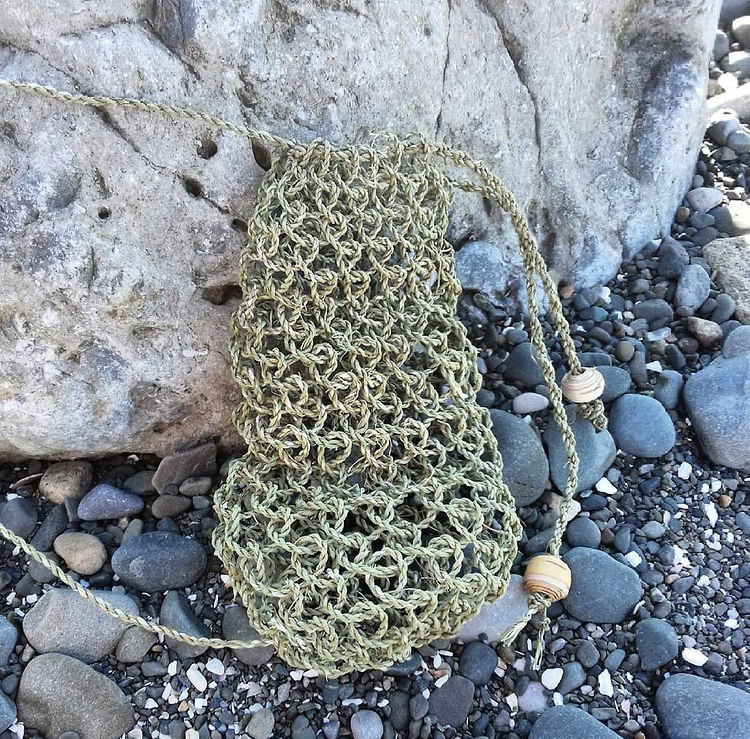
Another little looped bag this time out of split Juncus inflexus.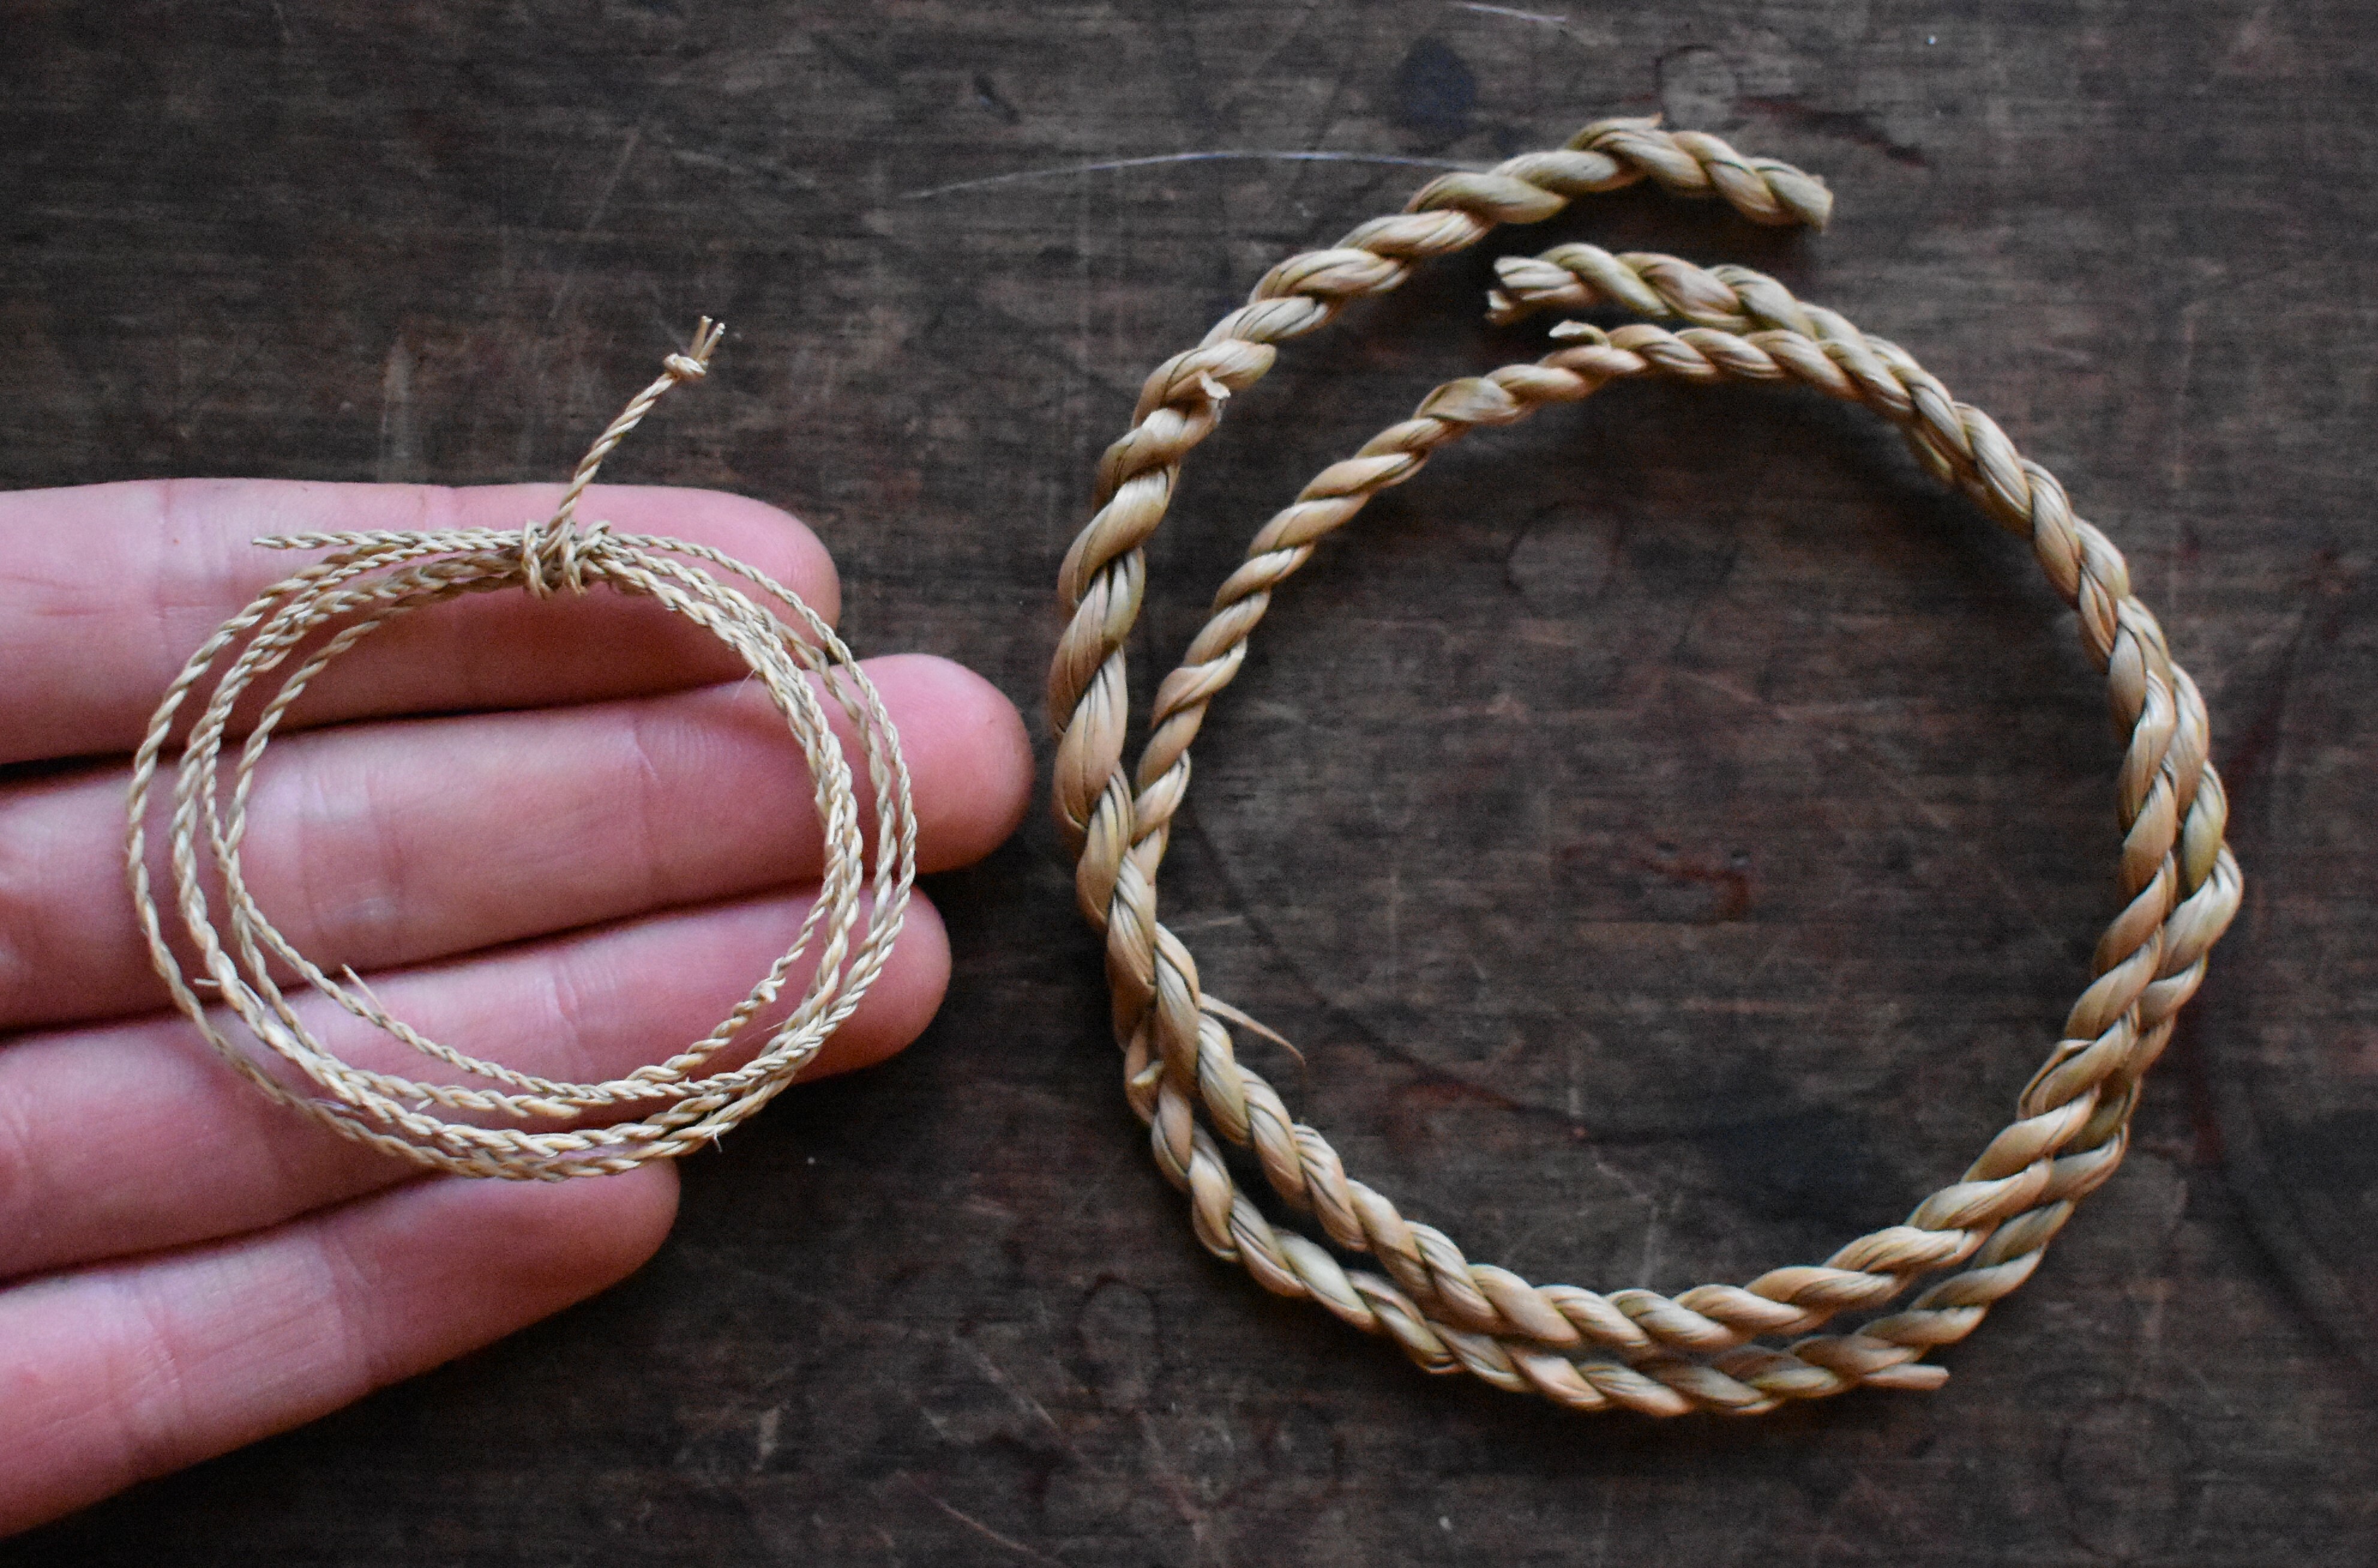 An example of cordage made with split Juncus stems on the left and whole stems on the right.
Info for members -
Juncus really lends itself to making fantastic cordage what, with its strength and fairly consistent width along the length of it's stem.. That's why this month's project is going to be a looped vessel. A vessel that's created by looping cordage together :)
It's a technique that creates strong, light and flexible vessels and is basically a simple form crochet.
What you'll need for march's tutorial -
Patience.. Weaving is a slow craft in general but looping is reaaaaallly slow! However, it's also a nice one you can easily pick up and put down as and when the fibre twiddling spirit takes you.
A good bunch of fibres! I'll be showing you with Juncus but any fairly strong fibre will do such as:
- Nz flax
- Cordyline
- Jute/Hemp
- Honeysuckle bast
- Nettle bast
- Cattail
- Bramble bast
- Linden bast etc.A hoop - this is optional, and depends on whether you would like a solid rim for the vessel or a flexible one! The hoop can be made from any branchy or vine type material.
In terms of tools a pair of scissors is the only thing you'll need for this month's project!
If you are using Juncus, it's up to you whether you want to use the whole stems or prepare them in the way shown in the processing section. Using the whole stems will create a more rigid vessel and the split stems a finer and more flexible basket.. I mean if you've got the time you could create both! :)
Anywho !
Happy gathering.
For those who are interested I've set us up a Facebook group for members simply called - Wild Basketry Course. I have sent you all an invite to your email but It's totally optional to join of course! So far though it's been a great way of communicating and makes me so happy seeing photos of everyone's baskets.
I'm also aware that I'm a lal bit behind with the cordage posts but they're almost finished and shall get them sent out in the next day or two.. I'm sorry for the lateness with these, I really didn't expect it to take so long but writing isn't something that comes easily/naturally to me.
Reet, take care fellow basket cases, been on this laptop far too long and need to go soak me some leaves for tomorrow!