For a while now, I’ve wanted to try out some Hügelkutur in my gardening. This Spring provided an opportunity. This post is a step-by-step of my experiment.
I’m always looking for where else around the property I might grow things. Being a hilly property surrounded by tall trees, not everyplace is suitable for a garden. I identified a spot that got good sun and only mildly sloped.
One reason I wanted a raised bed is to thwart the voles. I’ve had occasional trouble with voles burrowing under my fences and eating my root crops. They love things like potatoes, carrots, beets, etc. Since voles seldom come above ground, they’re tough to trap.
A raised bed with a bottom of 1/2-inch hardware cloth would be fairly vole resistant. A raised bed would be easier to tend and keep my garden soil contained. I had a lot of old 16-foot deck boards from when we resurfaced the deck. Ideal salvage for a raised bed. I did have to buy the hardware cloth, though. I didn’t have enough scrap of that.
I opted for a 4 x 8 foot bed as an economical use of 16-foot boards. I made a box 3 boards high, approximately 16 inches. After building the “box,” I stapled the hardware cloth onto the bottom and set it onto the (more or less) leveled spot.
Hügelkultur
If the term is new to you, a bit of web research will fill in the details. Basically, you pile a lot of old wood and cover it with soil and plant on the top and sides of the hill. Hügel is German for “hill” The core of wood absorbs water, which it slowly releases, keeping the soil moist. As the wood breaks down, it releases nutrients back into the soil.
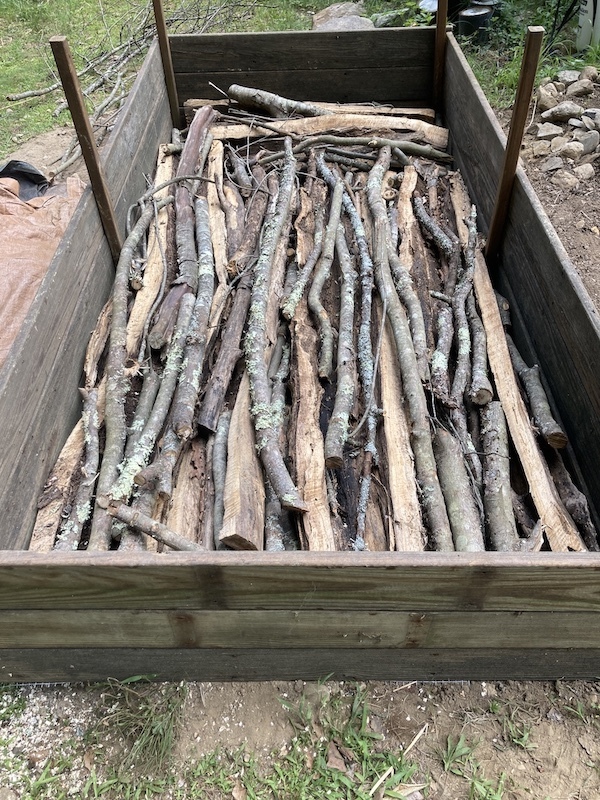
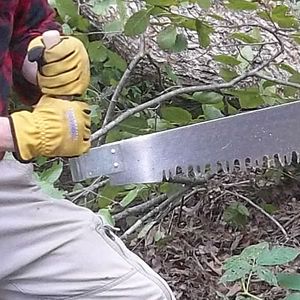
With the box set in place, but before we added the soil, we laid down a layer of old wood as the Hügelkultur part. This past winter, we had a dead maple tree fall over: a handy source for the wood. We laid in sections of the hollow maple, dead branches, and scrap to fill the nooks and crannies as best we could.
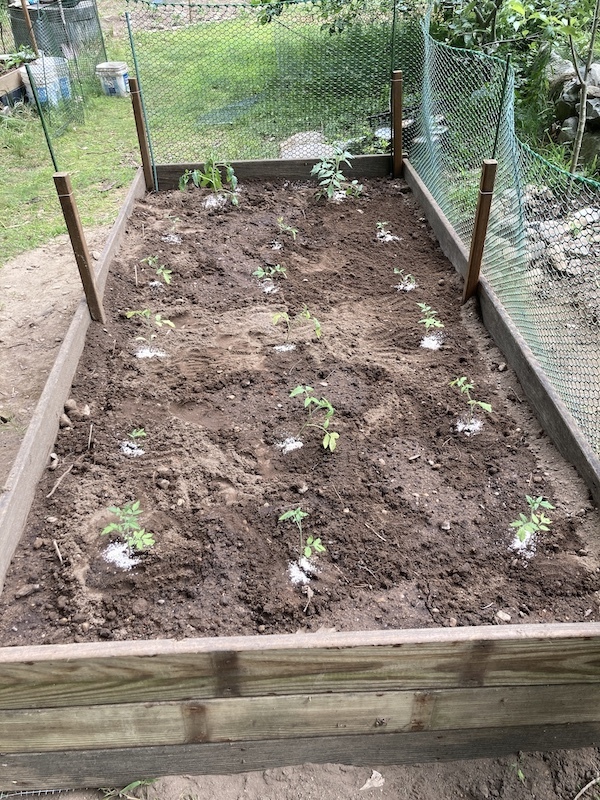
Over the wood, we spread a layer of partially decomposed compost. On top of that, we spread 6 to 8 inches of plain loam. I enhanced the loam with some wood ash and “liquid gold” before planting.
We had many “excess” tomato plants after starting the seeds indoors. It’s hard to have too many tomatoes. What doesn’t go into batches of salsa, gets canned as just-tomatoes. If there are still too many tomatoes, we make sauce. That takes a LOT of tomatoes.
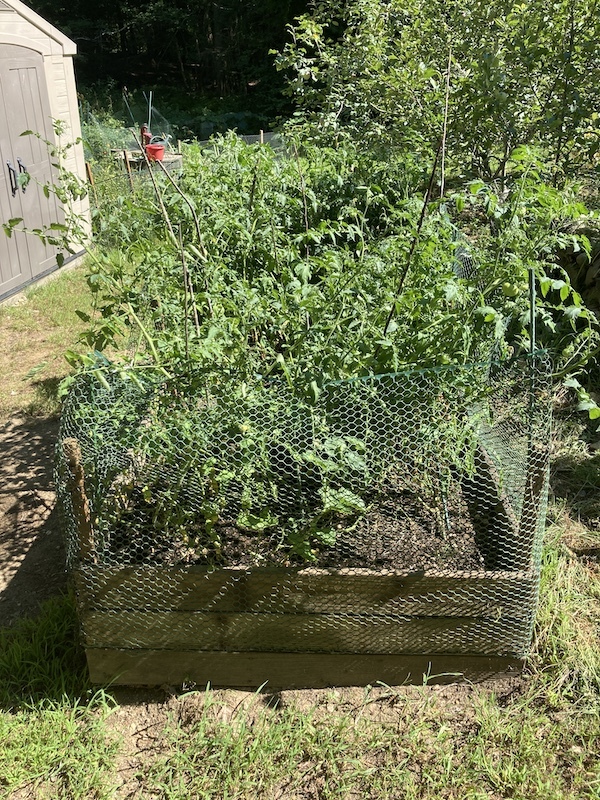
The final touch was to add a fence of plastic mesh. This was mostly to keep the chickens out. The average wild critter doesn’t bother tomato plants. Chickens don’t like the plants either but they do love to dig in any exposed dirt, kicking aside any pesky plants I left in their way.
How did it turn out? By late July, the leftover seedlings were more robust than any of the other tomatoes we’d planted in the other gardens. They were very happy. They got a later start, so they are just now setting green tomatoes. By the end of the season, though, the raised bed will have added to our harvest.
Now, I’m looking around for where I might install another raised bed.
