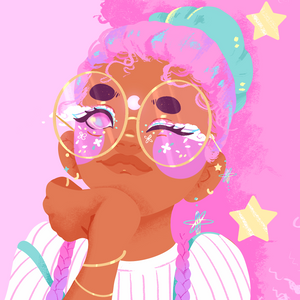
 I get questions about how I create faces, angles that I approach first, and some asking if I use traditional shape finding methods as a part of my technique. I decided to demonstrate a quick look into how I sketch. This is by far super detailed because if it were, it would be ten times longer. But I wanted to give a general perspective on my approach. Originally, I recorded this entire sketching process but unfortunately, my iPad decided to crash the footage, so I hope these pictures and speed drawings will do the trick.
Empty Space
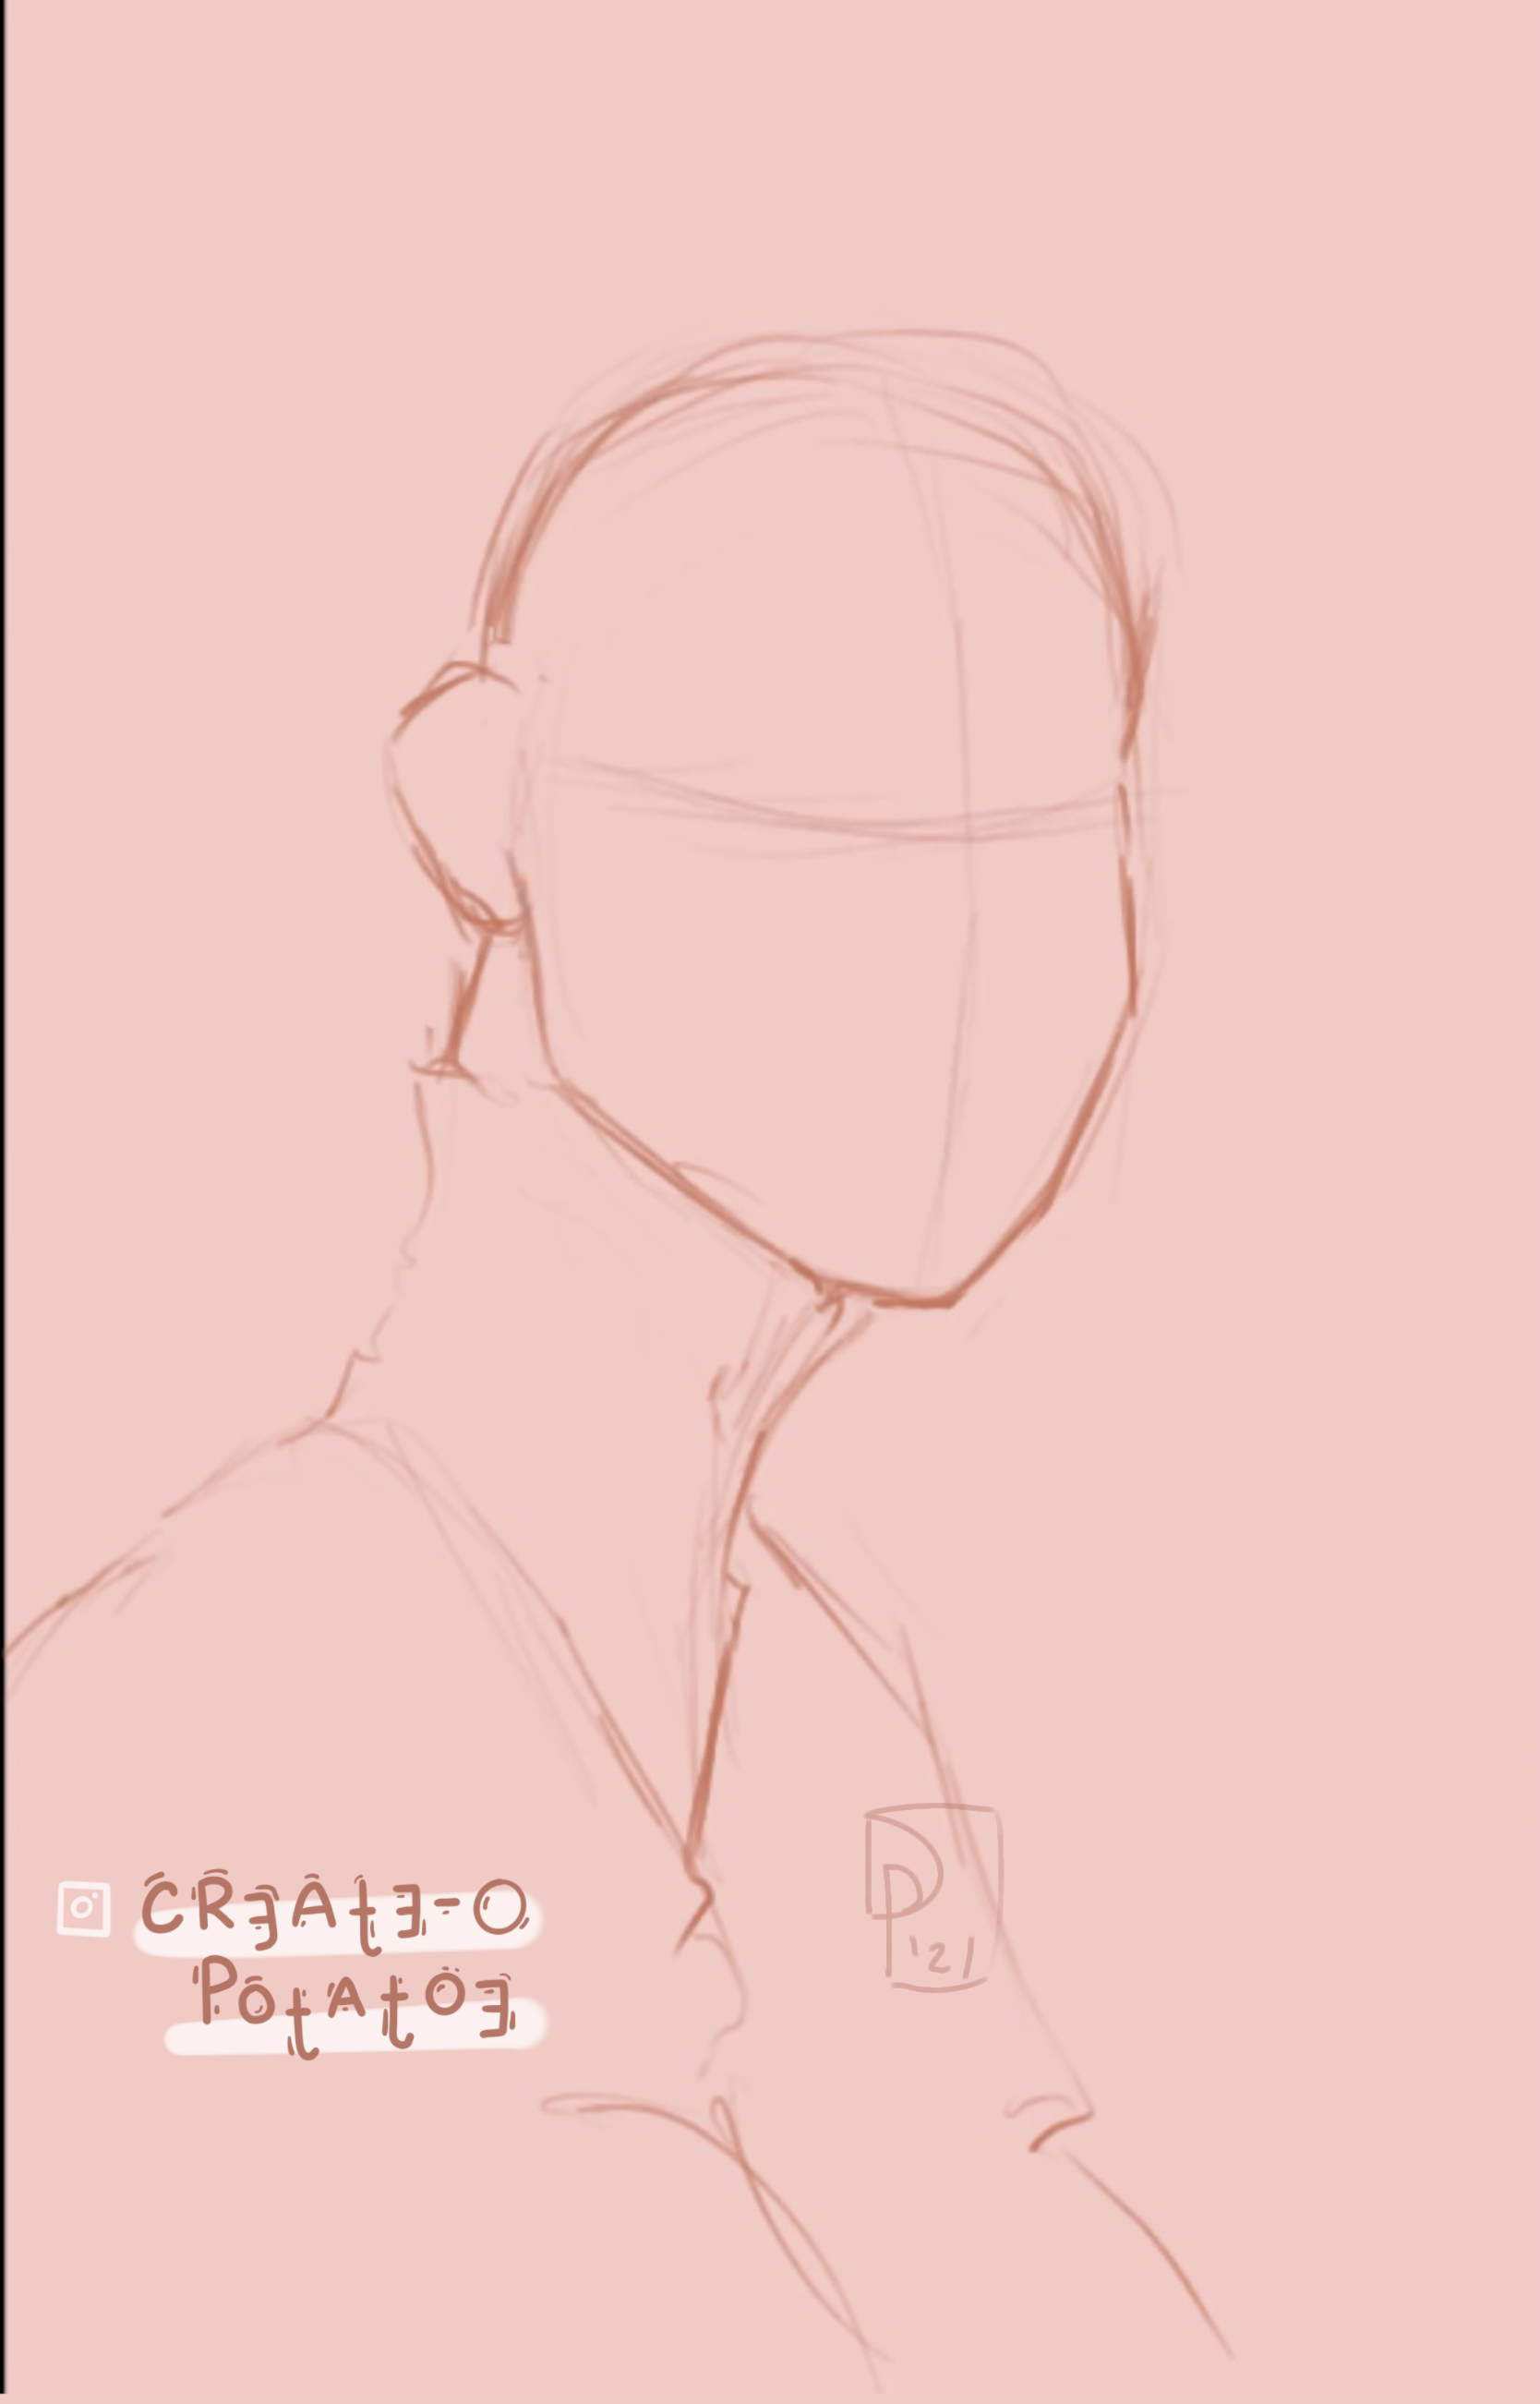
To be brutally honestly, I sketch quite wildly (my art professor used to call my drawing technique chicken scratch). I look at the empty space and sometimes my reference as well and I draw a loose sketch of how I want it to look. Mostly, to exercise my wrist, get it ready for a long sketching process (because I do sketch long). I don't do this to perfect the sketch, rather to try out new techniques while sketching, instead of sticking with one. For example: trying out new brushes (square strokes or smooth), trying out realistic rather than illustrative, etc. remember: sketching is for practice, not perfection
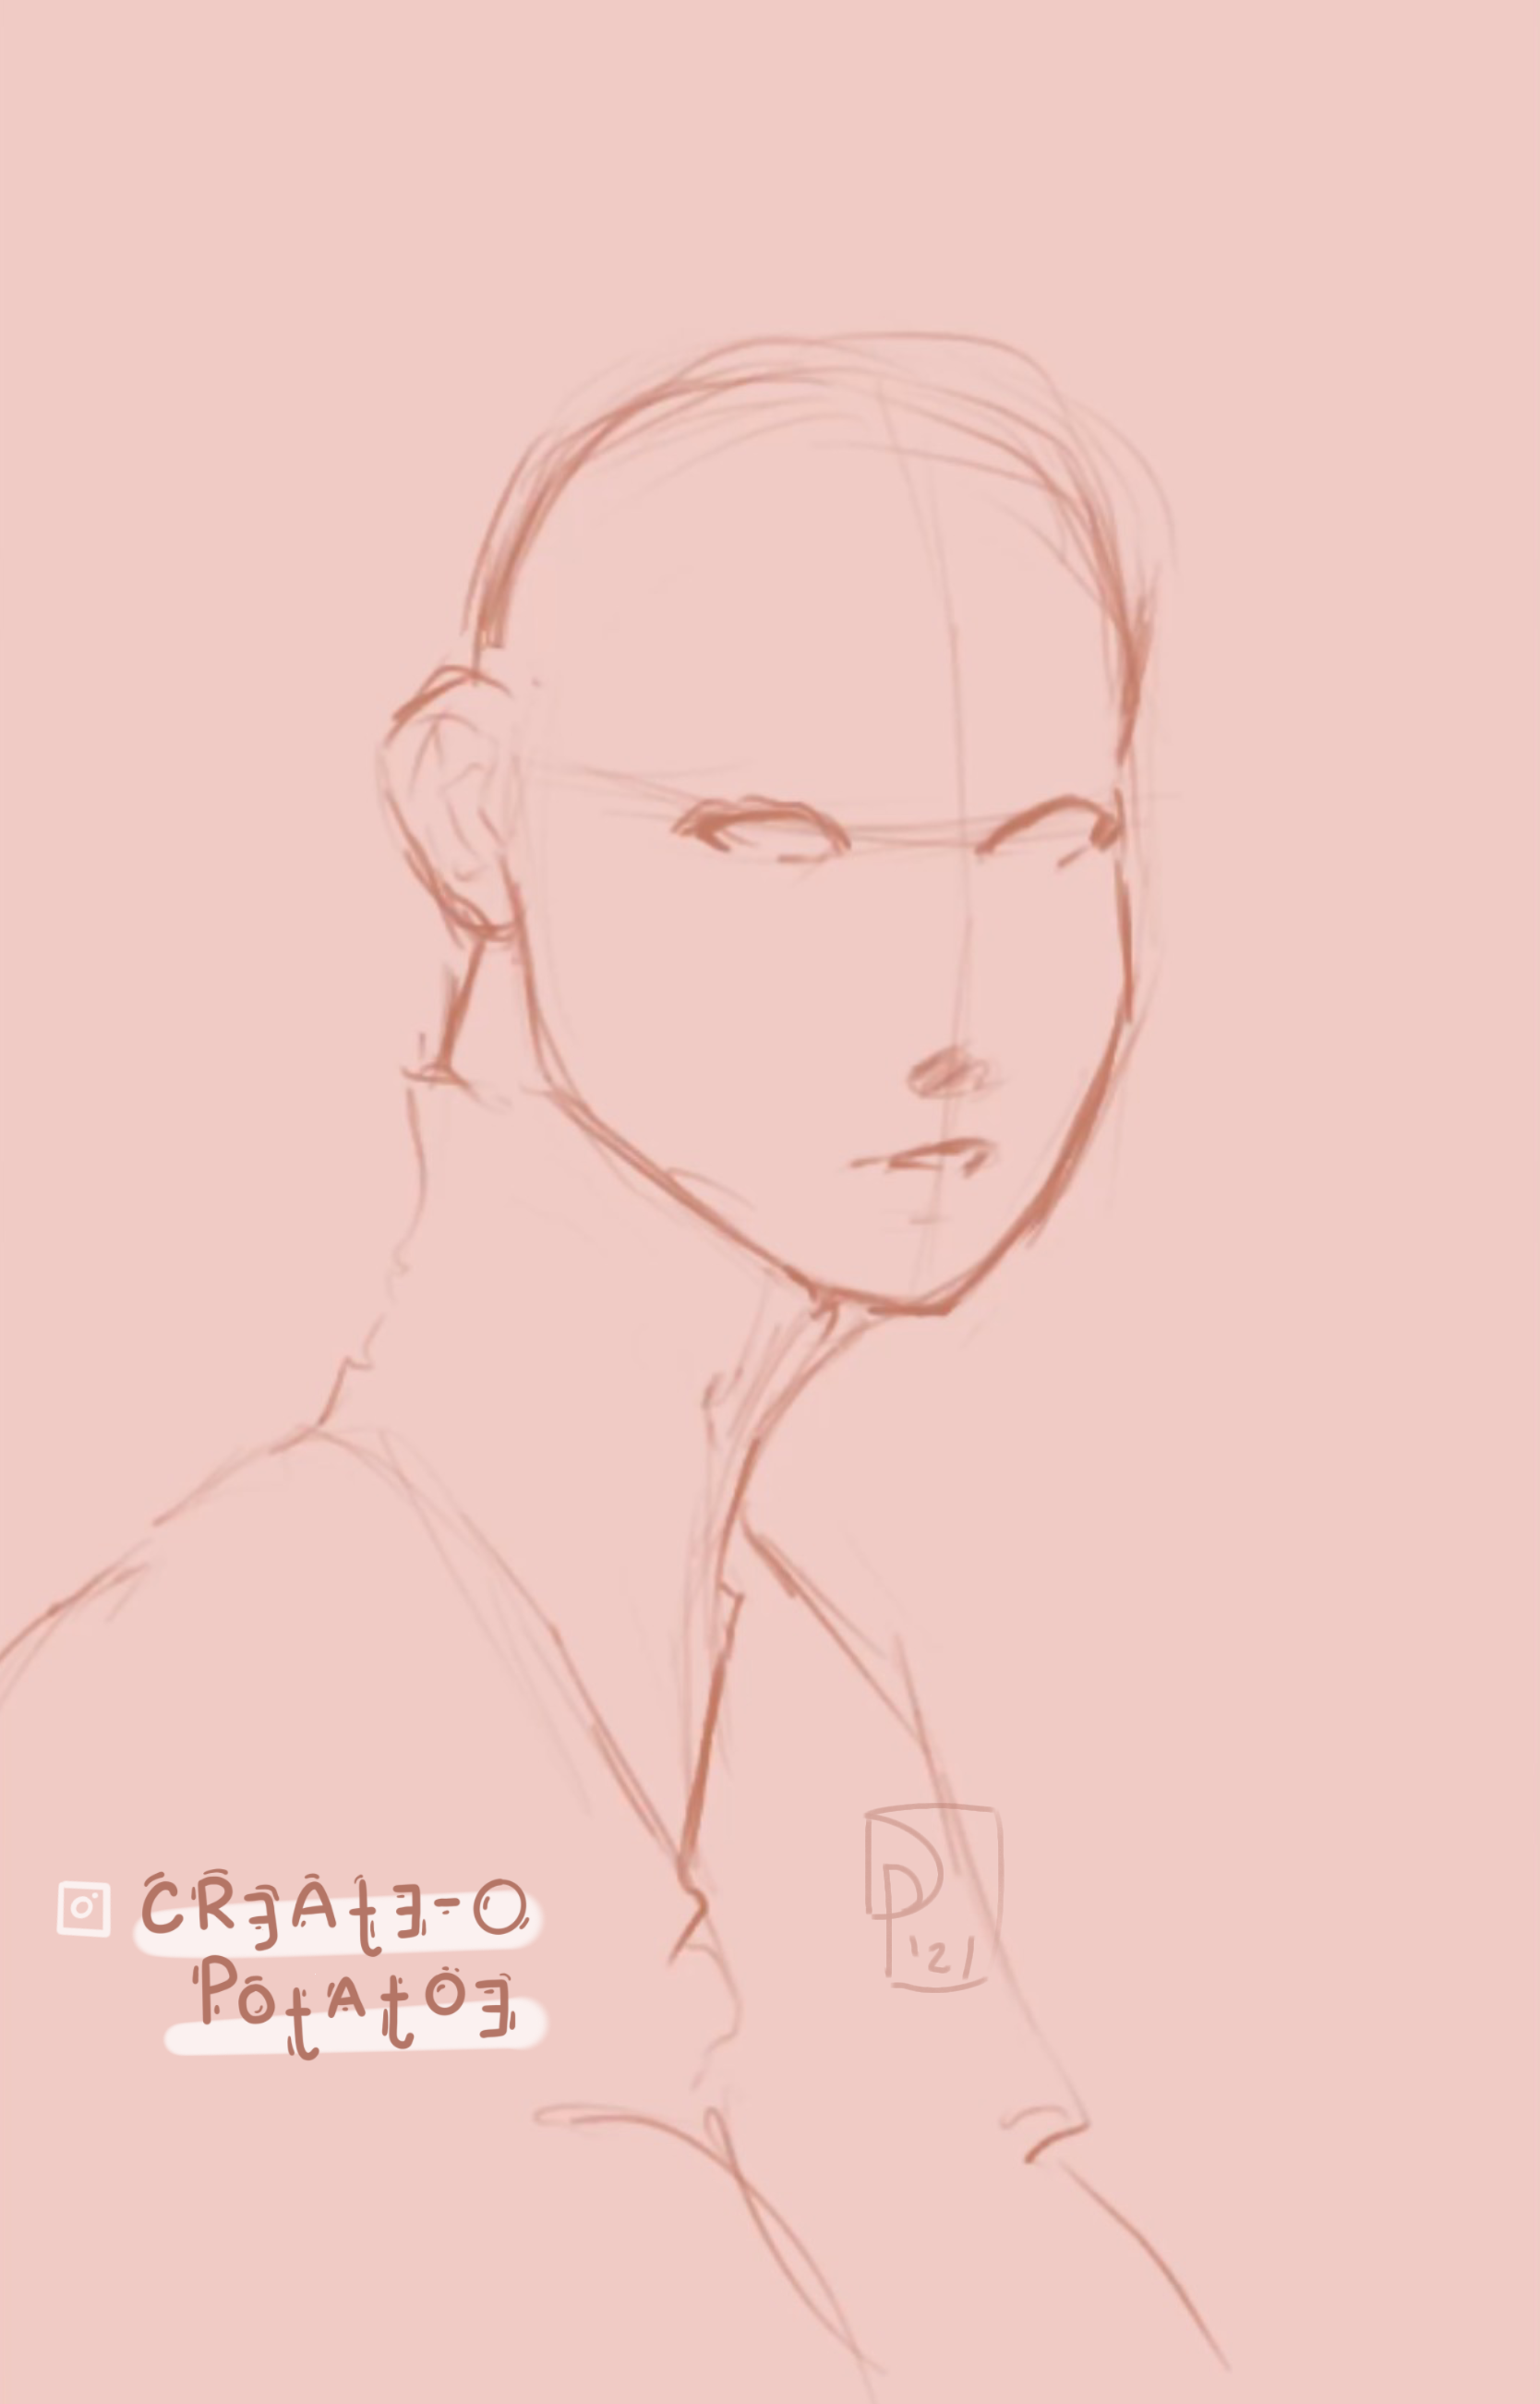
Eventually, I utilize the traditional ways of drawing when it comes to portraits so that I can frame the face like below.
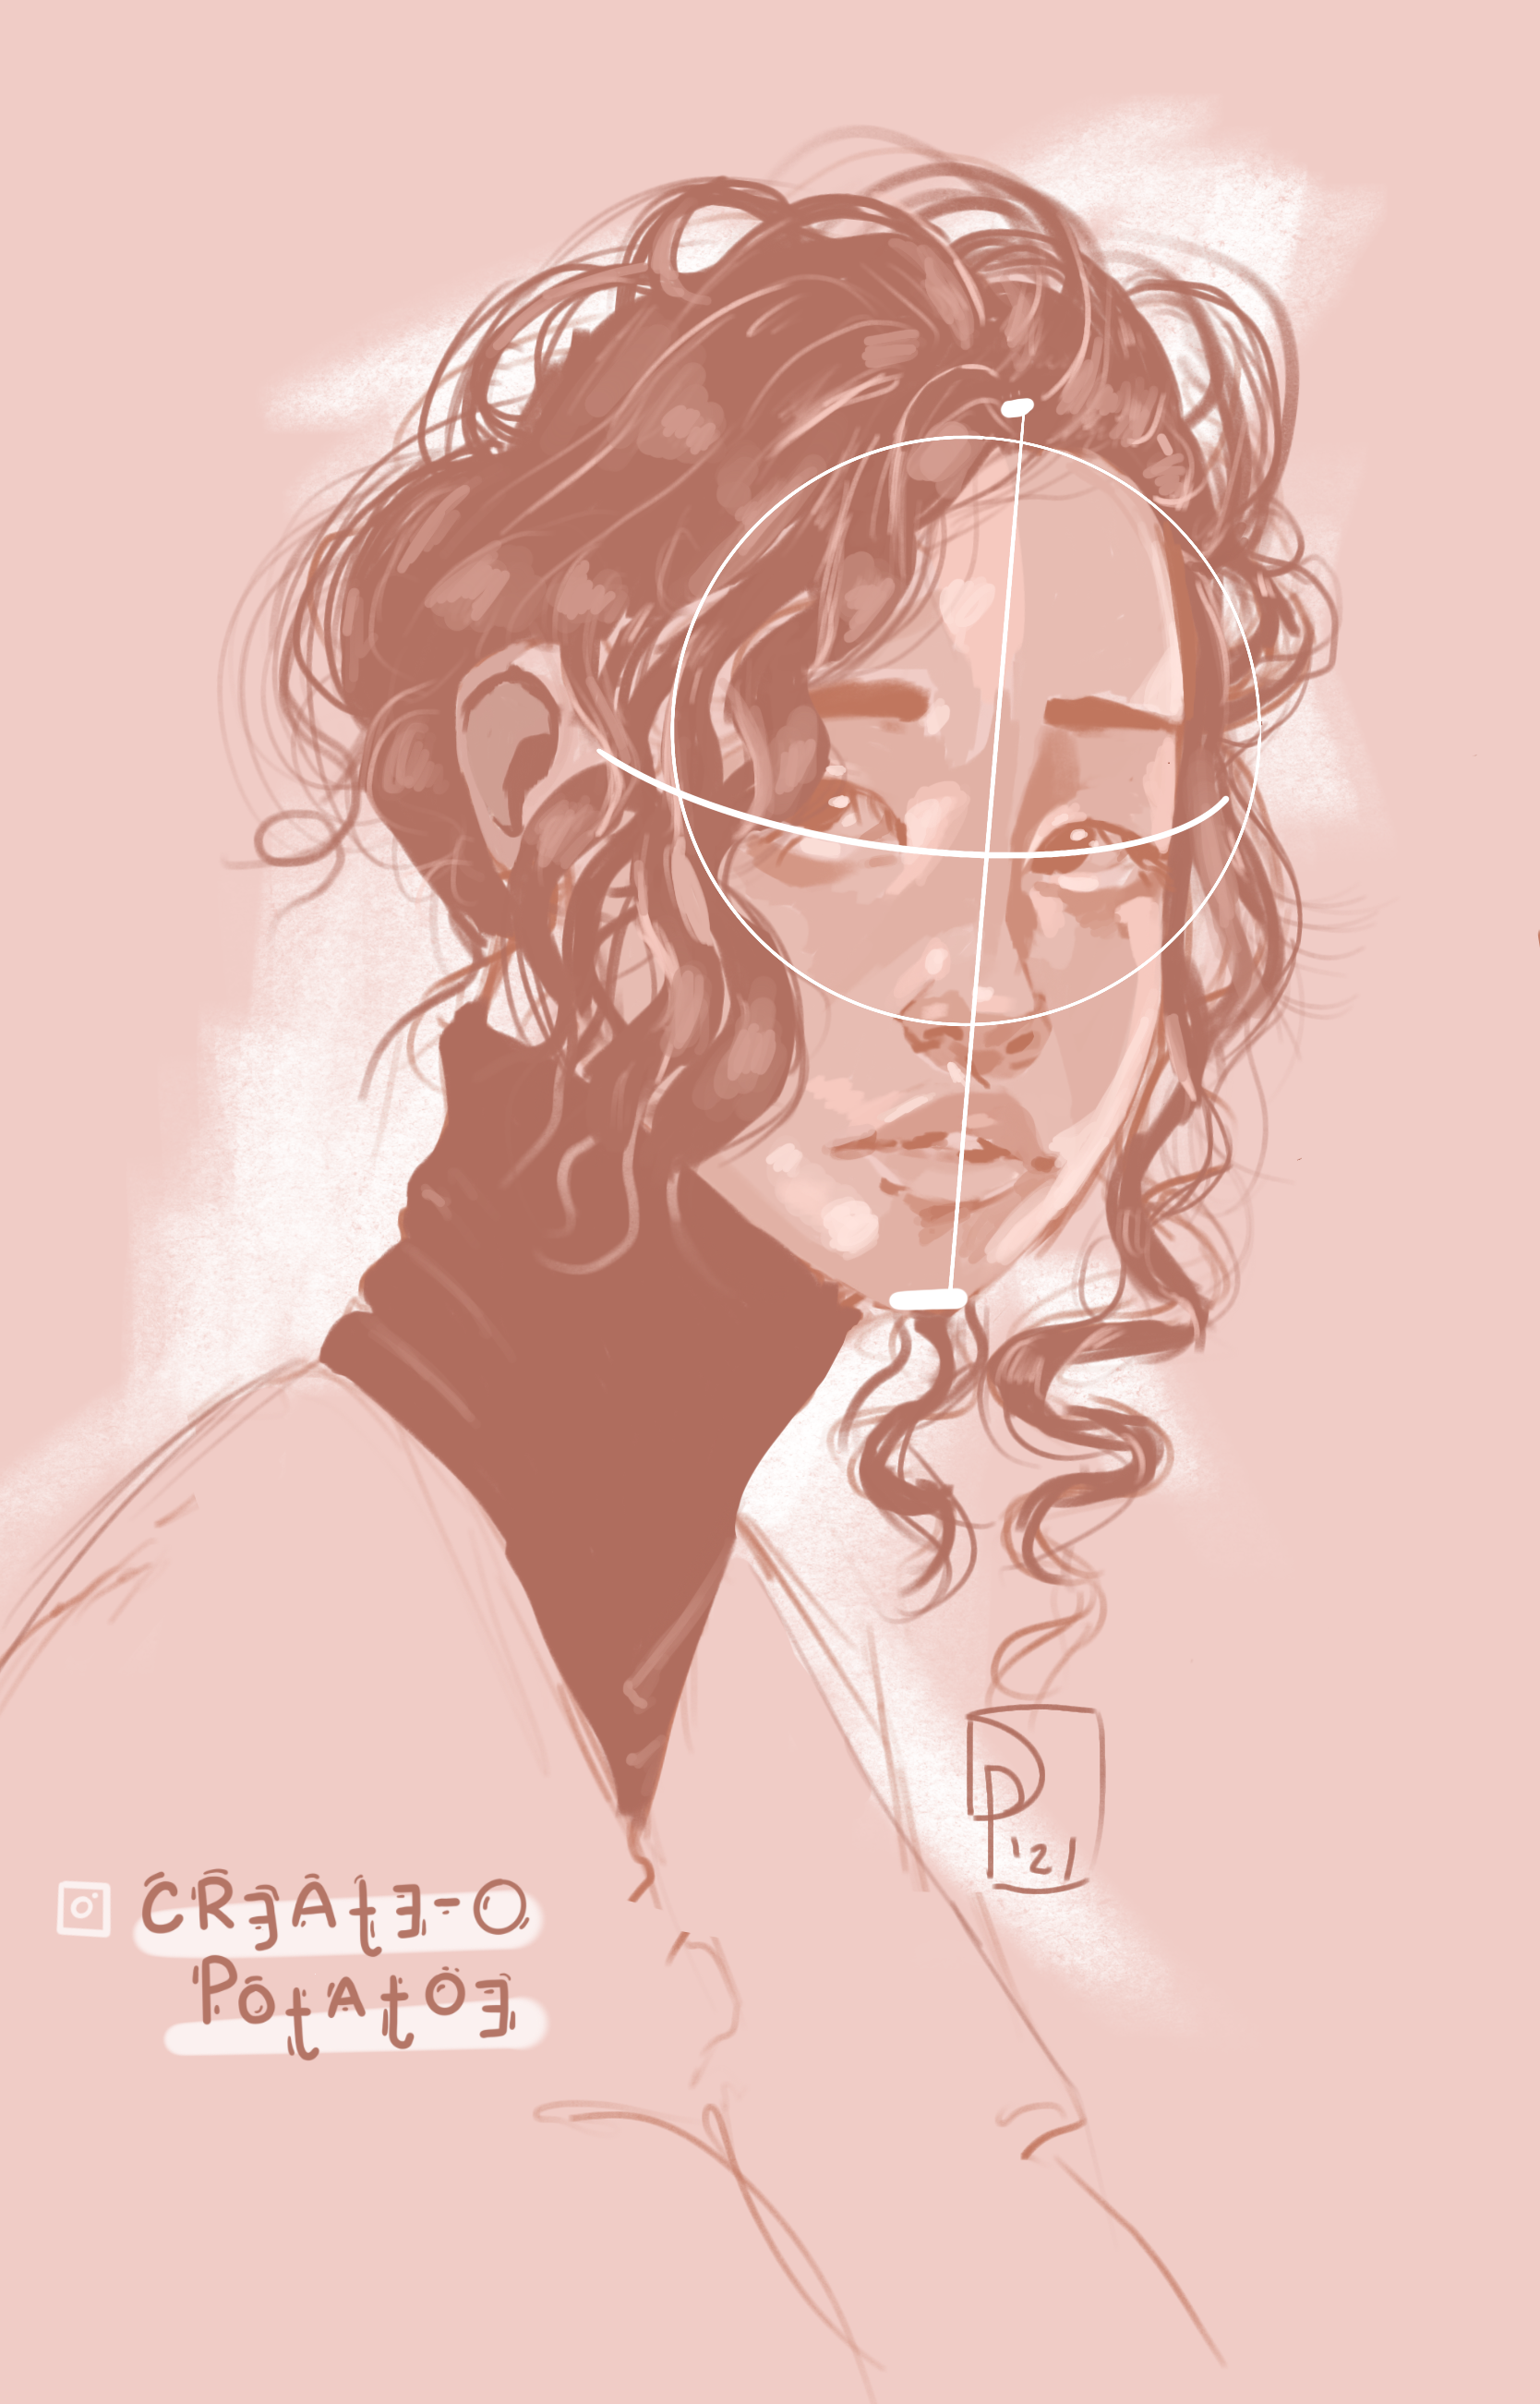
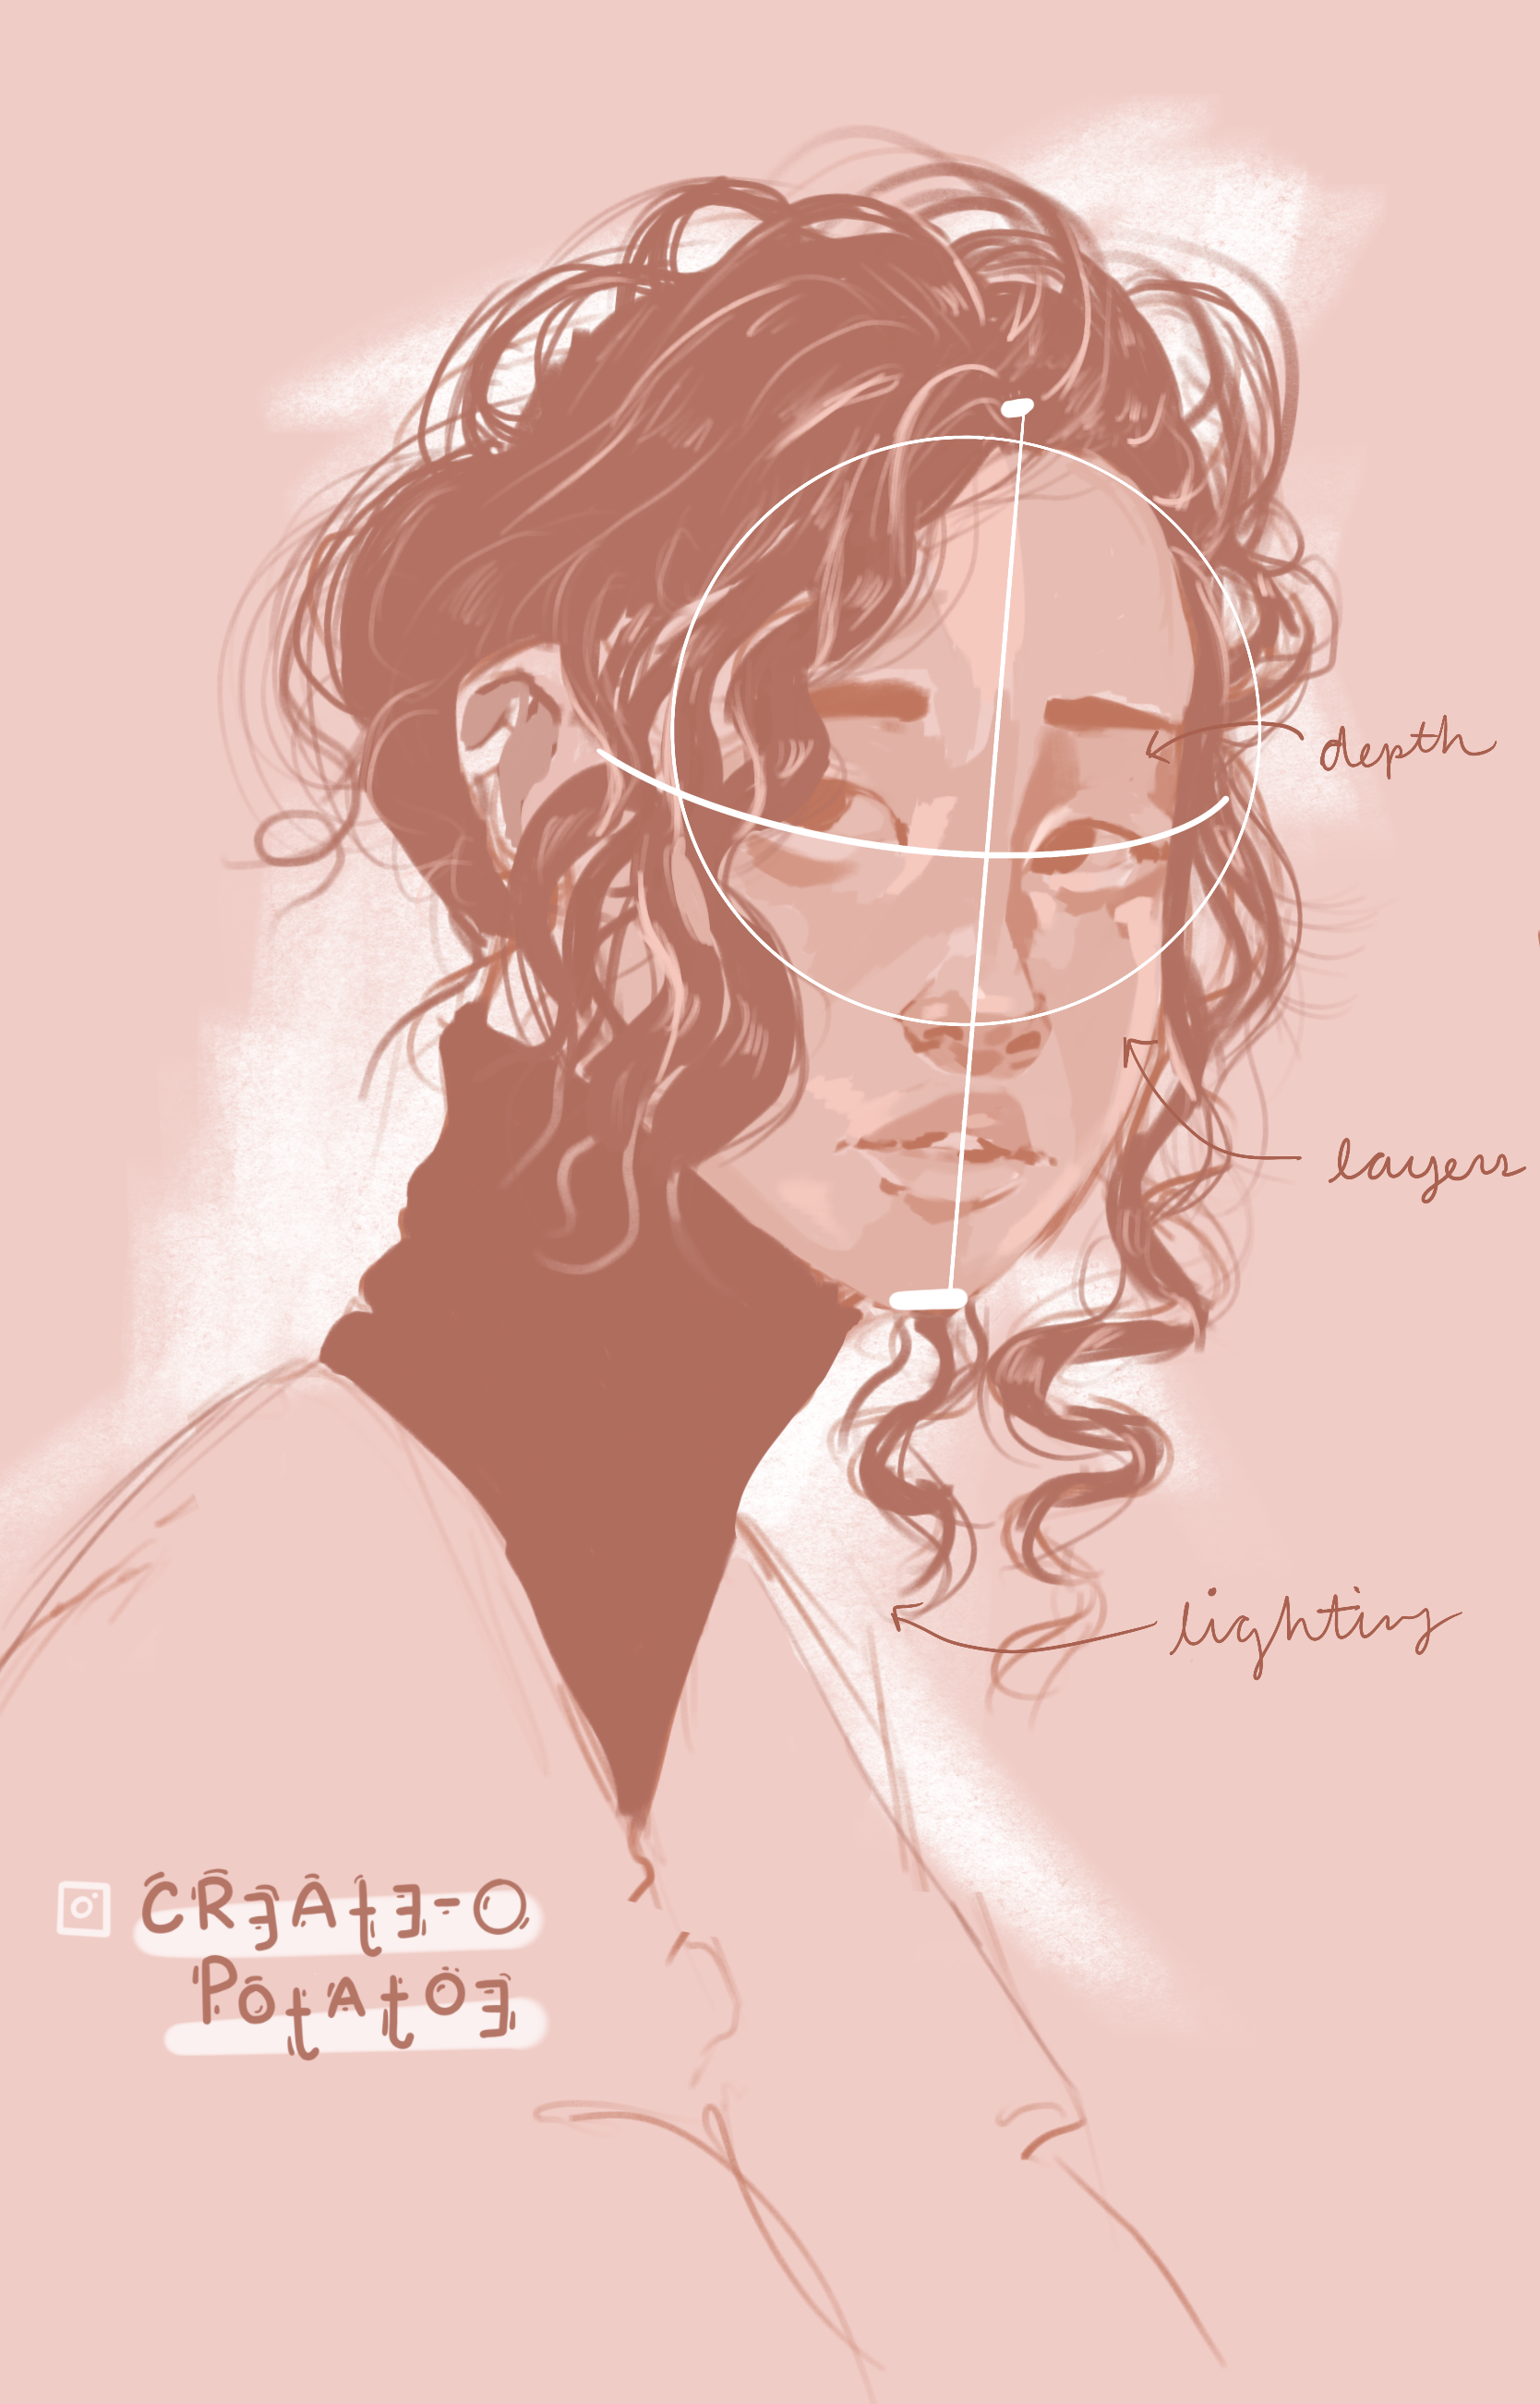
Here's another quick look into the "traditional" drawing steps that I take. Meaning, I do utilize drawing a circle where the face is going to be and creating lines for the top of the head, chin, and eyes. Typically I curve my eye line as a guide for how I want to draw the eyes, either curved or more straight. I used my final drawing to show how the use of the circle and lines, framed my final piece.
Forming The Features
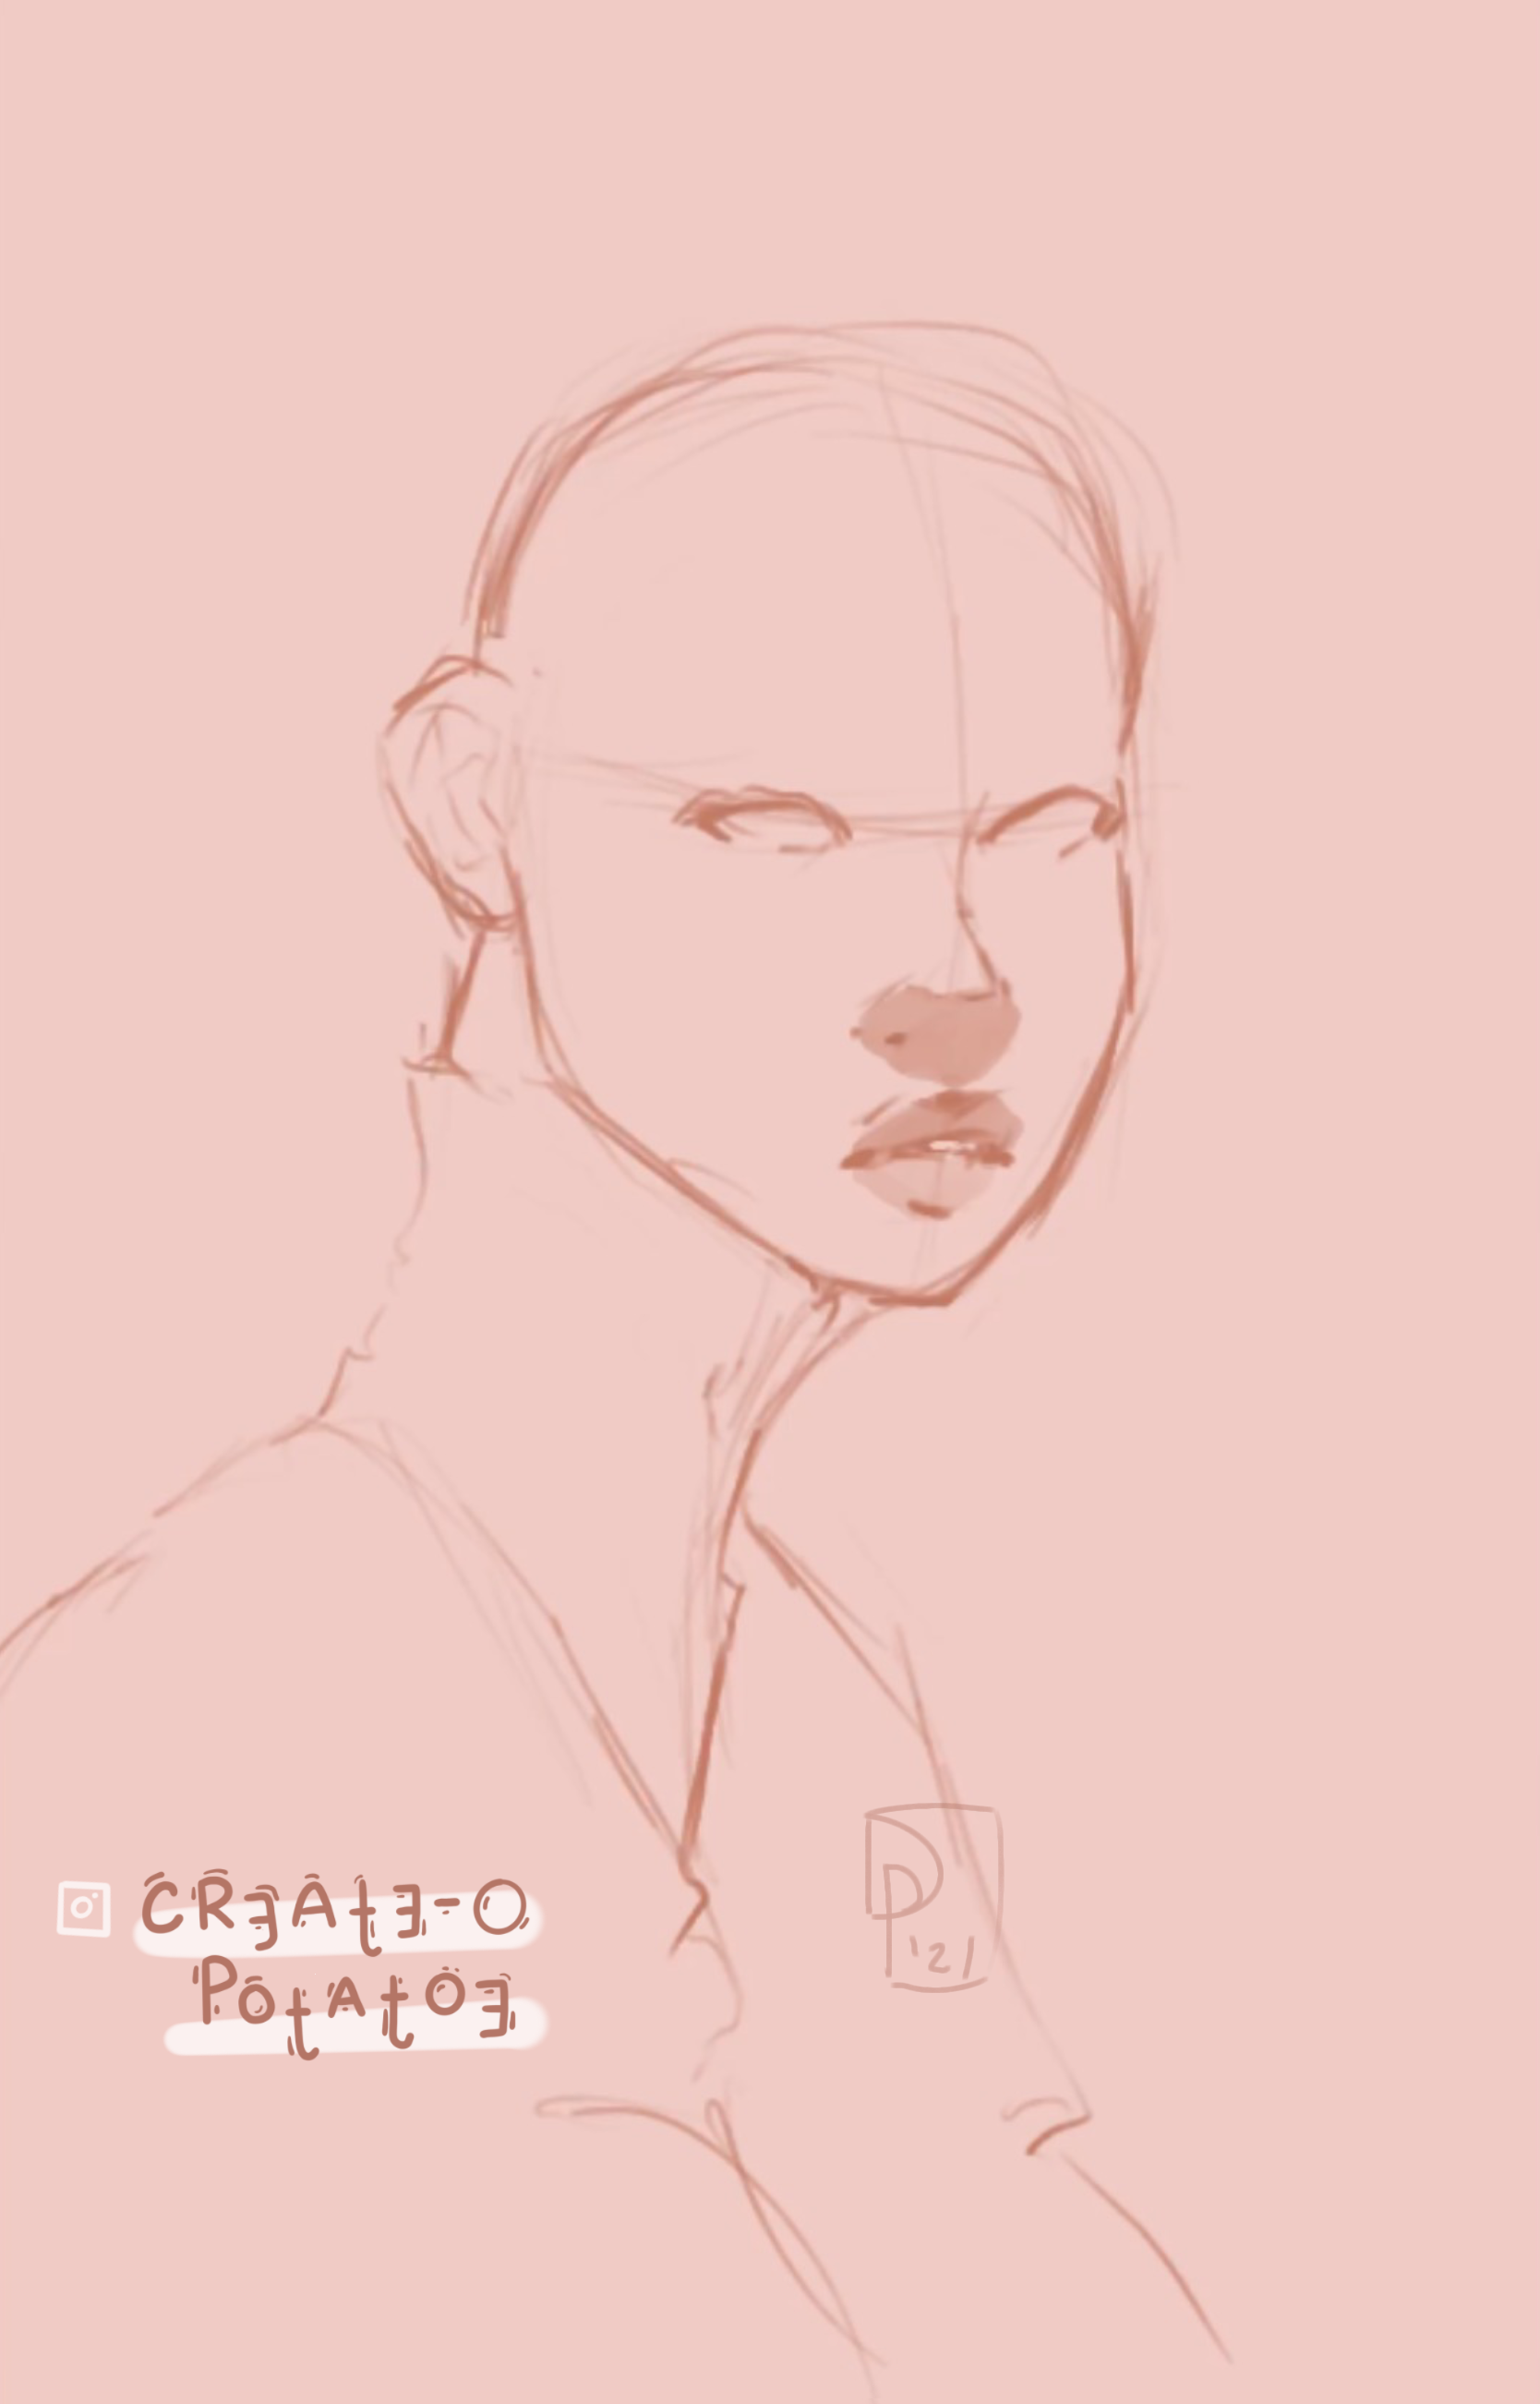
I tend to make more mistakes than I care to admit. The first stage of sketching the face is always a hit or miss for me. But, this is a sketch, nothing less, nothing more.
I like to focus on one thing at a time. After forming the frame of the face through the empty space I provide myself, I frequently mark where I want the nose to be by creating the nose shadow (the shadow commonly found underneath your nose or underneath drawings of noses). If you watch other artists draw, this is often how they flesh out their noses as well.
Then, for me, it's a pick between the lips or the eyes. If I'm having a hard time figuring out the lips, I erase them and focus on the eyes. If I have a hard time focusing on the eyes, I erase them and wait until I frame out the lips. I never switch between drawing the two at the same time. That would immediately cause chaos in my head.
In the case of this specific drawing, I created a tiny shadow for the nose (because I still wasn't sure just how big I wanted it to be), started framing the eyes, and then started shaping the lips.
Then I went back to the lips to fill them out more and form more of a defined (yet still loose) shape and as you can see, touched back on that nose shadow to make it wider (finally deciding the width of the nose).
General Details
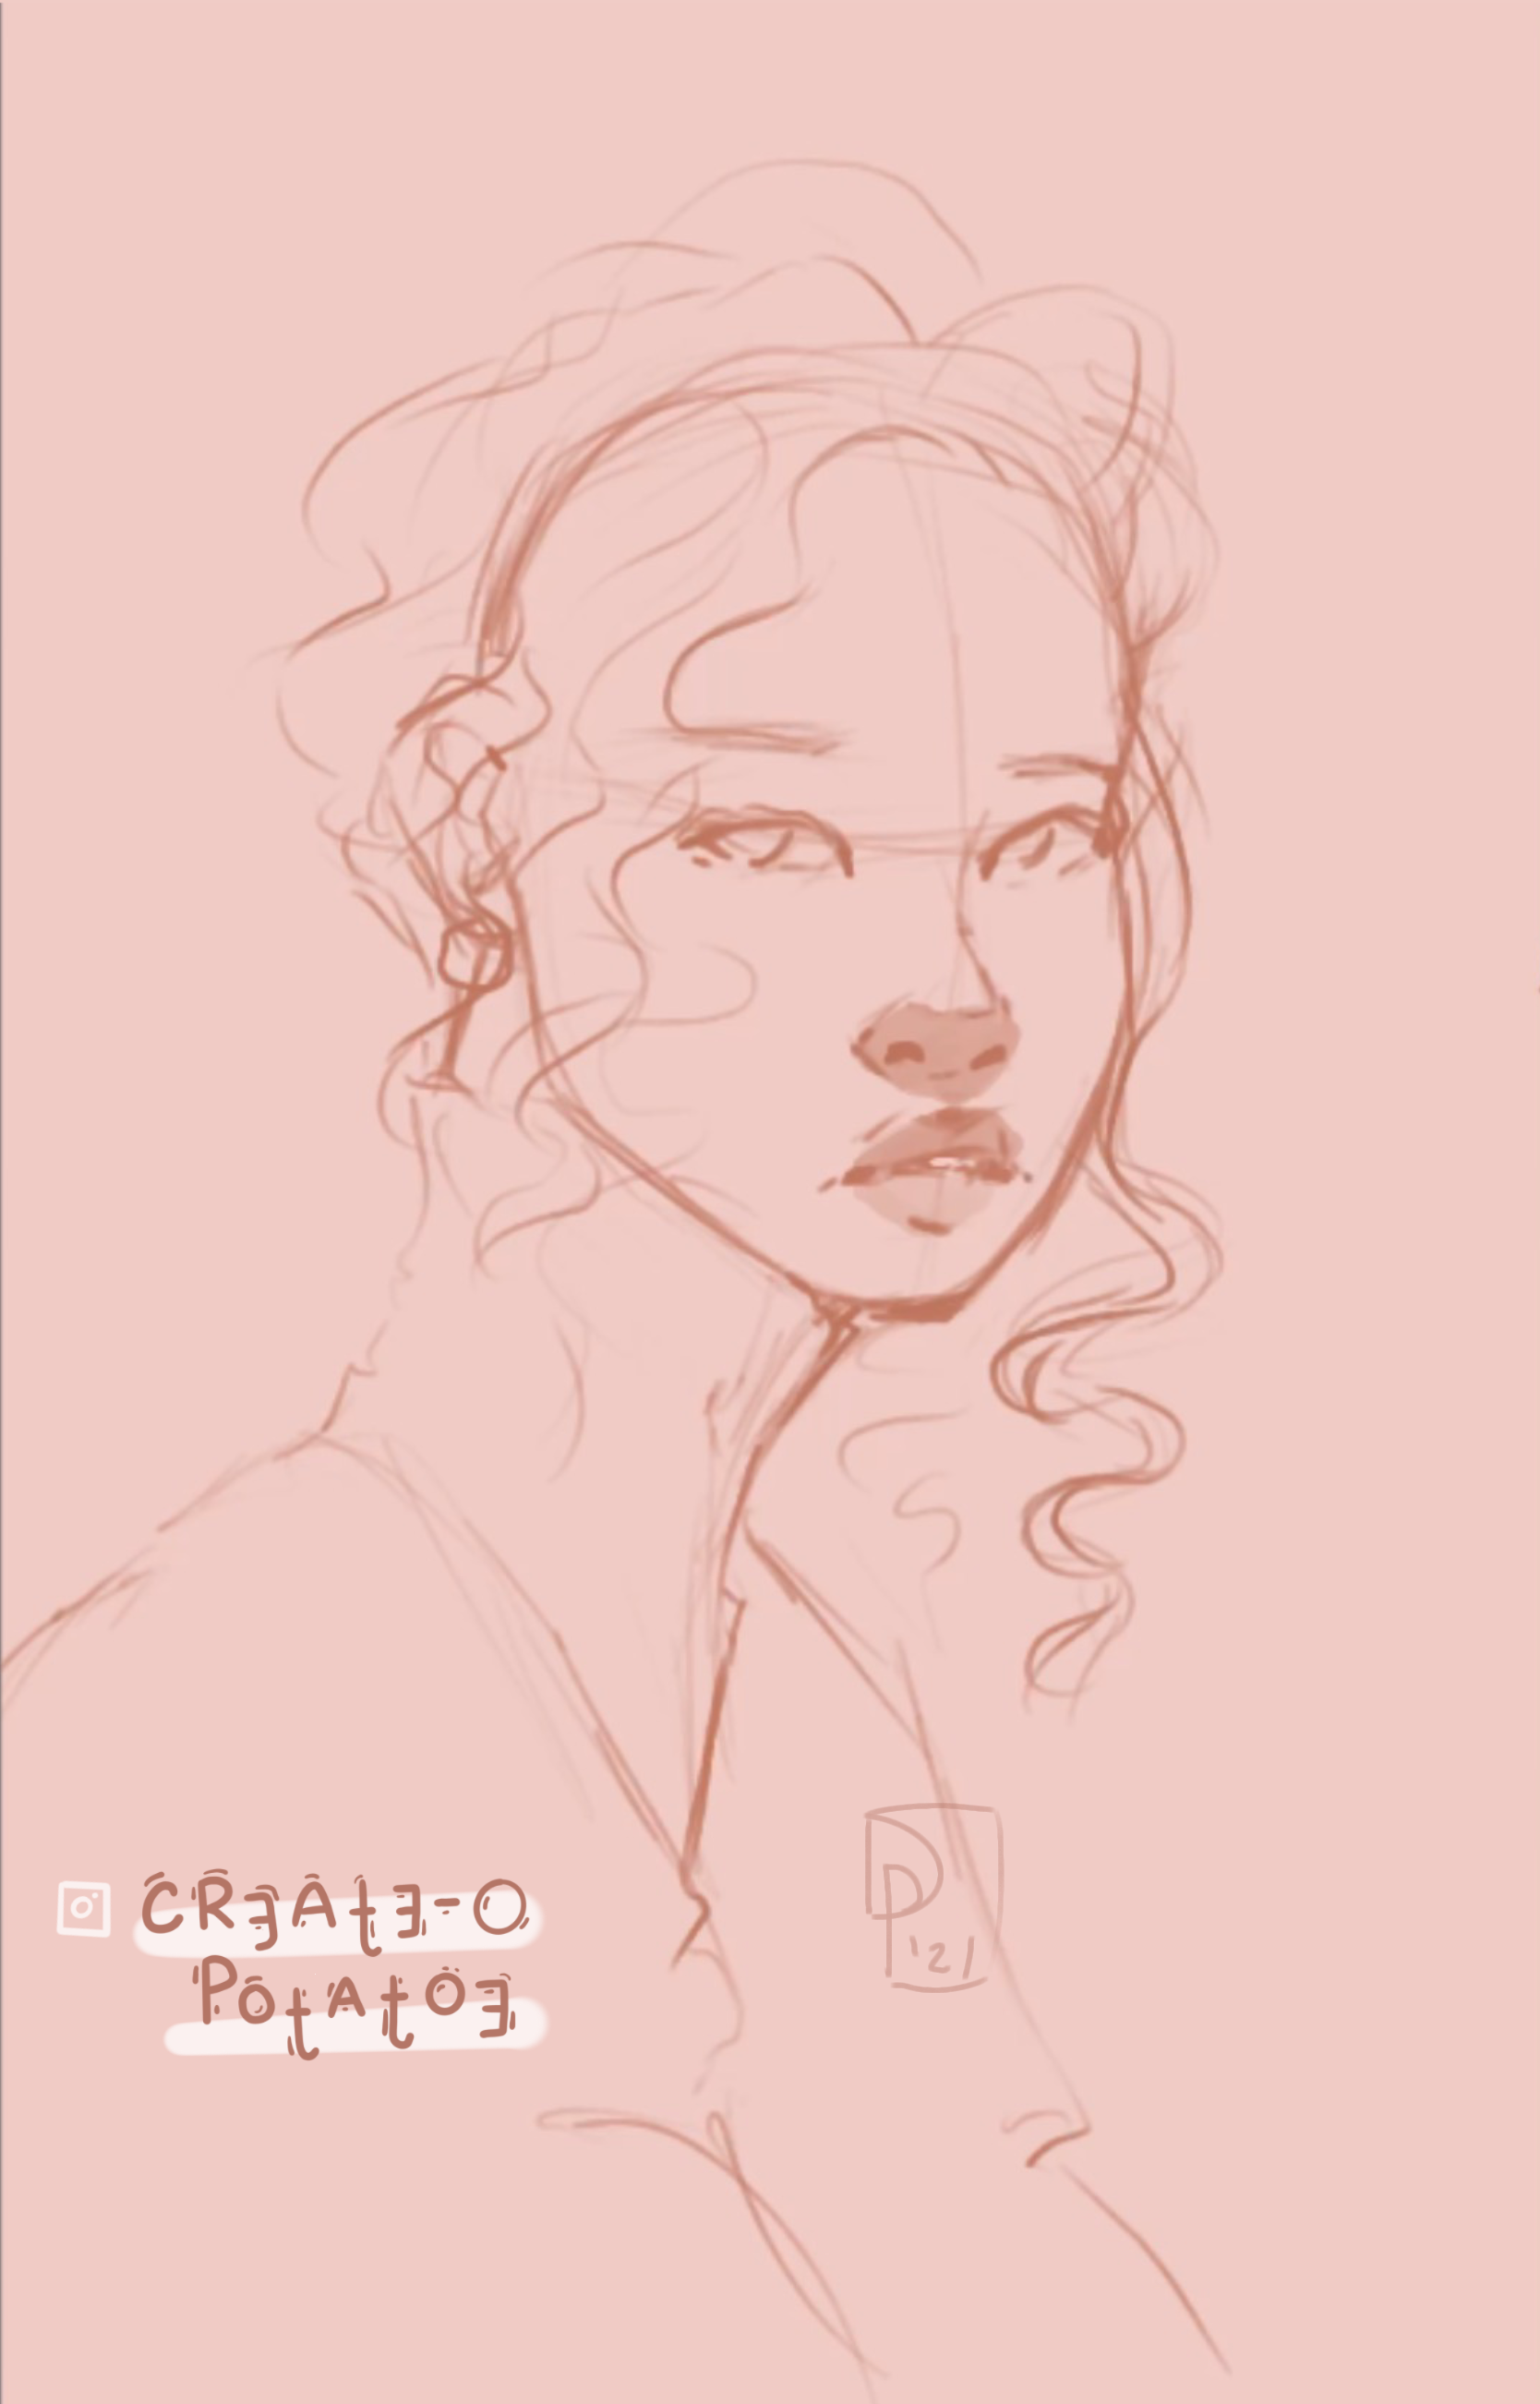
Instead of going straight for the details of the face, I start to shape the hair. This is definitely a personal preference, but I cannot continue to shape out or rather fill out a face, if I don't have some form of hair-do already established (or if they're bald, making sure the shape of the top of the head is exactly how I want it). I don't fret too much about the hair, but just seeing the general idea of how I want the hair to look helps me continue on to other aspects of the piece.
After, I go back to the eyes and as you'll see start to structure the nose and a bit of the lips. I call this "general details" because the next thing I want to focus on is the shading that represents the shadows and how I want the light to form around her face, thus I make my details on the face at this stage "general." Putting in sratchy lines here and there just so I know where I'm going with the piece.
Shading, Shadows & Light
Because I'm using my background as the basis for the skin in this sketch, I want to make sure that the layers of the skin thus has dimension. I often start with a medium tone color just slightly darker from the selected skin color (and sense this is a digital piece, I usually make the hue of this part either lighter or darker depending on the portait just so that it comes out more traditional sketch looking). Any light reflecting on her skin will be drawn after the shadows but I make sure not to shade anywhere where I want my light to hit on the face until after I've constructed a general sensus of the shadows or skin shading.
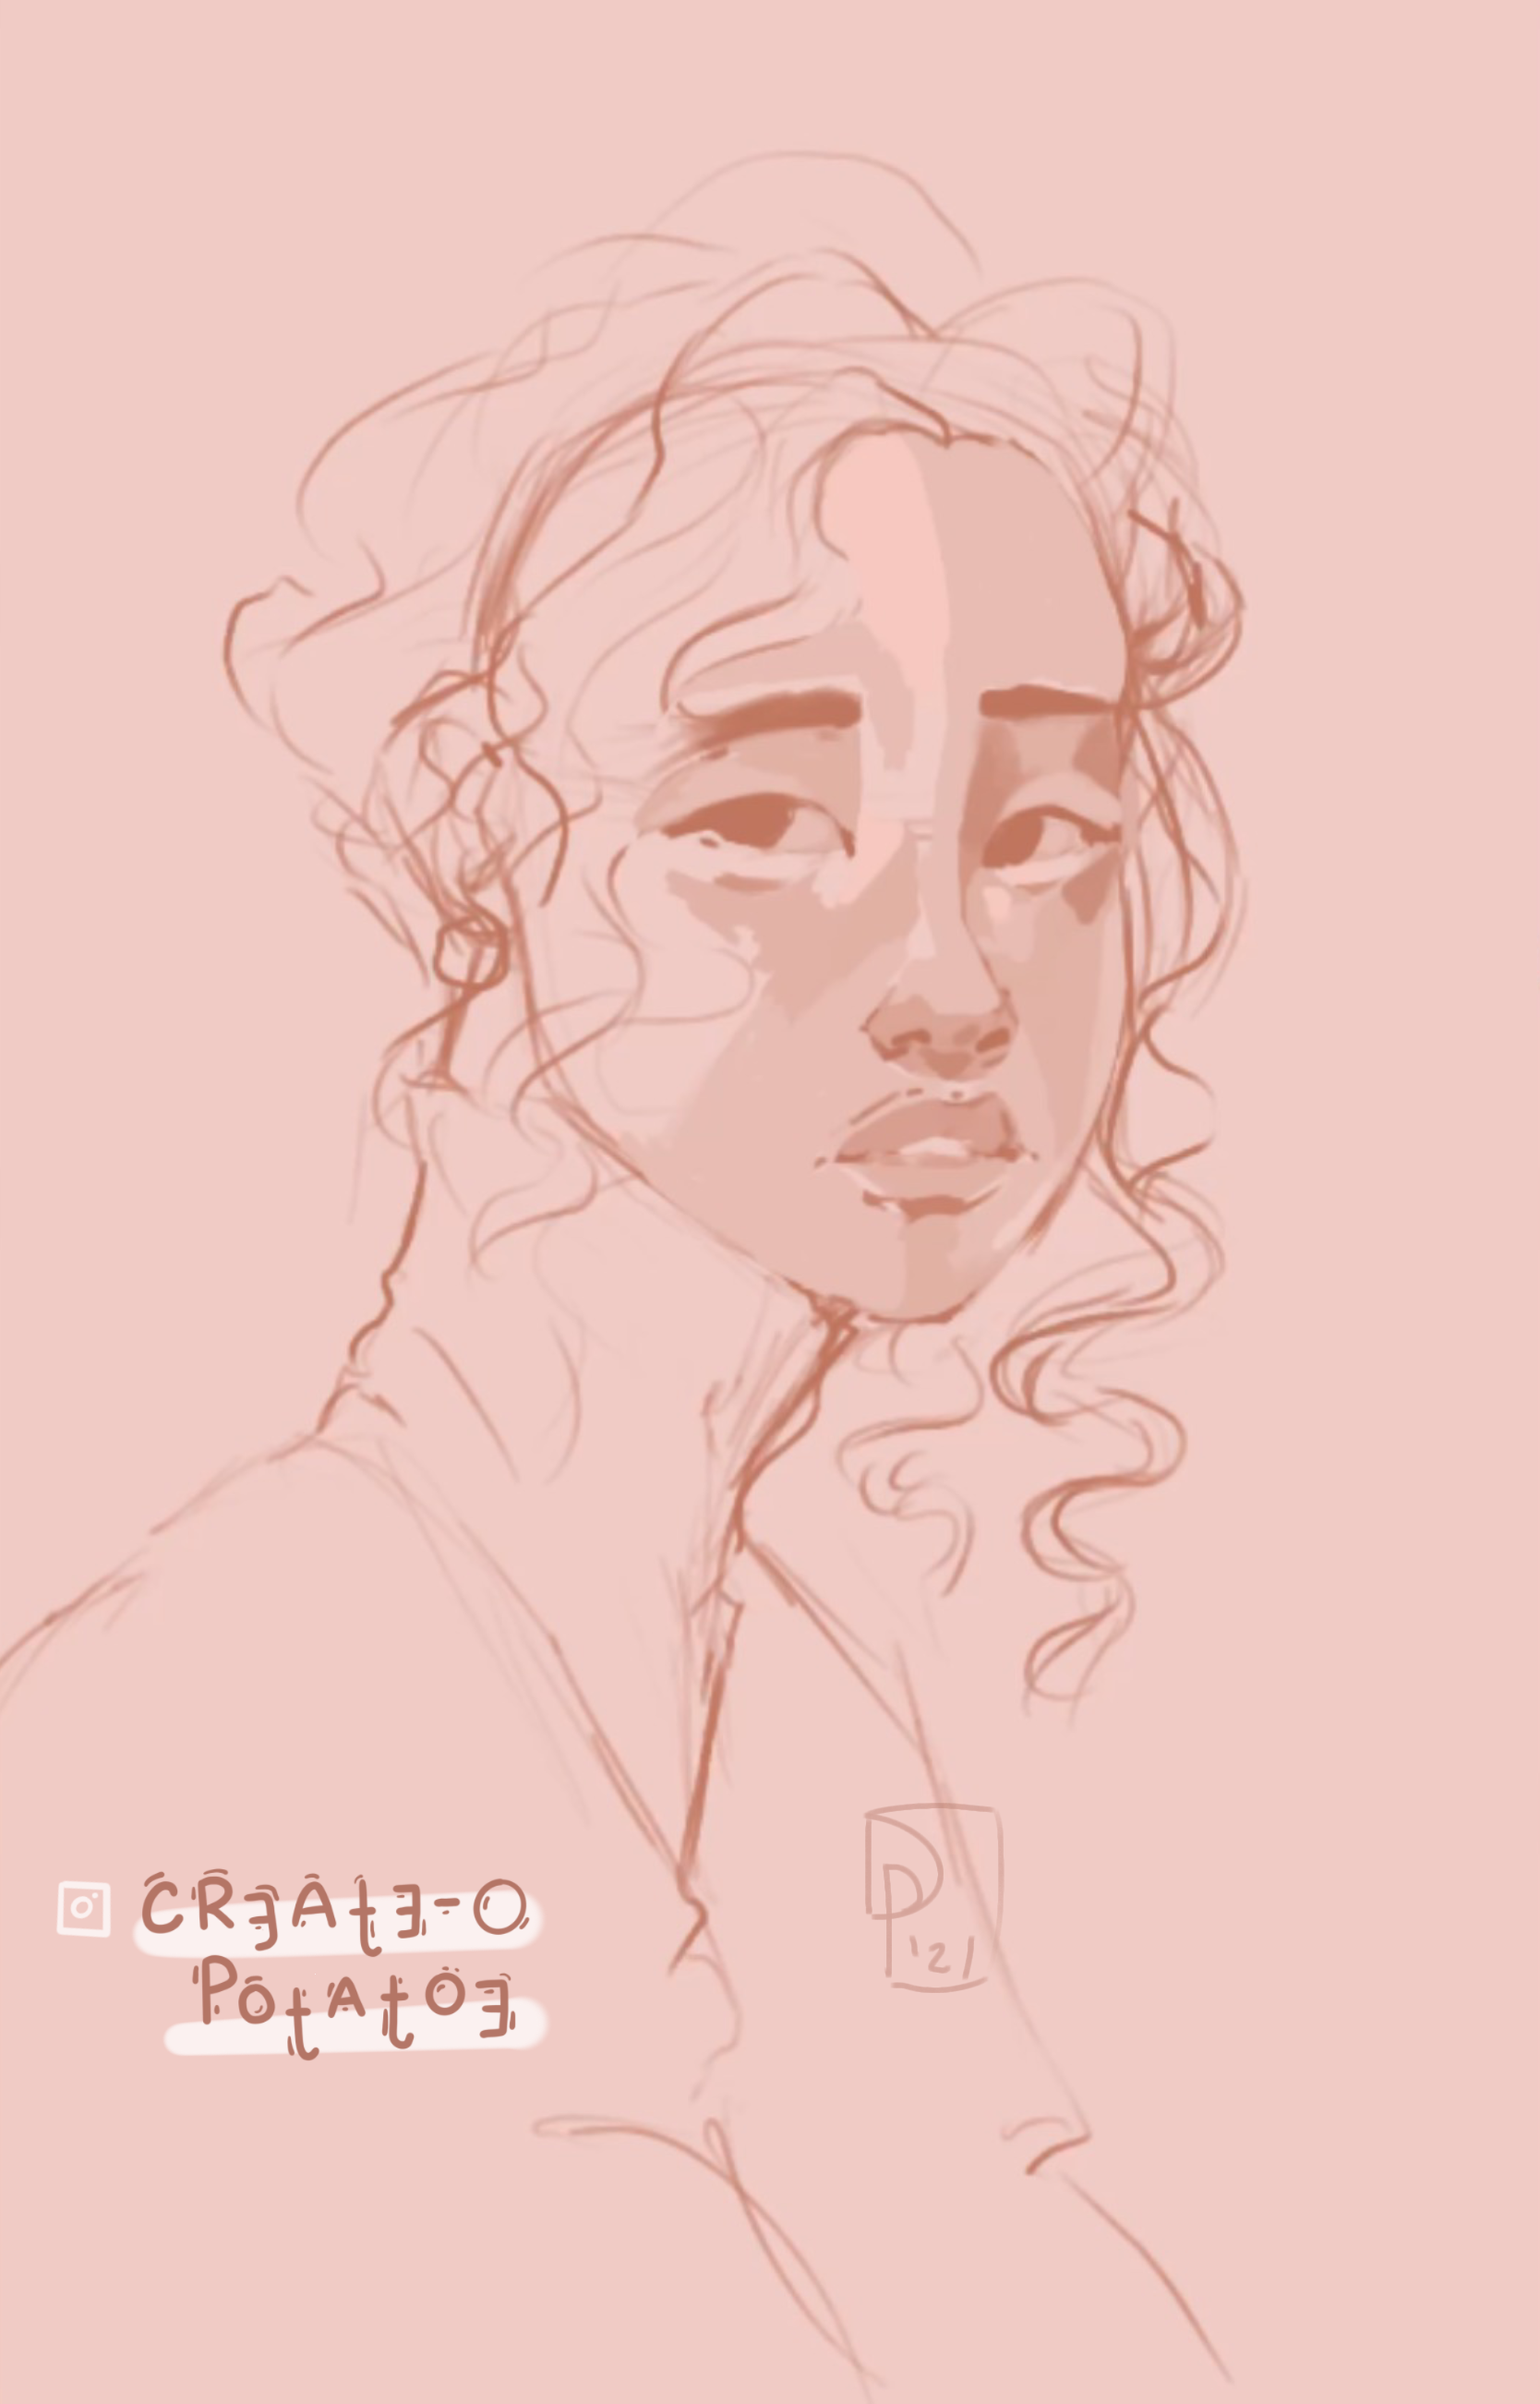
This is a digital drawing, so if you make a mistake, you can always go back but my mission with sketches such as these is to erase as little as possible. I like to think of these as little paintings (mostly watercolor). In watercolor, if you want to have lighting on your piece, you typically wouldn't paint on that area because of the way watercolor dries in layers. This technique, of course, helps me not obsess over the lighting in my piece.
Depth, Layers, & Lighting
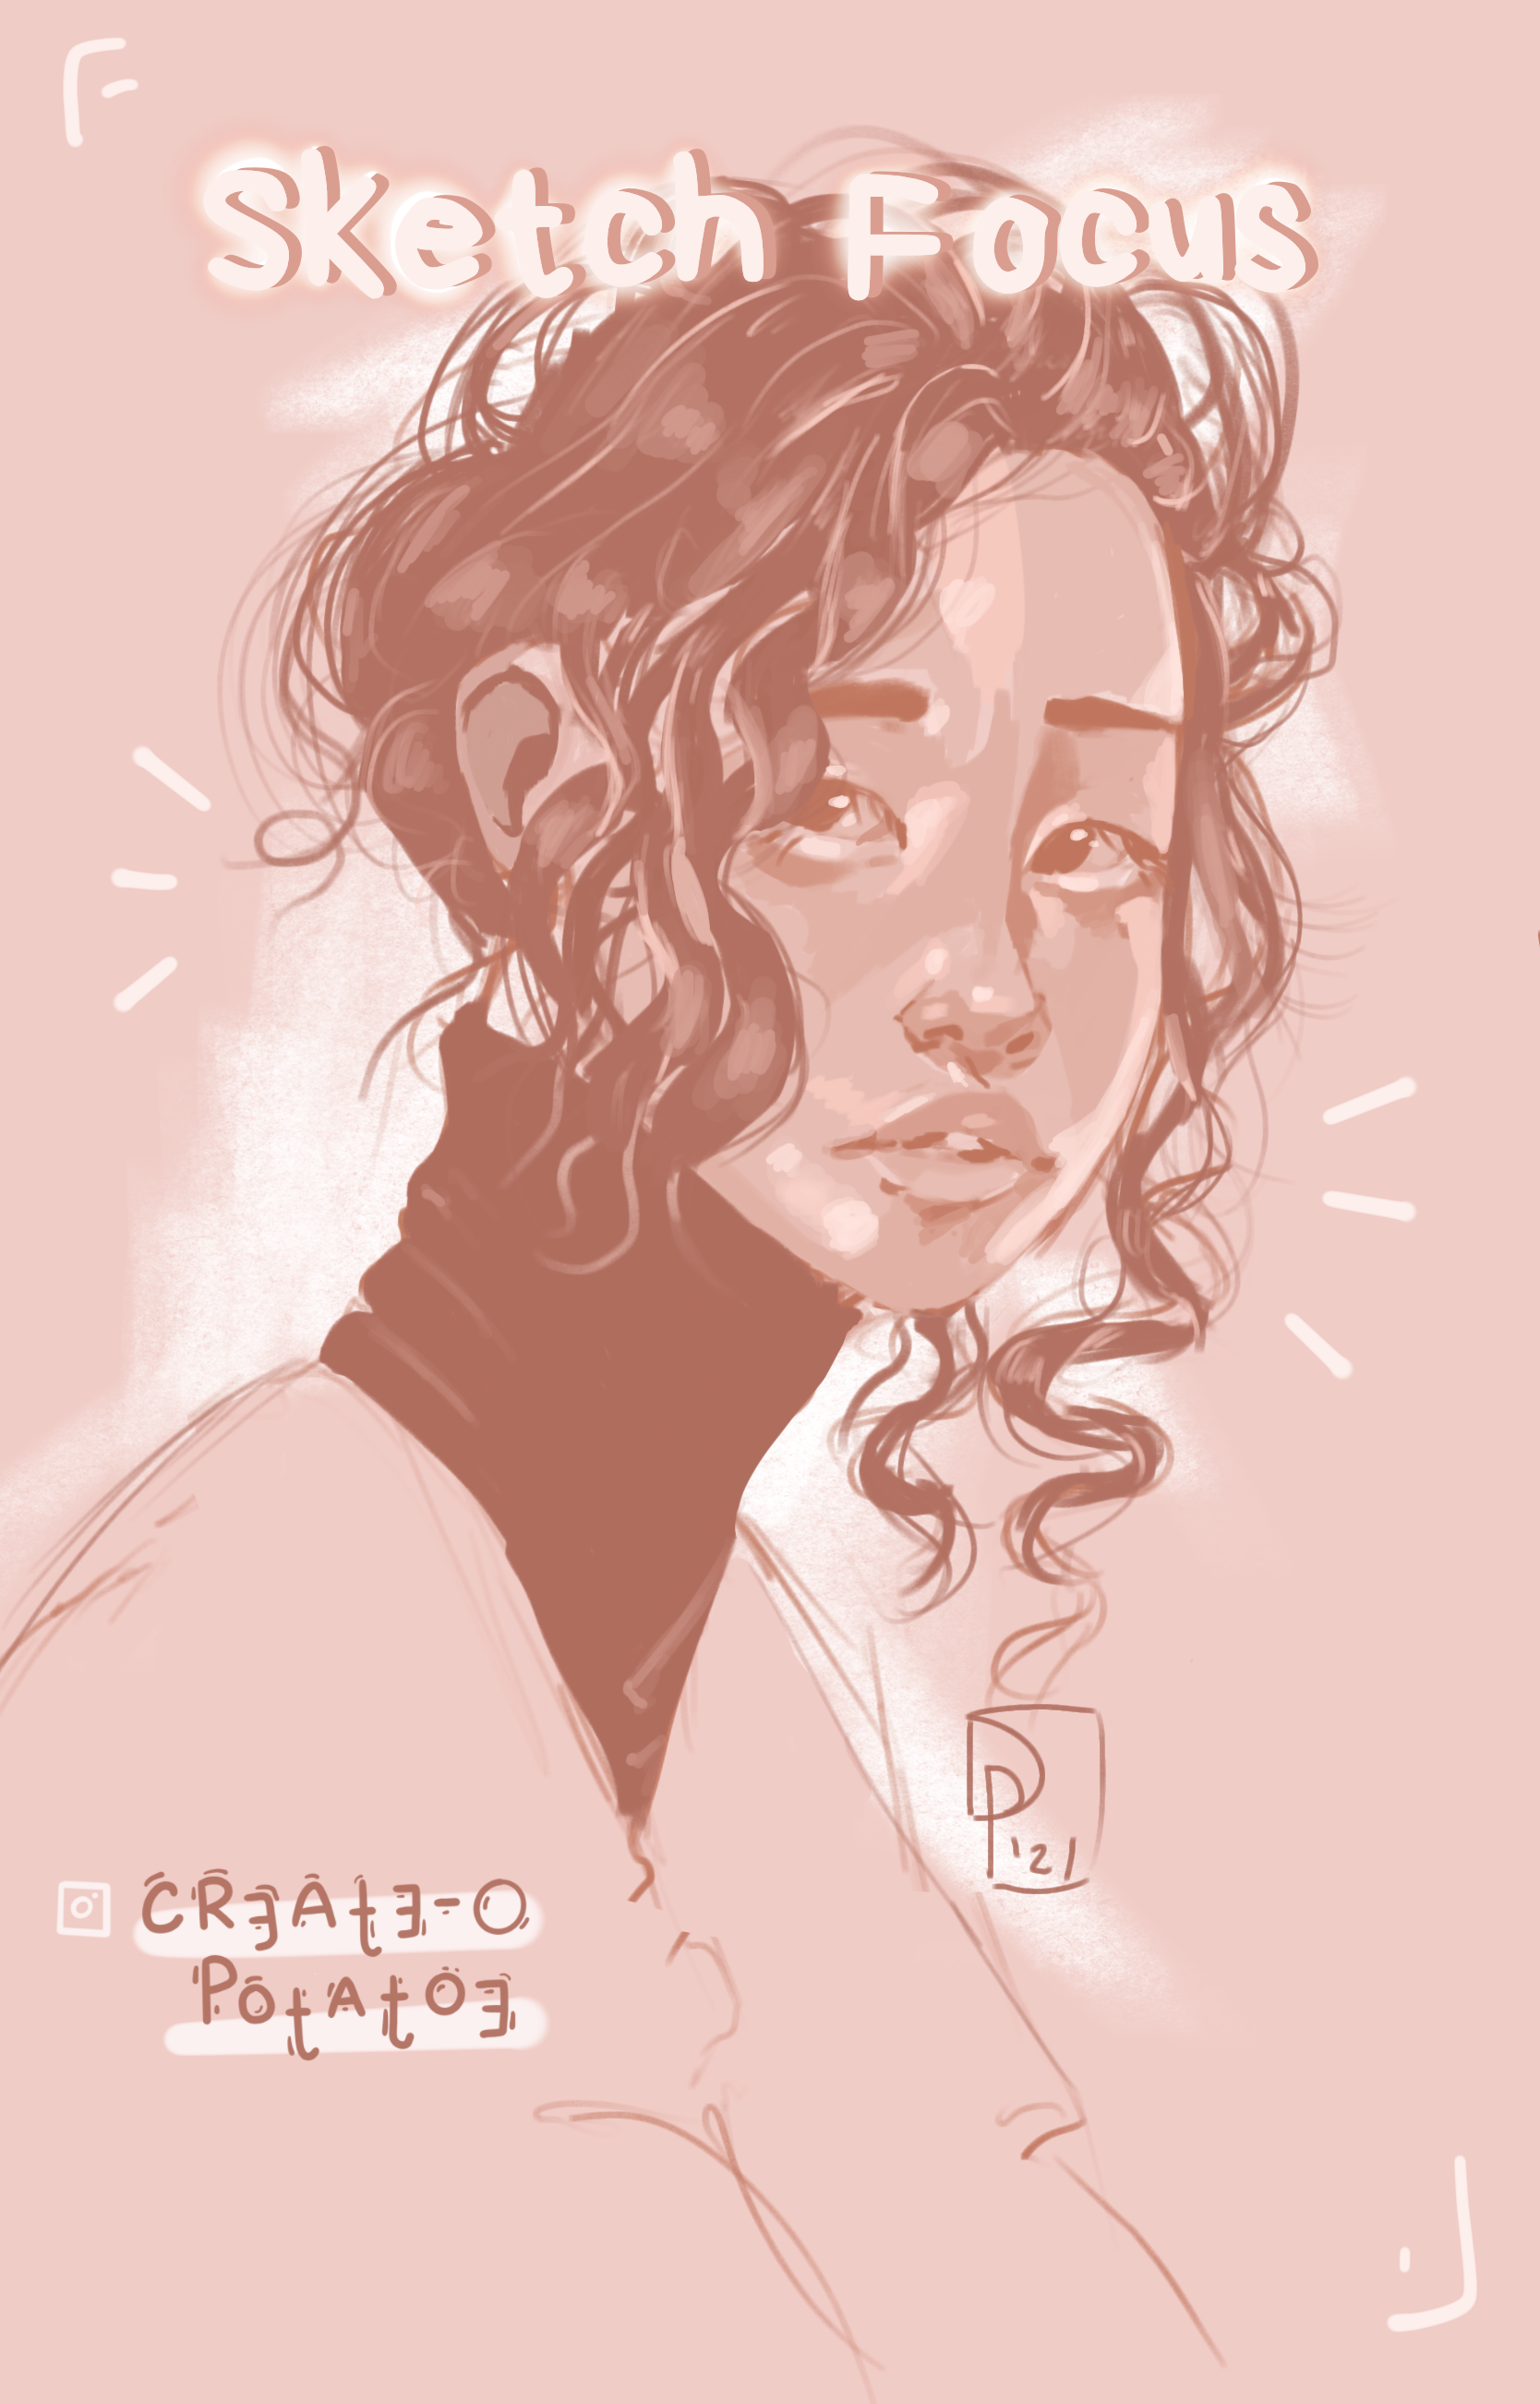
That subtitle right there is what to take out of this post. One of the main aspects that helps me with my sketching is focusing on depth, layers, and how I want to direct my lighting. It helps to find references, I use Pinterest. Below is a look into the final piece and how my thought process of sketching gives me my results.
| when sketching I sketch all on one layer except for the hair
If you were wondering, I sort of do hair in the same process. Rough sketch, finding lighting, being lazy and adding slight touches of that lighting. I don't focus that much on the end result and detail of the hair. But I do want to make sure it fits and frames the face. Hair is definitely something I'm still working on.
You can work on and add as many layers as you want. I usually run through about three max when working on some sketches (dividing the hair layer, sometimes clothes definitely the main structure of the sketch). But as I mentioned, this one is all on one digital layer (except for the hair) and I'm practicing sticking to that. This helps me not be a perfectionist with the way that my sketch comes out but rather target just working on my skills.
You can use these same little tips (or looks into how I sketch) for traditional sketching as well. Doesn't just have to be digital. Of course, just ignore the parts where I talk about using layers (that's for digital).
If anything, the section when I mention not shading in where you want your lighting to be is especially important if you're traditional drawing. I believe it helps with structuring your sketch together with as few erase marks as possible.
Anywho, I hope this quick free look was something that caught your eye, maybe helped you with a few pointers. I wanted to start off with something small but that could aid in a way. Let me know!
I'll see you later, you beautiful person!
Here are all my social links!
Instagram | Facebook | Youtube | Twitter | Tumblr
DON’T FORGET TO FOLLOW OR SUPPORT!
(anything is greatly appreciated)

Thank you again for taking the time out of your day to look at my semi-long post. 🌸
