
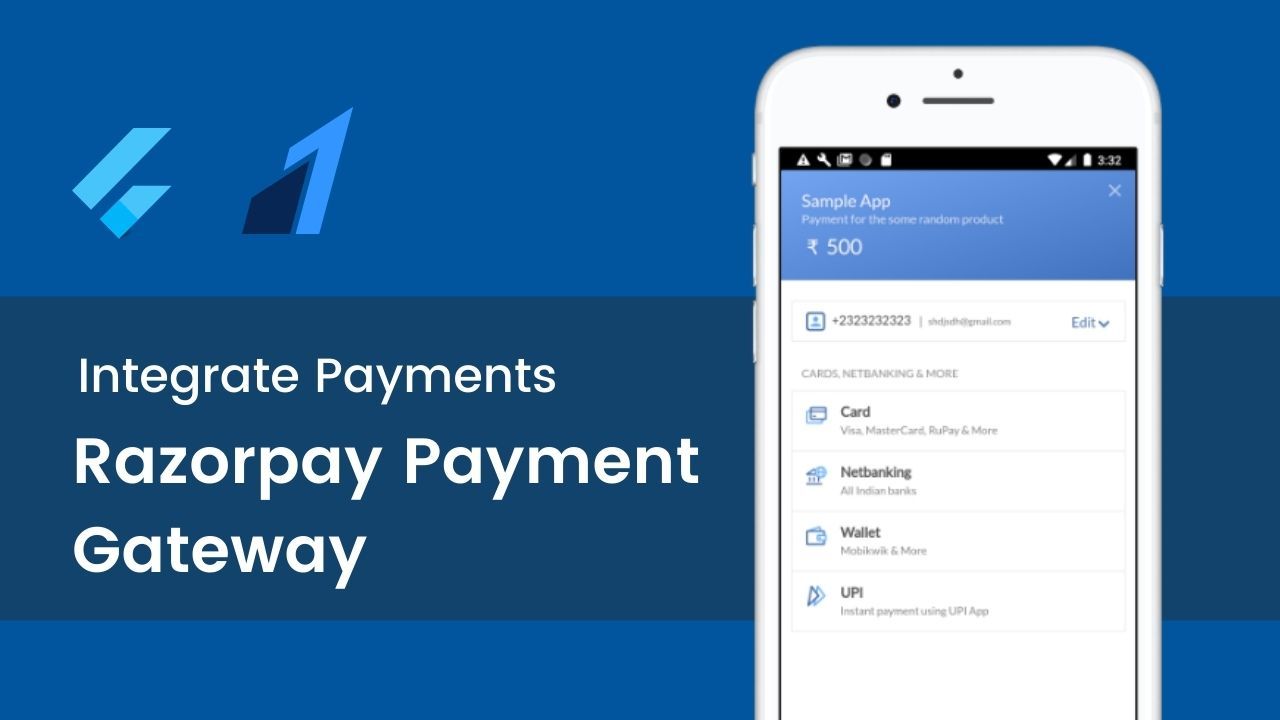
Integrating In-App payments in flutter can be done in less than 15 minutes with Razorpay which includes Card, Netbanking, UPI, and Wallet.
If you prefer videos here is Step by Step video on how to do the same.
👉 Source Code 👉 Install Flutter
Okay so let’s start.
Step 1: Create a Flutter Project or Use a preexisting project.
We will start by getting rid of all the comments in the main.dart and getting rid of MyHomePage() stateful widget
Step 2: Add Razorpay official plugin to pubspec.yaml.
razorpay_flutter: ^1.1.4Step 3: Create a folder/package inside the lib for the homepage, I am naming it “views”
then create a file
Razorpay package needs two things
functions for various events (payment successful, Wallet, Error)
another function to open the payment gateway
we need to provide these
key
amount
name
description
prefill (like contact number and email)
external wallets
Step 4: Import material at home.dart and create a stateful widget called Home then create initState which is a function called when the screen loads.
@override
  void initState() {
    super.initState();

razorpay = new Razorpay();

razorpay.on(Razorpay.EVENT_PAYMENT_SUCCESS, handlerPaymentSuccess);
razorpay.on(Razorpay.EVENT_PAYMENT_ERROR, handlerErrorFailure);
razorpay.on(Razorpay.EVENT_EXTERNAL_WALLET, handlerExternalWallet);
}
Okay so now we need to create all these functions which we defined ( handlerPaymentSuccess, handlerErrorFailure, handlerExternalWallet)
Step 5: Create handler functions
void handlerPaymentSuccess(){
    print("Pament success");
    Toast.show("Pament success", context);
  }

void handlerErrorFailure(){
    print("Pament error");
    Toast.show("Pament error", context);
}

void handlerExternalWallet(){
    print("External Wallet");
    Toast.show("External Wallet", context);
}
Step 6: Now we will create a function to open the payment gateway and provide the required fields
void openCheckout(){
    var options = {
      "key" : "[YOUR_API_KEY]",
      "amount" : num.parse(textEditingController.text)*100,
      "name" : "Sample App",
      "description" : "Payment for the some random product",
      "prefill" : {
        "contact" : "2323232323",
        "email" : "[email protected]"
      },
      "external" : {
        "wallets" : ["paytm"]
      }
    };

try{
razorpay.open(options);
}catch(e){
print(e.toString());
}
}
for the amount I have converted the text which I get from the text field through TextEdittingController to num and multiplied with 100 because by default, it will be num divided by 100 for ( values like 4.56, …).
Step 7: Creating the user interface to make things easy to understand we are just going to have a text field and a button that’s all.
Here is the code that will be returned by the Widget build.
Scaffold(
  appBar: AppBar(
    title: Text("Razor Pay Tutorial"),
  ),
  body: Padding(
    padding: const EdgeInsets.all(30.0),
    child: Column(
      children: [
        TextField(
          controller: textEditingController,
          decoration: InputDecoration(
            hintText: "amount to pay"
          ),
        ),
        SizedBox(height: 12,),
        RaisedButton(
          color: Colors.blue,
          child: Text("Donate Now", style: TextStyle(
            color: Colors.white
          ),),
          onPressed: (){
            openCheckout();
          },
        )
      ],
    ),
  ),
);
over here onpressed I am calling the function which we created to open the payment gateway
Step 8: Get API from Razorpay.
visit https://dashboard.razorpay.com/ then signup,
Once you will successfully signup, log in then you will see a dialog with two options “Activate Yout Account” and “Try out the Dashboard”.
Click “Try out the Dashboard”.
Click on Generate Text Keys.
Copy the key and paste it inside the open checkout function
Step 9: Update the minSdkVersion to more than 19 and IOS Target and enable bitcode.
Note for Android: Make sure that the minimum API level for your app is 19 or higher.
Note for iOS: Make sure that the minimum deployment target for your app is iOS 10.0 or higher. Also, don’t forget to enable bitcode for your project.
Run flutter packages get in the root directory of your app.
Step 10: Run the app.
Just one tip if face error, run flutter clean I faced error which was fixed by this.
I hope this was helpful. Let me know what do you think about razor pay payment gateway in the comments?
Let's Build fully functioning apps with Flutter :
Build a Recipe App with Flutter
Written Tutorial: https://flutternerd.com/build-a-recipe-app-with-flutter
Build a Flutter News App with NewsApi Org
Written Blog: https://flutternerd.com/news-app-with-newsapi-org-flutter
Build a Wallpaper App with Flutter From Scratch
written tutorial: https://flutternerd.com/build-a-wallpaper-app-with-flutter-a-flutter-project/
Build a Quiz Maker App with Flutter & Firebase
Originally posted on 💵 Payments in Flutter with Razorpay Payment Gateway