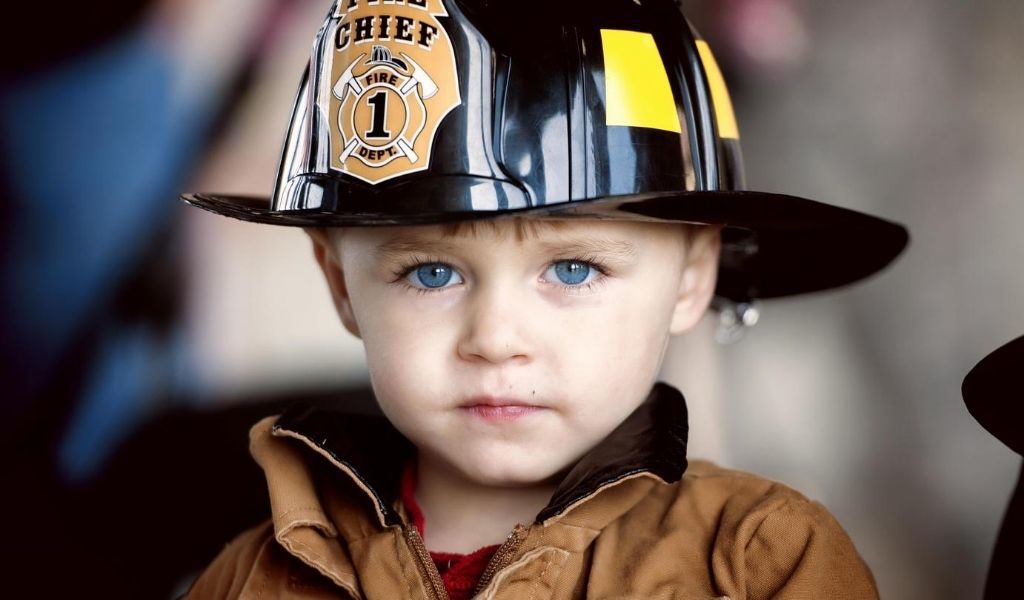
In portrait photography, one of the main differences between a happy snapper and a professional, in addition to the number of years of accumulated experience and skills, is that the professional takes control of the camera settings and has a good understanding of lighting aspects.
They also understand what makes a good composition. Professionals also tend to use the lens for portraits with a focal length equivalent to 85mm or slightly longer.

This moves the camera away from the subject and produces smoother results.
Here are the top three portrait photography scenarios employed by professionals.
1. Aperture
In portrait photography, the background is rarely seen correctly as it is usually out of focus, allowing the viewer to focus on the subject.
The subject may be well in focus or have a softness, which is kinder to some subjects.
This effect is created with the judicious use of the aperture control on your camera.
By setting the Aperture Priority on the camera, you can control the aperture setting while the camera sets the shutter speed.
Selecting the Manual mode allows you to set the aperture and shutter speed yourself.
Selecting the largest aperture, which is the lowest aperture value (for example, f / 1.8), creates a very limited depth of field.
In fact, at the largest aperture, the eyes may be in focus while the nose may not be, or even a single eye may be in focus.
You have to slightly reduce the aperture to get the result you want. I have a tendency to shoot at f / 5.6 or f / 6.3 most of the time within a studio.
Outside, I could increase that to f / 8 if I want to show a bit more of a particular background.
If you find focus may be an issue, switch from autofocus to manual focus for more control.
2. Shutter Speed
Most professional photographers shoot portraits at a shutter speed of around 1/200 of a second.
Generally, this is not due to camera shake, but rather because this is the maximum sync speed of most flash units used in studio portrait shots.
Manual mode is used more frequently, unlike shutter priority mode.
The shutter priority mode lets you choose the shutter speed while allowing the camera to set the aperture.
Since we also want to control the aperture, only manual mode allows you to do both.
3. ISO
Choose the lowest possible ISO setting for available light. In sunny conditions you will probably need to set the ISO to 100 for best results, in cloudy conditions to 200.
Cloudy day portrait "My Medicine" captured by Rafael Soares I tend to routinely shoot with an ISO setting of 200 anyway, regardless of whether I'm outside or in the studio.
If I need to adjust the settings after capturing the images, I make sure to use the RAW camera settings as it gives me much more flexibility than taking JPEG images.
In the studio without flash or in low light conditions, you may need to increase the ISO accordingly.
Most modern cameras will allow you to set an ISO of 3200 or even 6400 without too much noticeable noise in the resulting photograph.
If you plan to magnify your photos dramatically, keep the ISO to a minimum and use flash lighting.
Finally, while not one of the three main camera settings, Auto White Balance is generally good for portrait shots in a studio because lighting levels can be set and you will get consistent results throughout the shot, until you adjust.
The lighting. However, shooting in daylight can be a problem.
For example, if you are shooting at noon in a shaded area, you may not get the proper white balance unless you allow it.
Similarly, if you shoot predominantly white scenes (such as snow, a sandy beach, etc.), your targets may appear gray or unnatural.
Using a default white balance or gray card helps to choose the correct white balance in these situations.
I often select a gray component of my photo as my preset and see what the white balance looks like.
Note that you have the option of changing the white balance setting after shooting and applying the correction, if you are shooting in RAW mode.
So if that portrait shot is very important to you, shoot in RAW for the option of correcting the white balance later.
