
An old friend reached out to me to ask if I believed that I could fix a couple of plaster wall plaques. Of course, I answered in the affirmative, sight unseen. Did I know how to fix them? I didn't even know what they were! I didn't know what kind of plaster or what kind of damage they suffered. Do I possess a distended belief in my abilities to figure stuff out? Yes, indeed I do.
I found a day that I would be in her neighborhood and scheduled a pick-up.
I didn't know what to expect but I can tell you that I did not expect what I was handed. I was instantly reminded of my friend's notoriously eclectic tastes as I was handed these two figural decorative pieces that are each about 24' high, about ten pounds apiece, and composed of horsehair plaster. As she handed them over, I could sense that she was very fond of them and she wanted me to include an evaluation of their value and from which era they come. As I saw them for the first time, I could imagine seeing them in a barber shop or pub/bar when I was about 7 years old. Yes. I knew some bars pretty well when I was a tyke. The servers all thought I was cute and said they wanted to take me home with them. They gave me unlimited cokes and all of the tiny plastic swords loaded with maraschino cherries I could have ever wanted. Little did I know that this satisfying attention from fawning folks would later become insatiable. I digress.
Here is a detailed photograph of the damaged tennis player. The other piece was a slightly less damaged baseball player.
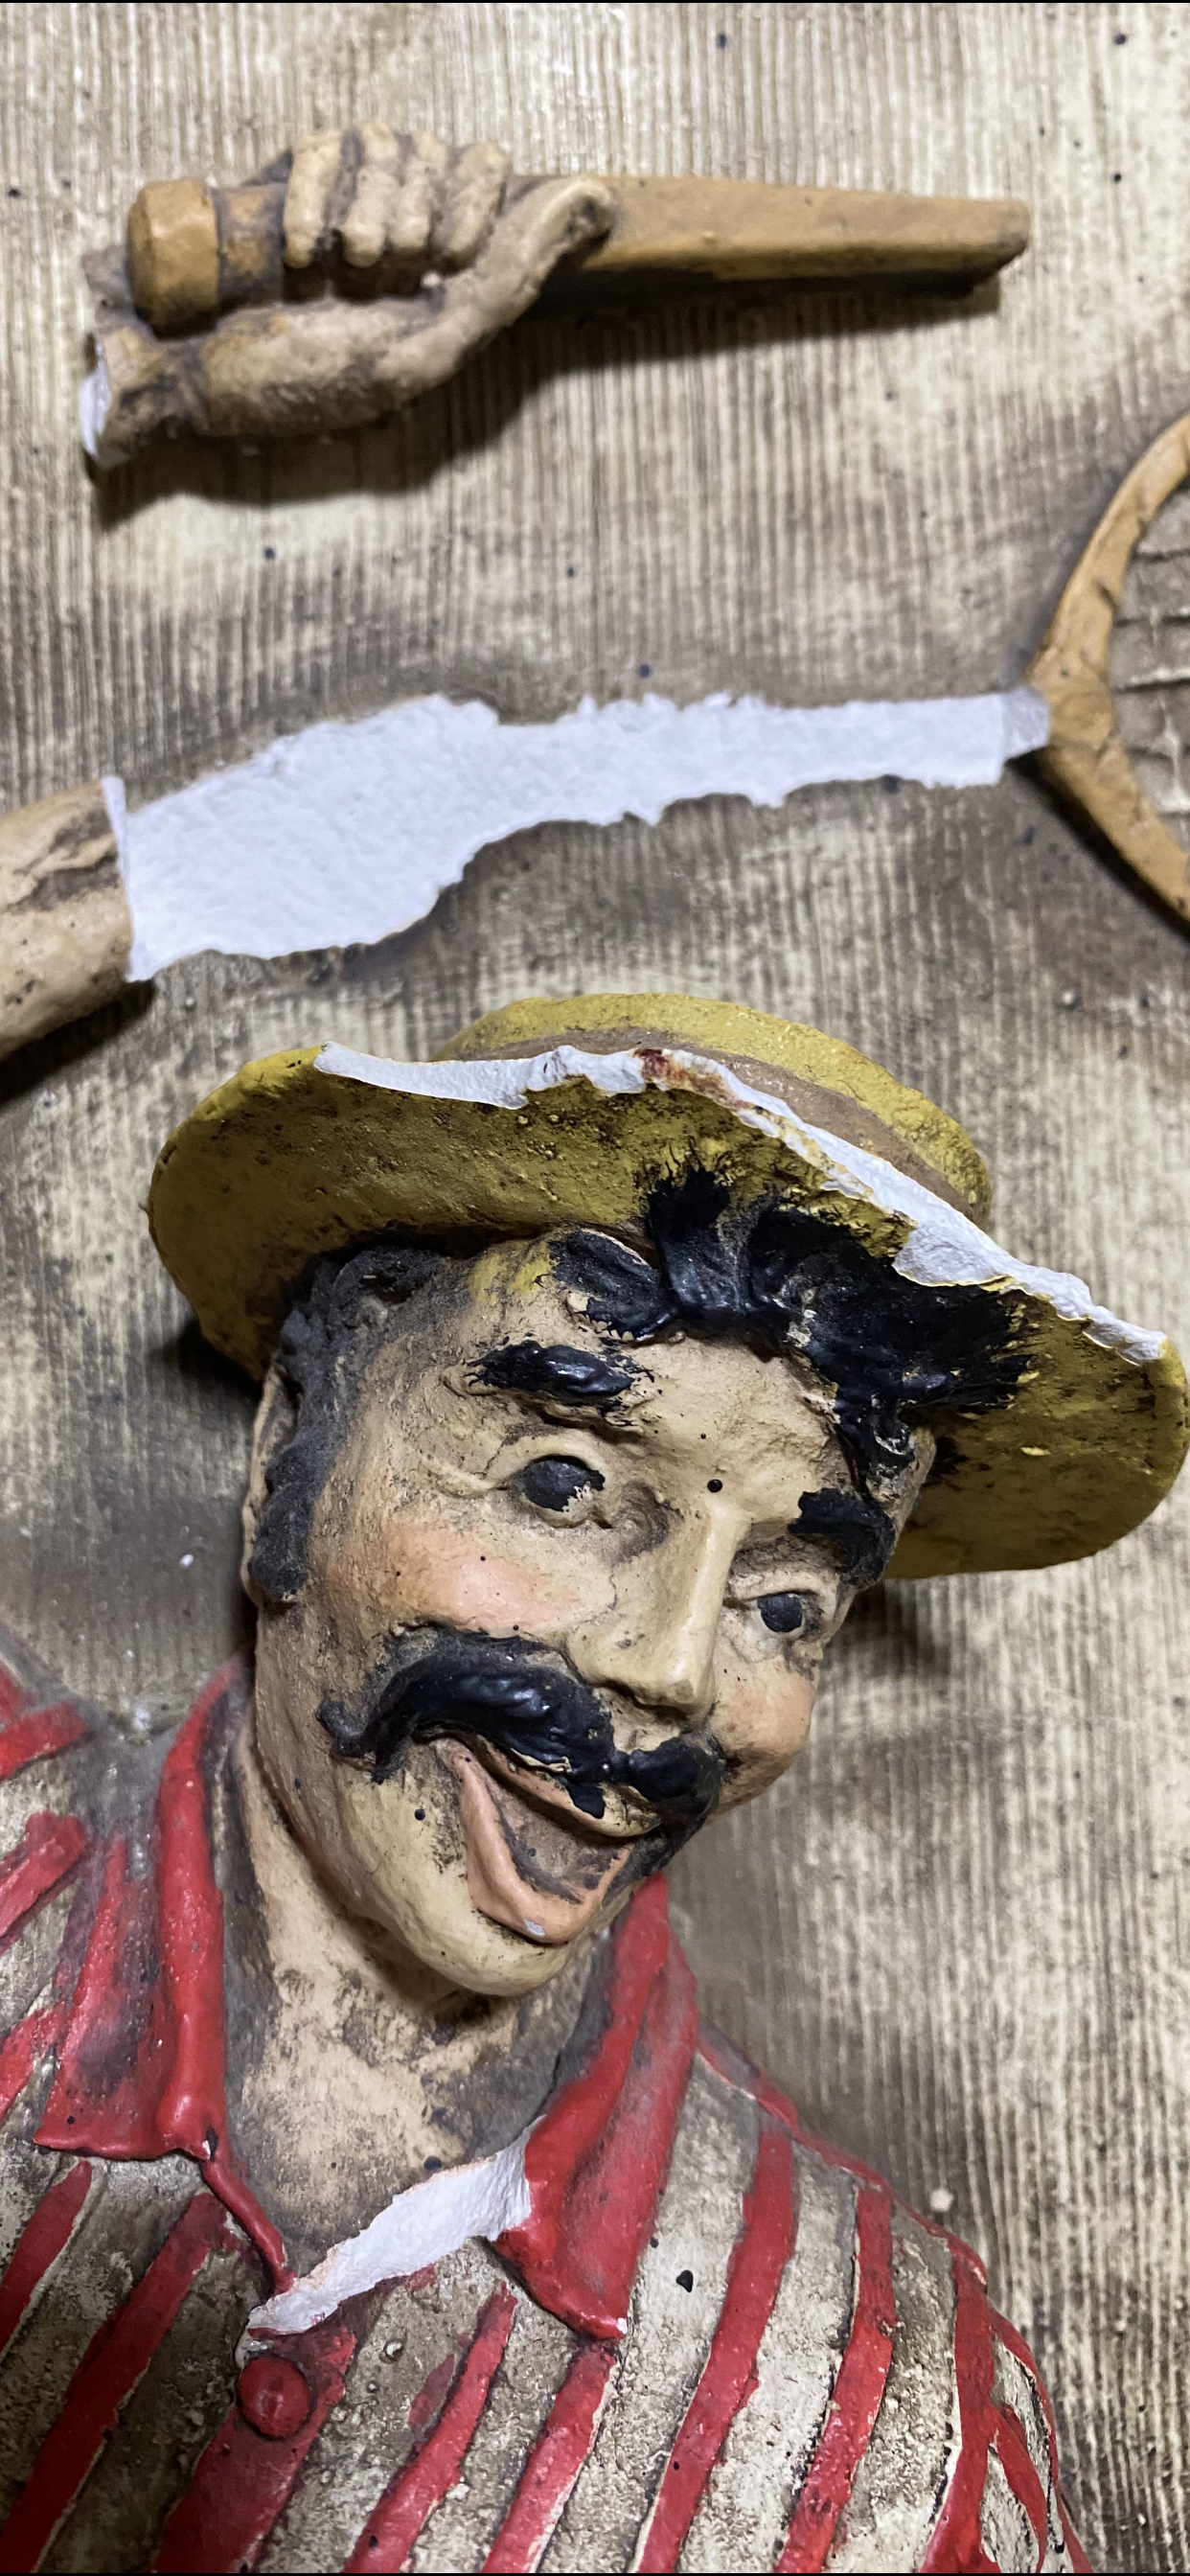
The hand with the racket handle had been saved but there were no other pieces to return to the poor fellow. The hat brim, shirt collar, several other small spots, and a sleeve on the other guy would have to be sculpted and then painted to match.
The sculpting part wasn't terribly daunting. I wasn't going to mess around with plaster, of course. These pieces were originally goopy plaster pressed into a mold with horsehair to fortify it. For this project, plaster would be too loose to hold its shape until it was cured. I immediately knew my old friend PC-7 was going to be my sculpting medium. PC-7 is a two-part (one part to one part) epoxy that is generally used as an adhesive for metals (and virtually any other material). You can pick this stuff up at any old hardware store and it is great to have around. It is shelf stable indefinitely. I would say that the biggest challenge is to scoop out even amounts of each part to mix together, but (really) close counts in this case. One part is white and the other is black which is designed to help you know when it has been thoroughly mixed. You do want this to be very well mixed but you have plenty of working time to accomplish this.
Seeing how much of the hat brim was missing, I knew it would take a couple of rounds to build it back up. Trying to go all the way in one shot with my medium would have never worked.
I could also tell that I would want some kind of guide so I cut a piece of 12 gage wire and shaped it to give myself some lines to "color inside".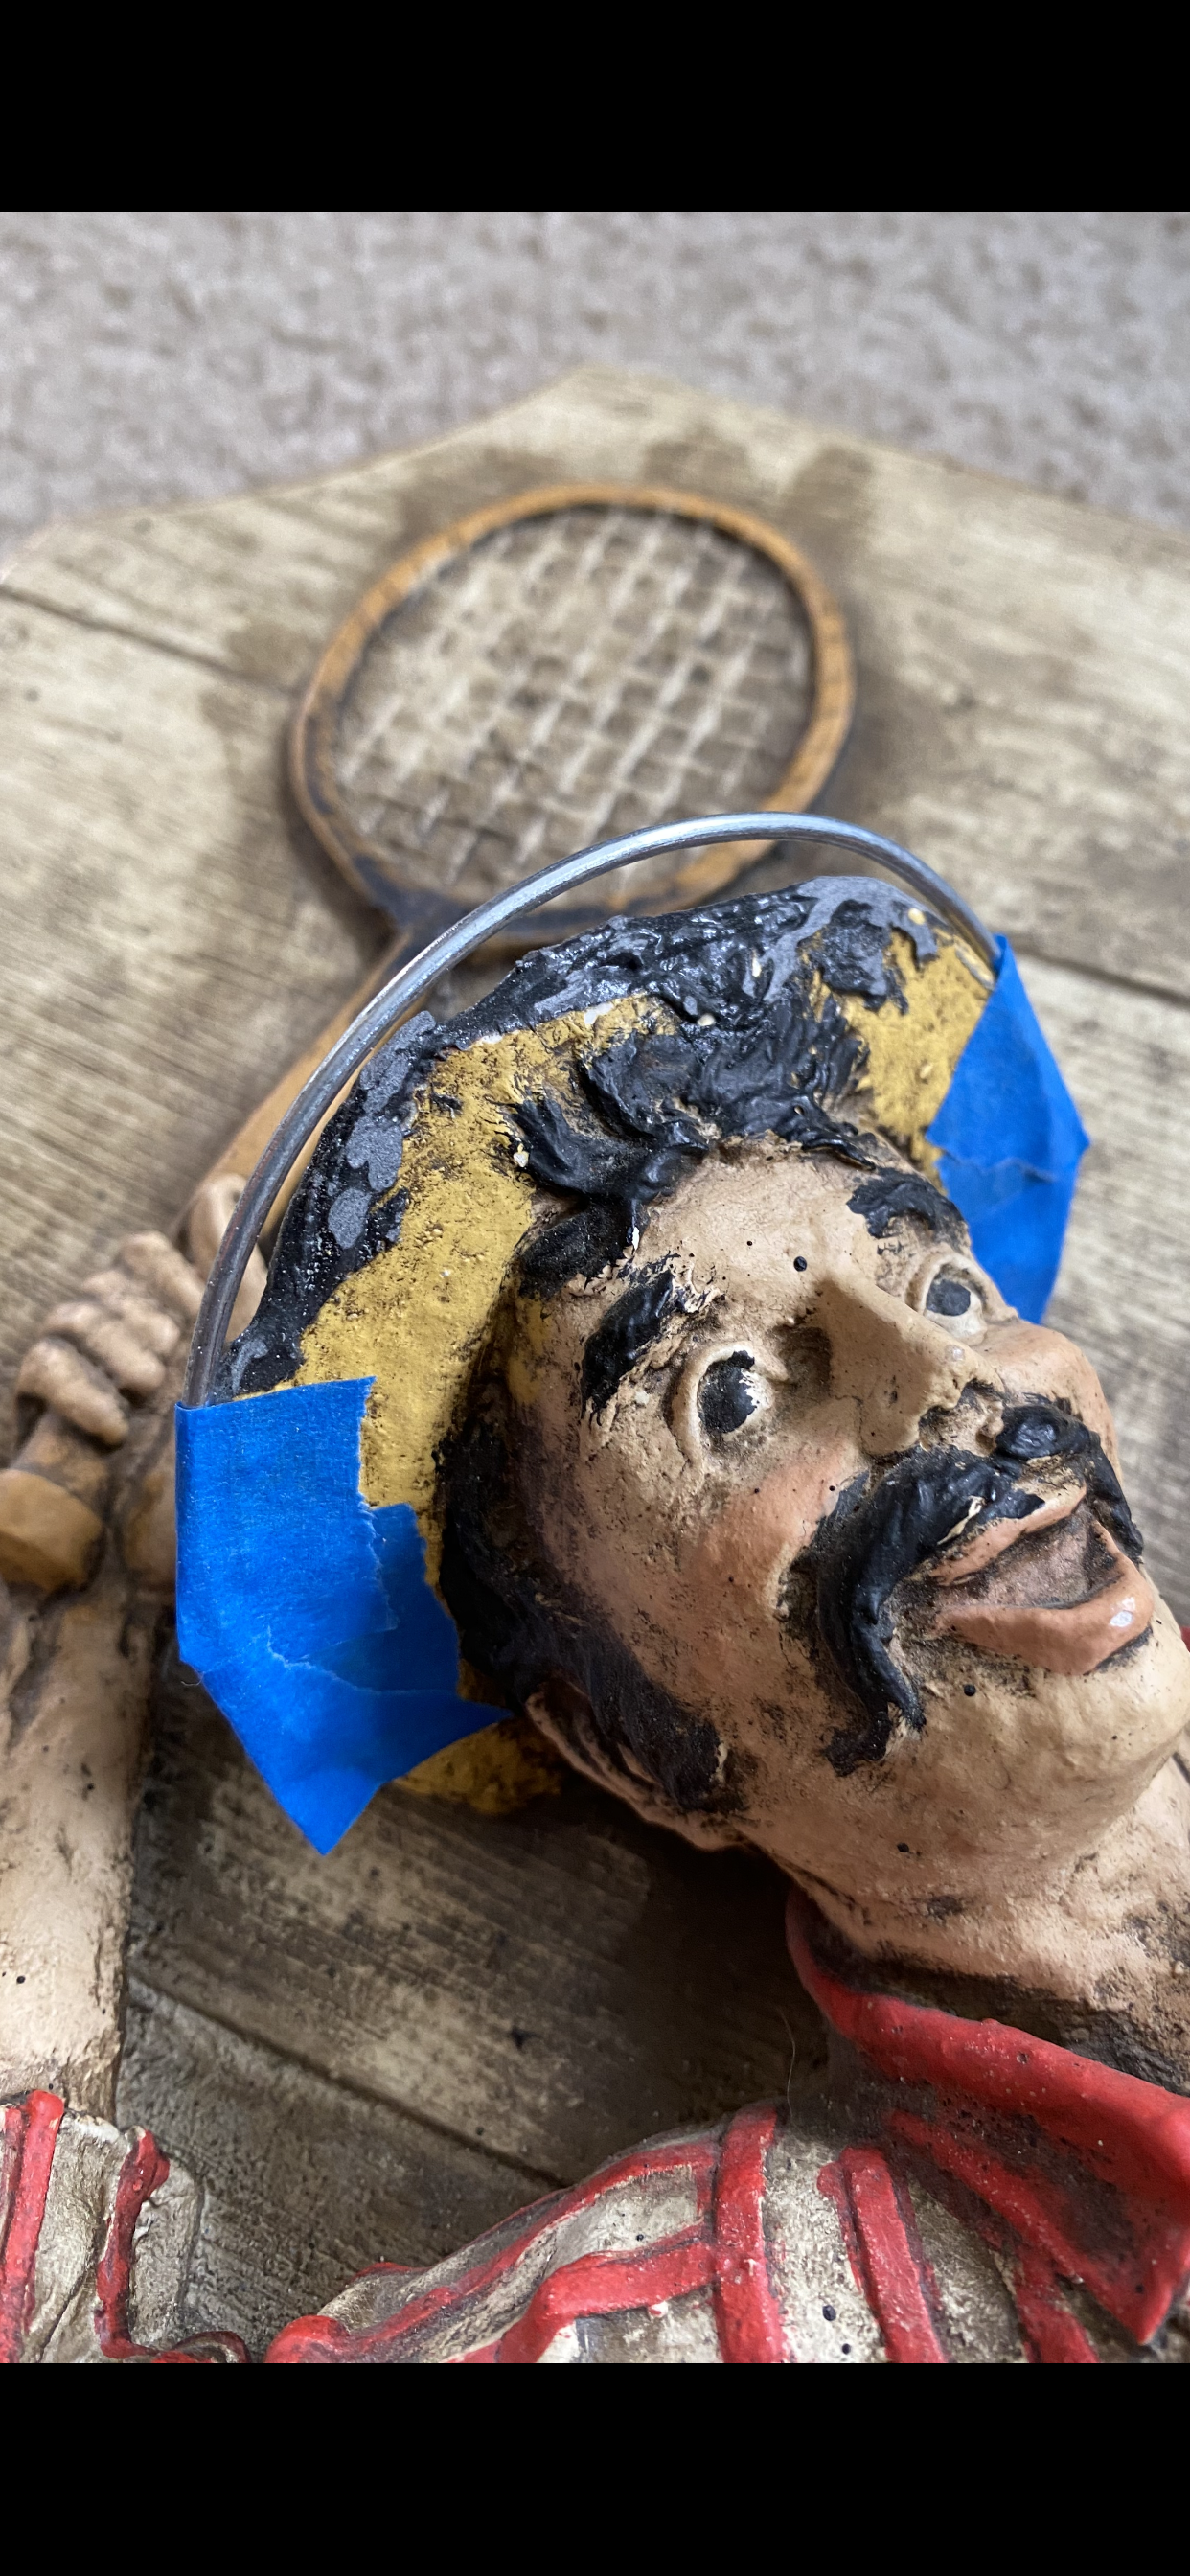
PC-7 round two came a day later and I built up the rest to have enough material in the void of the hat brim to begin filing and sanding back down to a final, sculpted shape. I made sure to add more material than I needed but not so much that it would be tough or time-consuming to file down. I also had to get that wire back off before things were cured because PC-7 is no joke!
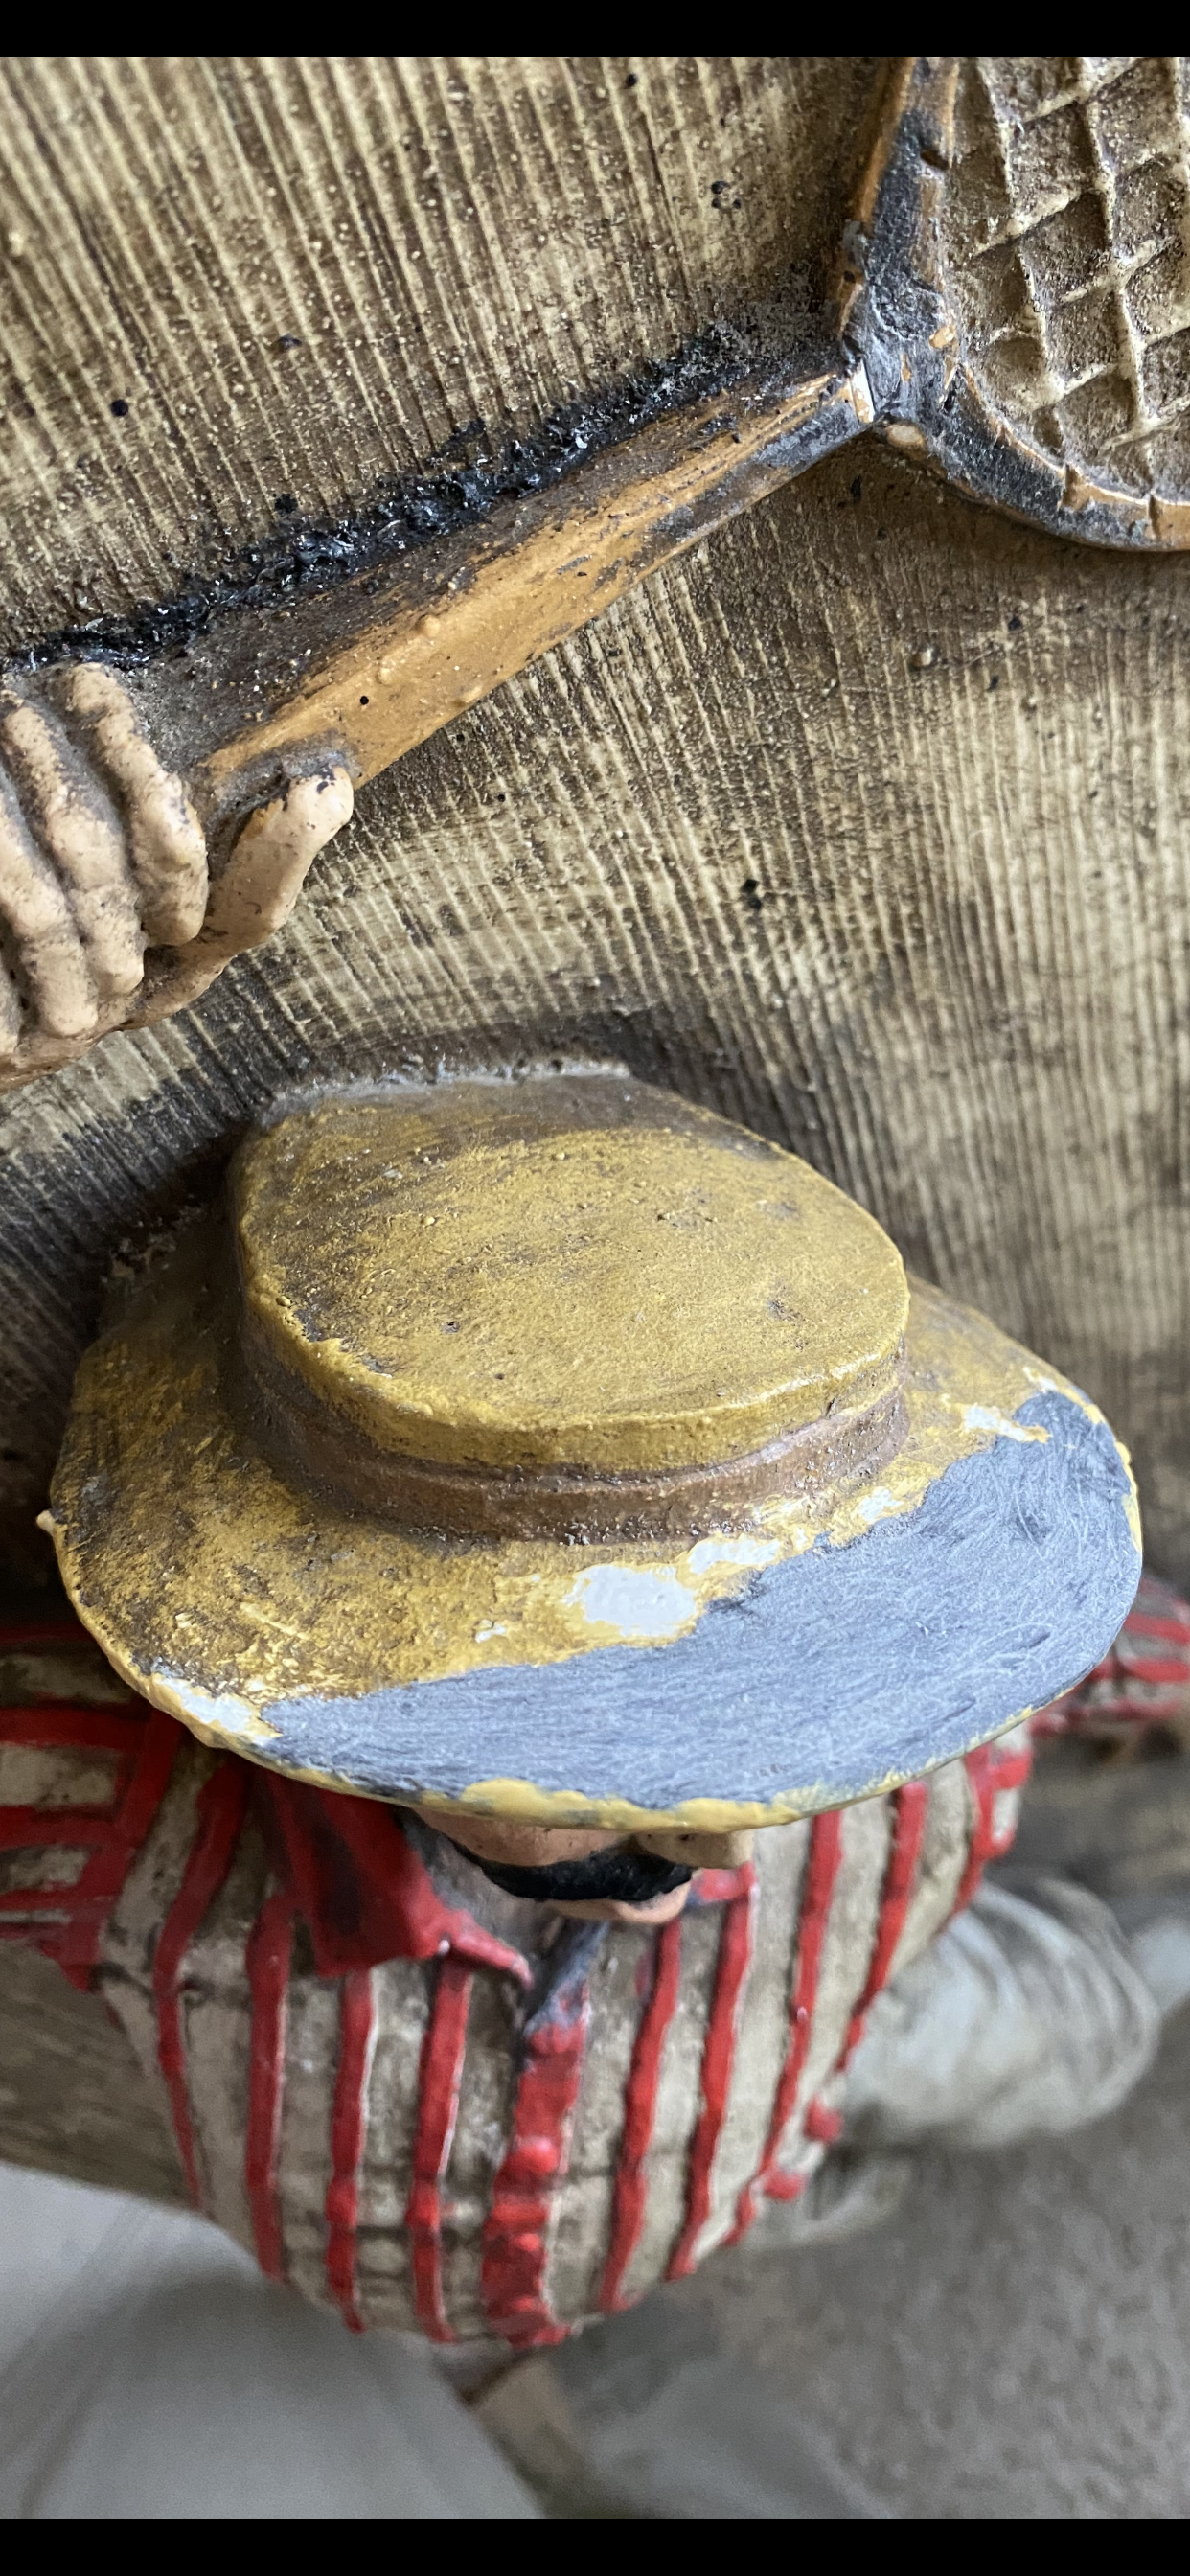
One thing I learned years ago and confirmed again with this piece is that PC-7 loses its stickiness about an hour after it has been mixed. With this in mind, I set an alarm for an hour after I loaded up the brim and I was able to sort of pinch-shape things a little more to dial in the shape of the brim and collar. This was great!
I still had to do some grinding, filing, and sanding, but this part wasn't bad at all. The tennis racket and shirt collar needed some more work too, of course!
Then I arrived at the daunting but delicious part. This is the one that puts us into full restoration mode. This added thing has to match. It must blend so well that any observer would never even guess that it had been restored. The texture, the color, the temperature, the age, the era... my job is to make it seem like I wasn't ever here. How fun is that‽ Well, I dig it.
First, I have to identify how this piece was made and finished. What was the EXACT painting process?
This particular piece was painted in an assembly line and reasonably mass-produced which is information that is available from inspection of the piece. Looking online was absolutely no help, including several reverse image search attempts. That may make these pieces more valuable.
The paint was applied and allowed to cure. Then there was a dark "wash" applied and deliberately, half-assedly removed. This technique adds some dimension and depth to a three-dimensional piece. Following the drying of that layer, it was done again with a darker "wash" (with less "warmth" to it) and this layer was essentially "scrubbed on to deposit pigment into low areas and remove it from high spots which is designed to add an "aged look".
Finally, it is clear that the step of literally flicking black paint (like with a toothbrush) at the piece was part of the artificial aging of its appearance. This step added thousands of tiny black specks to the overall piece that I had to recreate in isolated (repaired) areas, without affecting the rest of the piece.
Somewhere in this, I have to create color matches to colors that have been muddied by process and time. I am pretty good at color matches but lighting is KEY. There was a color painted and then the "artist" came back in and stained it. I have to recreate the unstained color to do this right. Whew.
I would say that the most difficult part of this restoration was including the "haphazard" and making sure that imperfections exist to help any evidence of restoration or repairs vanish. The point is not to improve a piece but to make it appear to be untouched.
After all of this, and even though I strive to be invisible in these cases, my eye can see the work.
How did I do? Can you see that this has been restored?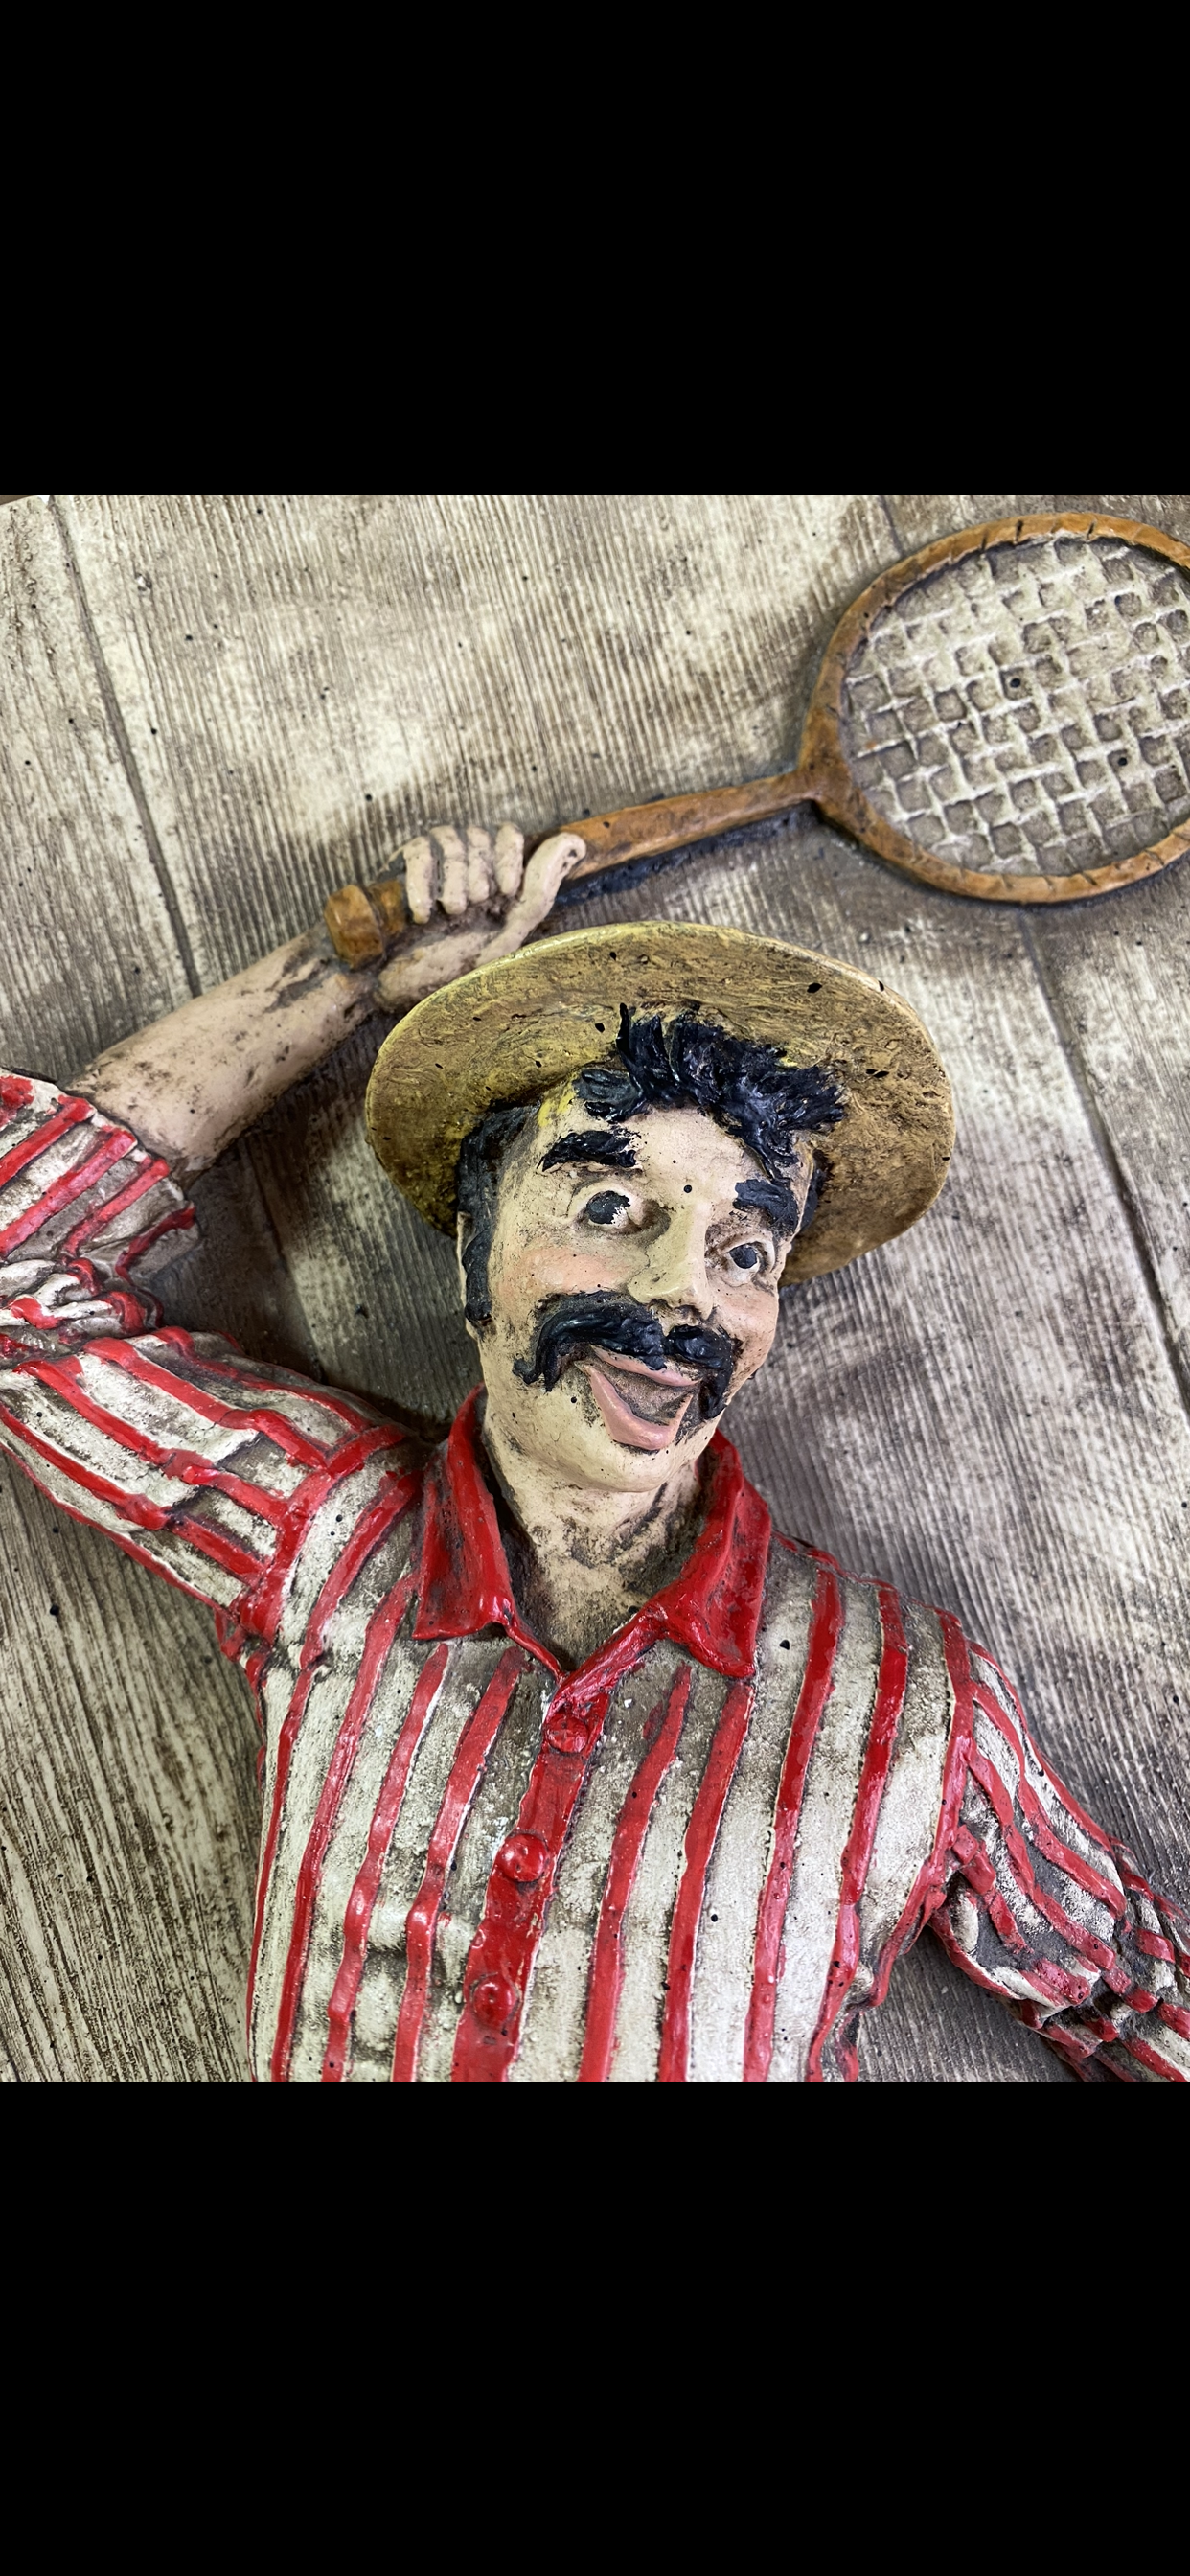
That's it!
I will be back with more. The photos are all weird screenshots because my phone is sending me new file types that ... NM
OH! The age and value~
This was actually difficult and nearly inconclusive. Initially, I guessed the late forties/early fifties because of the base material. However, the flippin' sideburns are messing with that evaluation and had moved the timeline to the early seventies. Supporting factor... that final flicking of the black paint thing. Yep. The tiny specks of black must mean that this came around at the same time I did.
Value? This is a matter of taste, but, if I were a film props warehouse collector, these are a MUST HAVE.
For the pair, in fully restored condition, $300-400. If there were a maker's mark, manufacturer mark, sticker, stamp... could be more. The high-ish evaluation is because these are fragile and as styles evolved, this kind of stuff went to the landfills. These are rare, fragile, and I am pleased to report, ready to go home.
I hope you enjoyed this, my friend. I am sending you love!
I will see you in the funny papers!
Phelyx