
WHY LEARN SYSCTL?
Changing Kernel Parameters (whether desktop, server, router, or Linux phone), offers the deepest control over your GNU/Linux systems.
Security and Privacy enhancements included in these capabilities.
Minimize your risk of MiTM (M in the middle), change hostname, disable IPV6, restrict exploitative network routing, even disable timestamps (could potentially be used to track).
TODAY
When you finish this writeup + video, you will have the essentials you need to customize and change your kernel parameters via sysctl (and (optionally), create persistent, permanent boot changes, via the config files covered).
Initially, we breeze through subjects on video (below), providing easy, copy and paste convenience for command examples you can try on your devices.
Later on we include a few example sysctl examples to help mitigate certain attacks (more in coming content).
Questions on this? Your Comments are very welcome here.🙂
Who Knows, your comment may even be able to help someone else in the future!
Learn The Basics
Get Started
Howto: List ALL Current Values (You Can Change Any Of These)
sudo sysctl -a
Example Output Of sysctl -a:
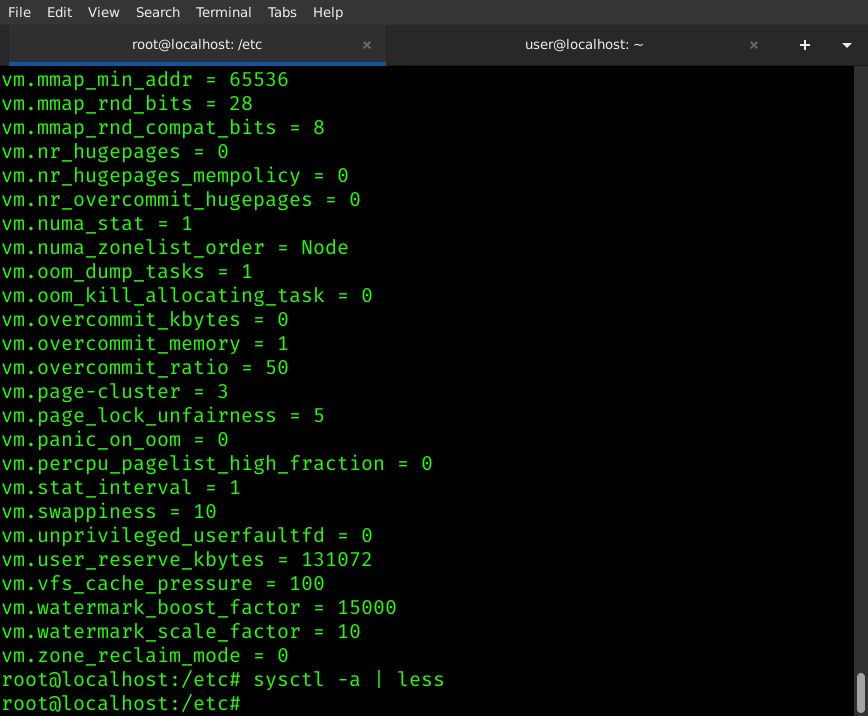
(The above shows all possible 'keys' or parameters we can manipulate / configure)
TIP: Make Above List Easier To Read With 'less': sysctl -a | less
Test Single Kernel Parameter
We can make changes automatically load every boot, by editing our configuration file: /etc/sysctl.conf (Pop!_OS, Debian Based), /etc/sysctl.d directory location for Arch/Manjaro + )
BUT... Before modifying sysctl.conf (or files in /etc/sysctl.d), we could check individually for the variable (verify its existence).
Run:
sysctl vm.swappiness
The above command returns the variable (vm.swappiness), and its value (if variable exists).
Example:
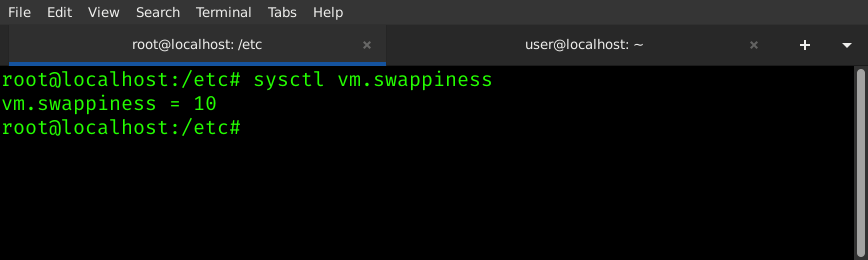
Note above screenshot: returns, in my case, vm.swappiness = 10
This figure, the '10', represents the 'redline' percentage of free memory, before activating swap.
What you say? 🤔 "swap"? Many Linux users have a partition or file aside known as the <swap>.
This "swap space" helps take the burden off your ram usage, when running thin.
As rule of thumb, create swap space roughly the size of total ram.
10% free memory left before swap? 🤔
Sounds low (running out of resources can lead to a crash).
Change this to something higher, to activate swap space before 10% memory.
TEST FIRST
First, you might want to test out intended changes before adding to config files
(example changes from 10% to 60% free memory for swap activation).
It's an easy command:
sudo sysctl -w vm.swappiness=60
Example:
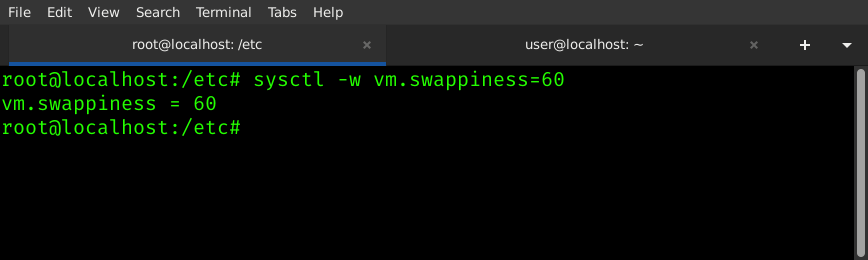
What Does The Above Command Do? This changes current wait from 10% remaining memory up to 60% memory free (when swap will be activated).
An older machine will be able to make use of the benefits of swap, much sooner.
Adding Settings To Sysctl.conf
You can follow the above steps to find changes you might wish to make. Remember to run: 'sysctl -a' first, to see what variables are available for changes.
Write down the key (variable) and value. In our case, we need to add:
vm.swappiness=60
# do not use spaces (above)
Our next step is adding this confirmed working change to /etc/sysctl.conf (on Debian / Pop!_OS), in order to have it start for us every boot.
OPTION #1
One method would be adding out line using VIM or GNU/Nano editors.
If you missed the tutorial on those, VIM + Nano Intro + Learning Tips.
Just as well you could open your favorite GUI editor.
OPTION #2 (Quick Bash Lesson)
We can use a simple line of bash to add each new line easily from the commandline! 🙂
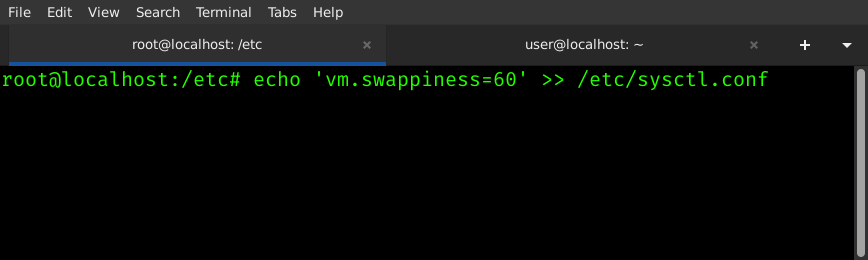
Running the following line will add vm.swappiness=60 to our /etc/sysctl.conf file:
sudo echo 'vm.swappiness=60' >> /etc/sysctl.conf
To Make This Tutorial Approachable To Everyone, Let's Break Down The Command:
How The Command Works:
sudo creates superuser privileges. Anything run after 'sudo' will be run as root.
echo sends 'vm.swappiness=60' to the standard output - basically meaning echo will print the segment in quotes after to the screen
>> takes the output from previous command (echo) and sends it to the end of the /etc/sysctl.conf file.
TIP: If you were to use a single > it would OVERWRITE the file. Using (2) >> APPENDS the end of a file
The filename is at the end here, preceeded by the >> which appends the location after it.
TIP: Experiment using the above information, to create new command combinations. Utilize the '>>' to create new logging features for your scripts.
Adding Additional Changes To Sysctl.conf
Add as many changes as you need to /etc/sysctl.conf. Follow previous steps, replace 'vm.swappiness=60' with each new change you wish to add.
Questions / Comments Welcome: It Might Help Someone Else Too.
Our example change activates swap before the previous 10% memory, up to 60% to use swap.
A Few Security / Privacy Related Lines For You To Try! (Desktop - Not Router)
net.ipv4.conf.all.accept_redirects = 0
net.ipv6.conf.all.accept_redirects = 0
net.ipv4.conf.default.accept_redirects=0
net.ipv4.conf.all.secure_redirects=0
net.ipv4.conf.default.secure_redirects=0
net.ipv6.conf.default.accept_redirects=0
net.ipv4.conf.all.send_redirects=0
net.ipv4.conf.default.send_redirects=0
TIP: Run Lynis To See If It Offers Changes For /etc/sysctl.conf. See my previous Tutorial on Lynis Security + Hardening Scanner Here.
After Editing File: Load New Settings
Next you can reload your file by issuing:
sudo sysctl -p
Or, optionally, reboot your system to load the sysctl file.
Always a good idea to test out your new options before attempting to load new sysctl options at boot (see above for testing).
I may add more to this, including more details, including at the Gitea Onion (open in Tor Browser).